Install and Configure a Quest SDA Remote Site Appliance
Install Configure Quest – Install and configure a Quest SDA remote site appliance with RSA setup, DHCP, DNS, PXE boot, time settings, replication and synchronization.
Install Configure Quest – Setting up a K2000 Relay for a Remote Site
- Download the RSA
- DNS and DHCP
- Replication
Appliances
Download
Install Configure Quest – From the QUEST site Download, the SDA relay will be a virtual appliance.
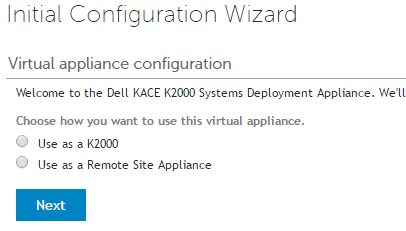
Install Configure Quest – The OVF template for the RSA and the SDA are the same. During installation, a menu will offer to install either an RSA or a K2000.
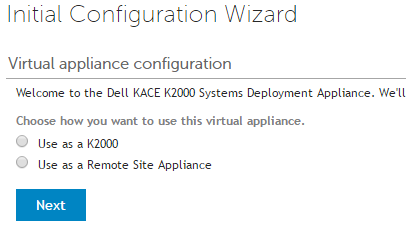
Installation
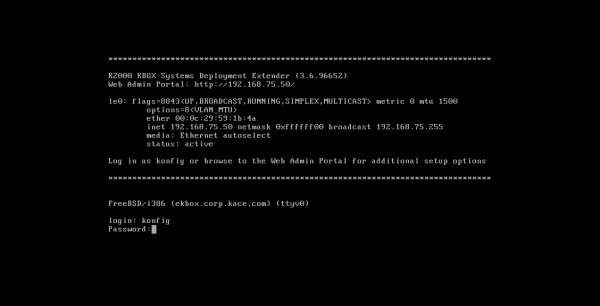
Install Configure Quest – Log into the Appliance’s console using:
- Account: konfig
- Password: konfig
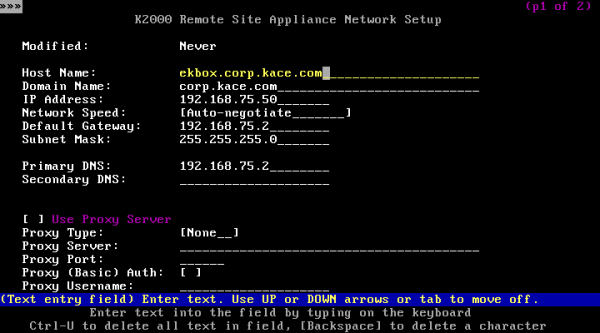
- Enter the IP and DNS information for the RSA Appliance
Install Configure Quest – After restarting, you can log into the RSA Web interface to validate the license
- Account: admin
- Password: admin
Configuration
Activate Relay Mode
Install Configure Quest – An Alias must be created on the DNS servers to facilitate communication between the clients and the Appliances.
- Connect using the name or IP address of the Appliance from a web browser
- Configure the appliance for a “Remote Site Appliance”
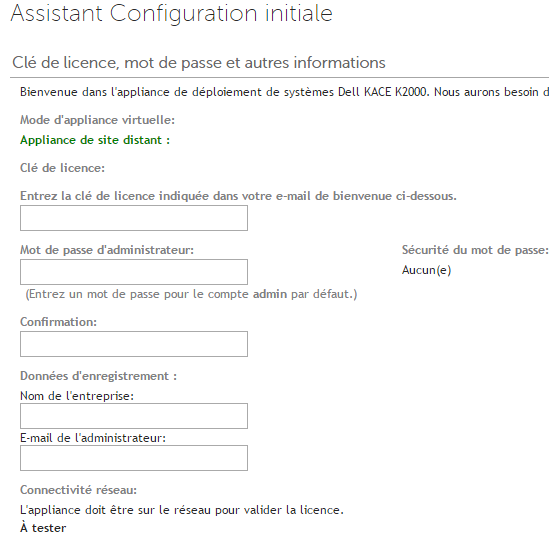
- Information (serial number, password, etc. will be requested)
Time Server
- In “Settings” “Control Panel” “Date and Time Settings”
Specify the time server to use
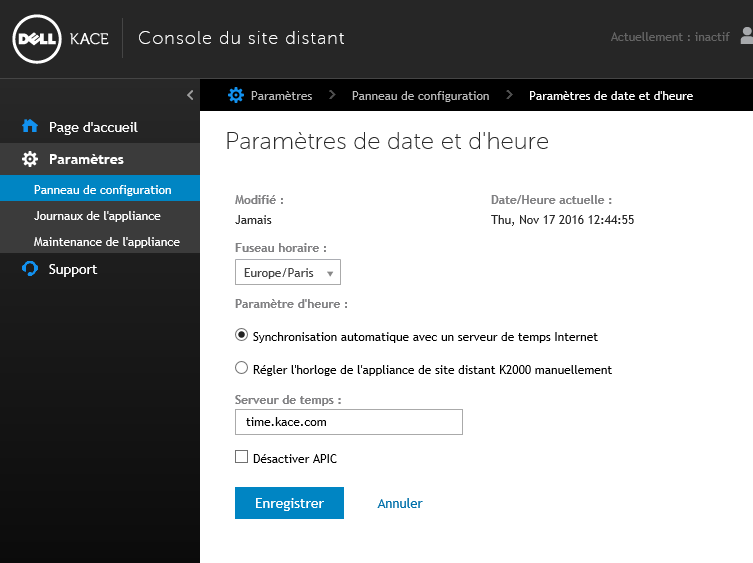
Install Configure Quest –
DHCP Server
Install Configure Quest – To deploy a master to a target PC, the workstation needs to boot from the RSA’s PXE boot environment.
Replication between the SDA and the RSA
Connection between the SDA and RSA
- On both the K2000 and RSA, activate the KACE link from “Settings” “Control Panel”.
- Select “KACE Link” and activate the connection
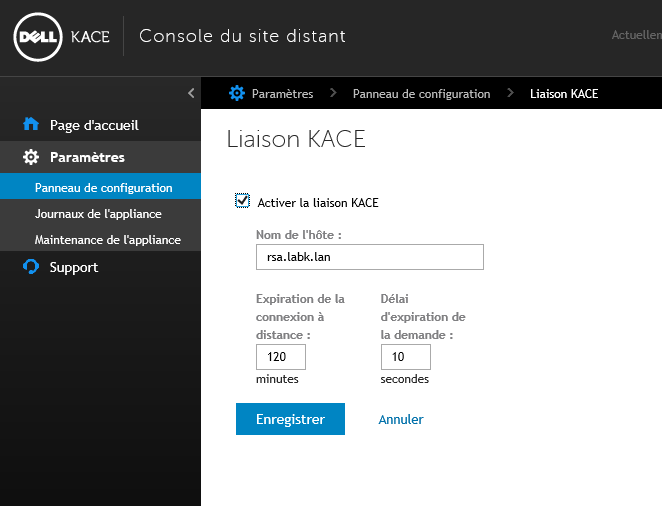
Install Configure Quest – Repeat the process on the RSA
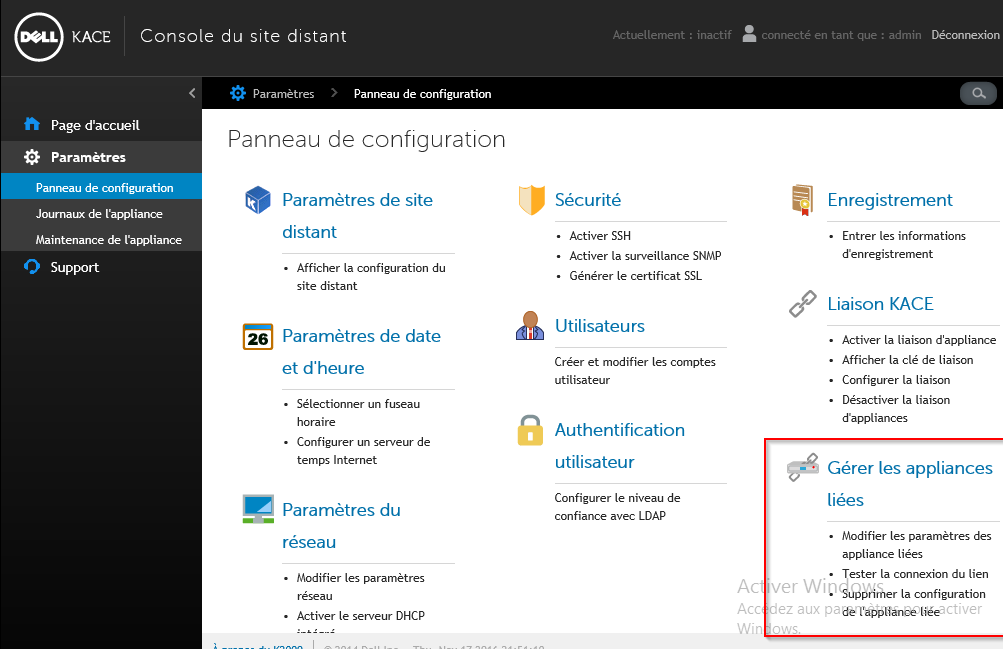
- In the SDA under “Settings” “Control Panel”, select “Manage Linked Appliances”
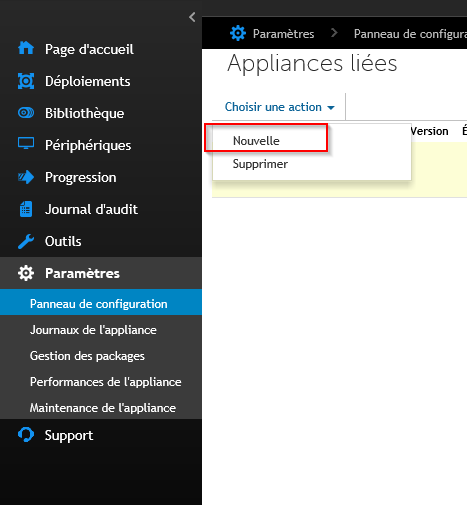
- In “New”
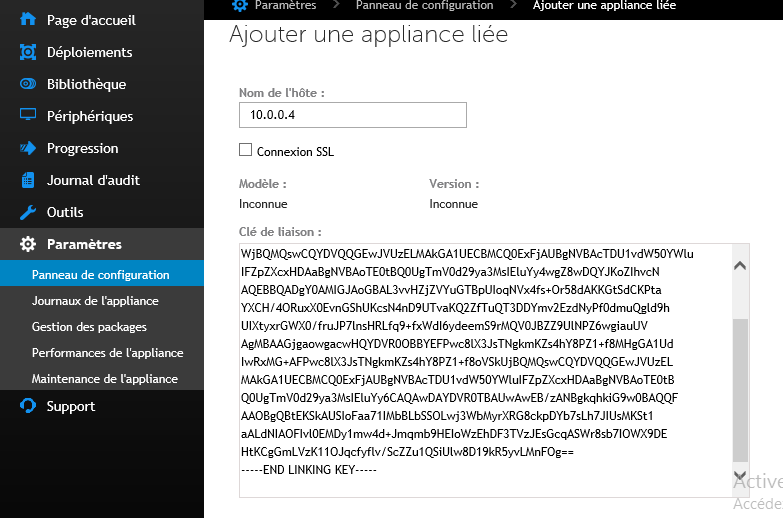
- In the hostname, indicate the name of the RSA (or its IP)
- In the connection key, indicate the certificate generated by the RSA
Install Configure Quest – Repeat the process on the RSA
Synchronization Scheduling
- Then in “Deployments” “Remote Sites”, In “Choose an Action”, select “New”
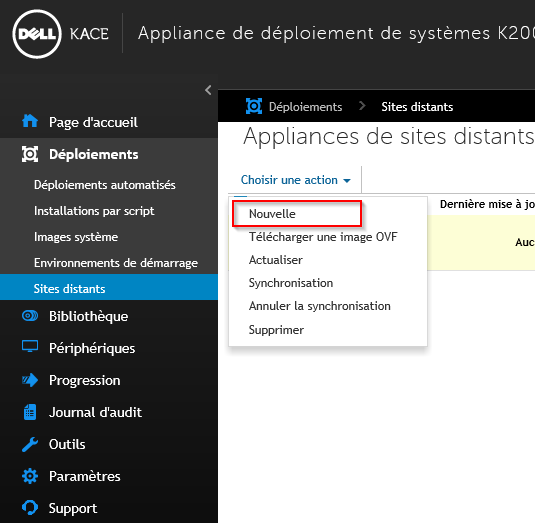
- The RSA should appear (if the link between the 2 Appliances is correctly established)
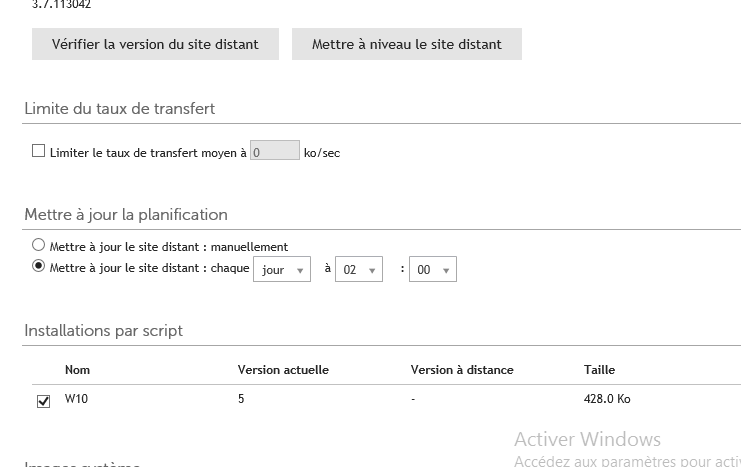
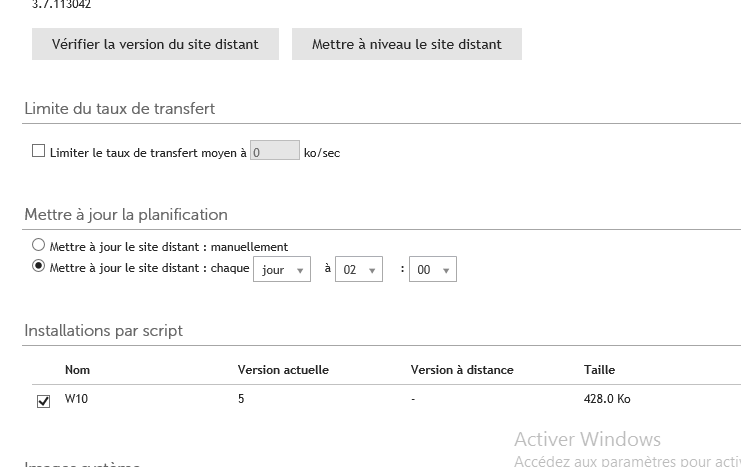
Install Configure Quest – You can schedule:
- The start time of the synchronization
- The bandwidth that will be used
- The images that will be synchronized
Install Configure Quest – Note: All drivers will be synchronized (no filter available)