Manage User Data – Use USMT in Quest SDA to back up and restore user profiles during Windows deployment, including Windows ADK tools, PXE workflows and user data migration.
GPT
Manage User Data – This article describes how to manage the backup and restoration of user data with SDA using USMT. Here are the main steps:
Upload USMT
Create a Template
Modify the system image or scripted installation
Introduction
USMT Version
Manage User Data – Summary of USMT versions:
10 => Migration from Windows 7 or Windows 8.1 to Windows 10
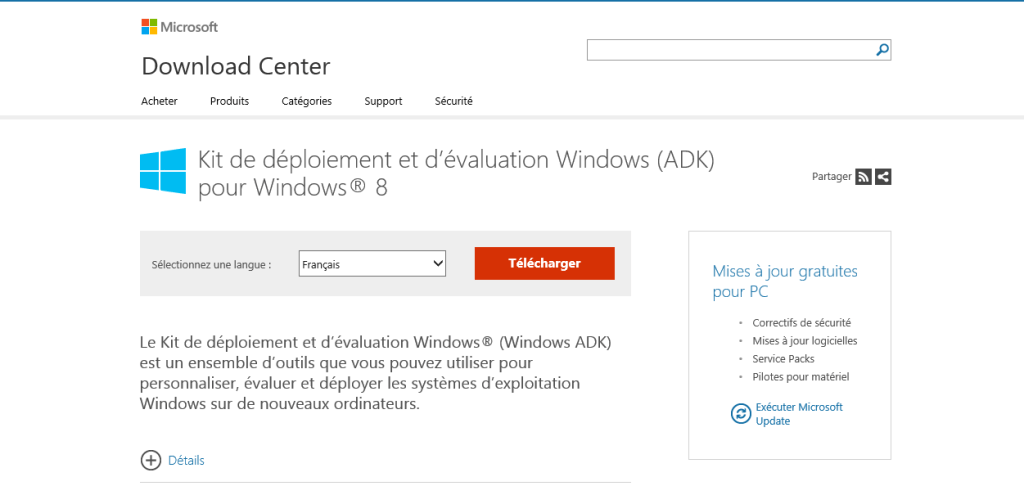
Manage User Data – Available with Windows ADK for Windows 10
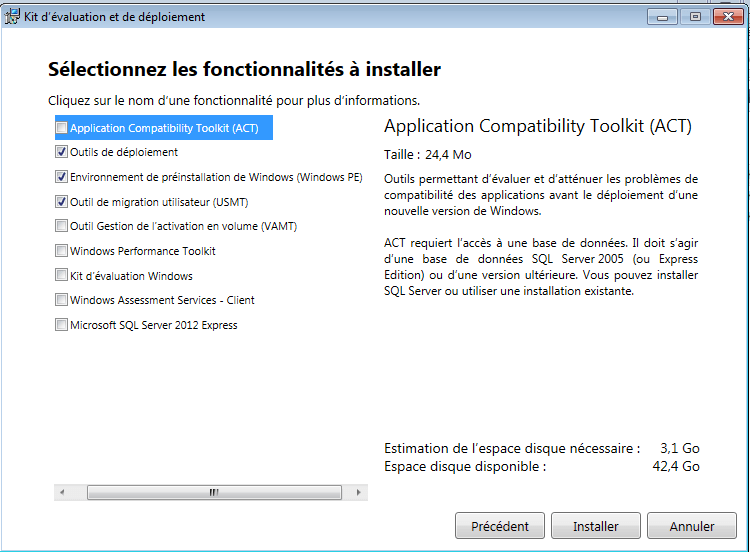
Manage User Data – For the installation, select the following options:
Deployment Tools
Windows PE Environment
USMT
Upload USMT
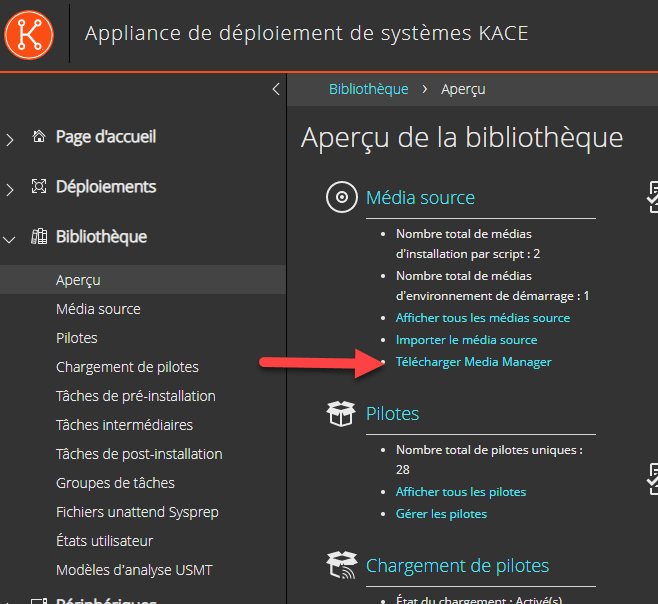
KACE Media Manager
From the K2000 interface, select “Library” “Overview“, then download and install “Media Manager”.
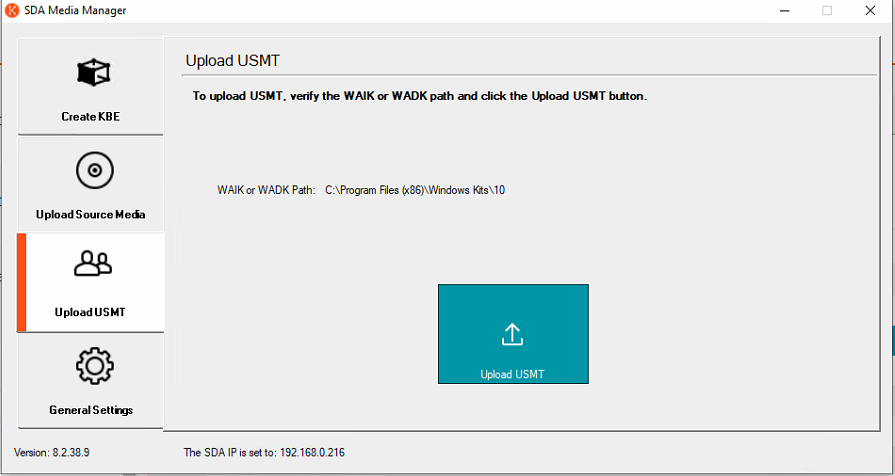
Upload USMT
Manage User Data – Launch the “SDA Media Manager” tool,
In the “General Setting” tab, fill in
The K2000 Appliance name
The Samba password
In the “Upload USMT” tab
Click on Upload USMT
Creating a USMT Template (Optional)
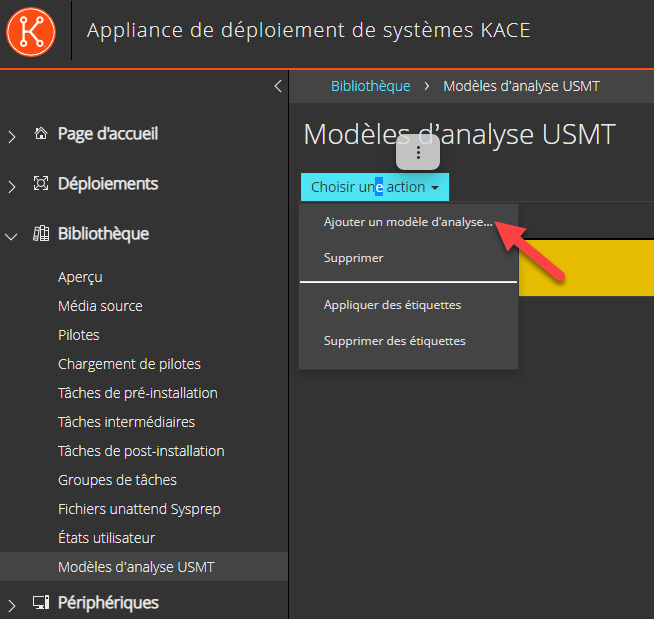
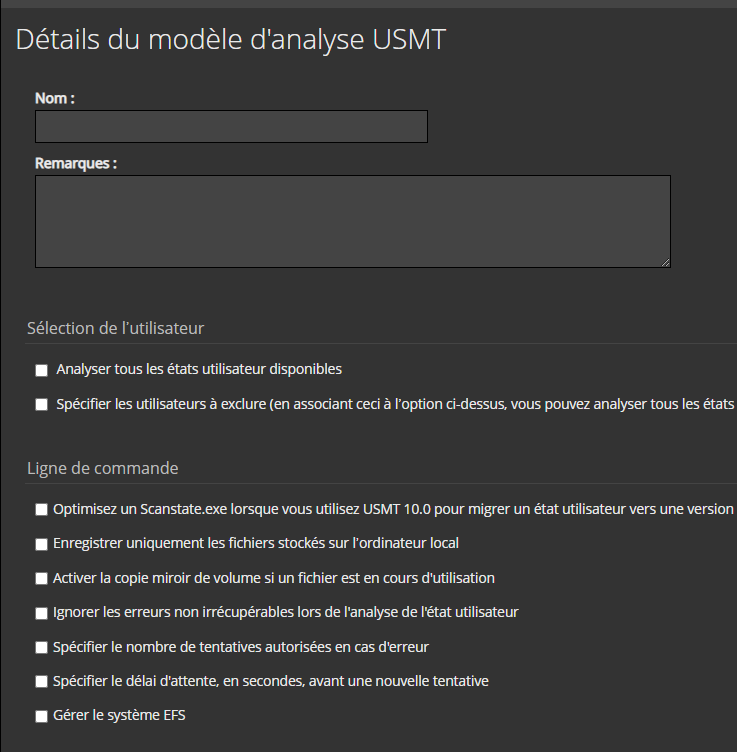
In LibraryUSMT Scan Templates, select “Add New Scan Template”.
Then select the USMT backup options.
Deployment with USMT
Adding Tasks
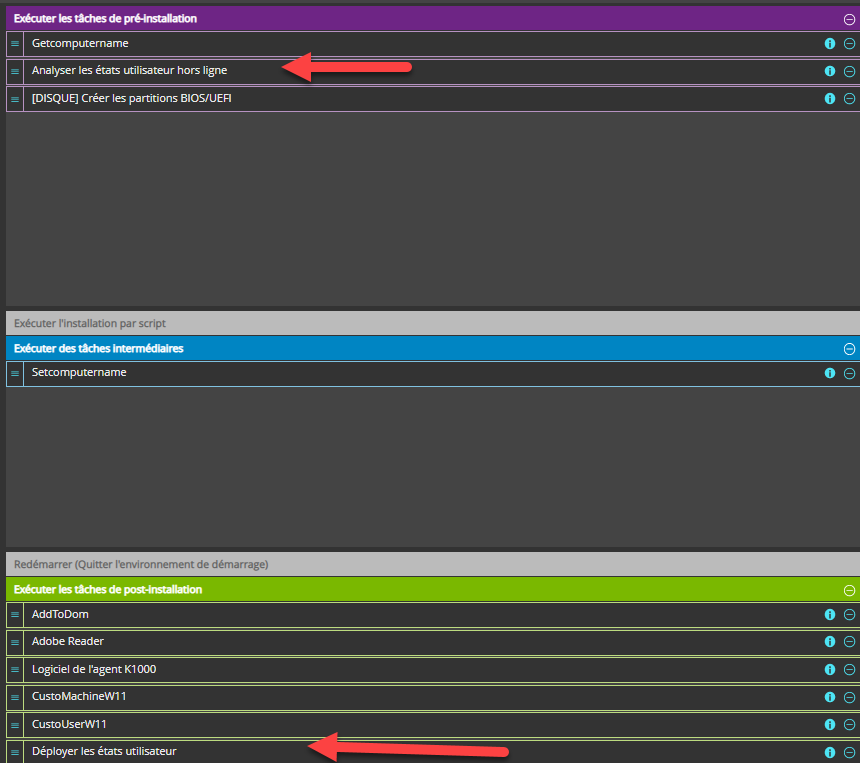
Add USMT tasks (available natively in KACE).
Manage User Data – Note: The task “Offline User State Capture” should be placed before disk formatting.
Case of a Workstation Reinstallation
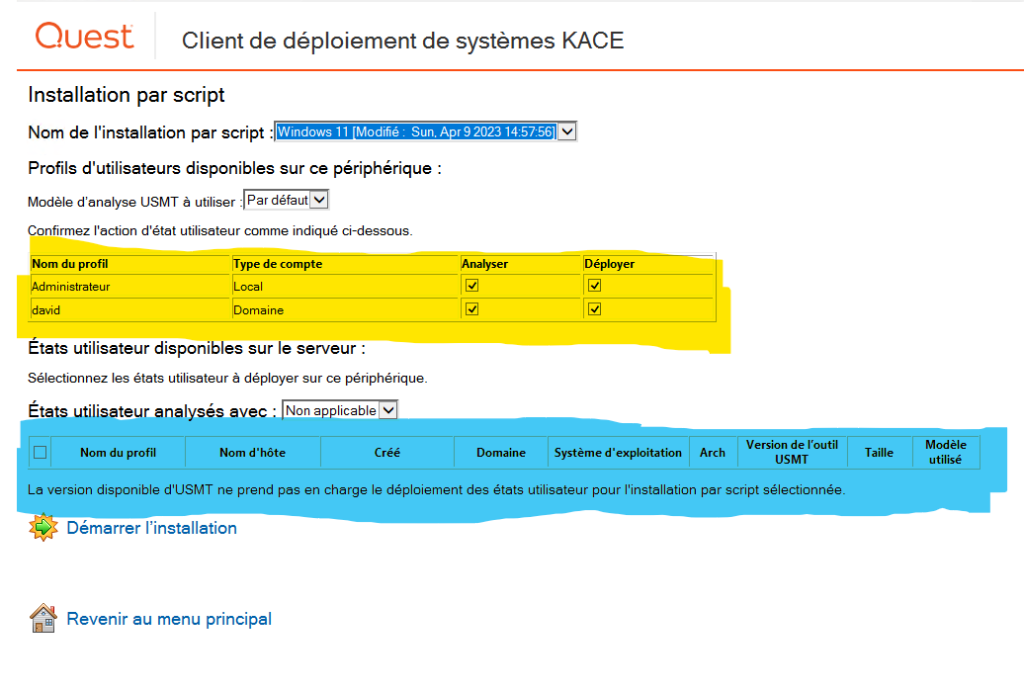
Start the workstation on PXE
Manage User Data – IN YELLOW HIGHLIGHT
Manage User Data – All user profiles present on the workstation will be displayed. You can check or uncheck the profiles to be backed up (or restored). The profiles will then be saved with USMT and copied to the K2000 Appliance, then restored on the workstation.
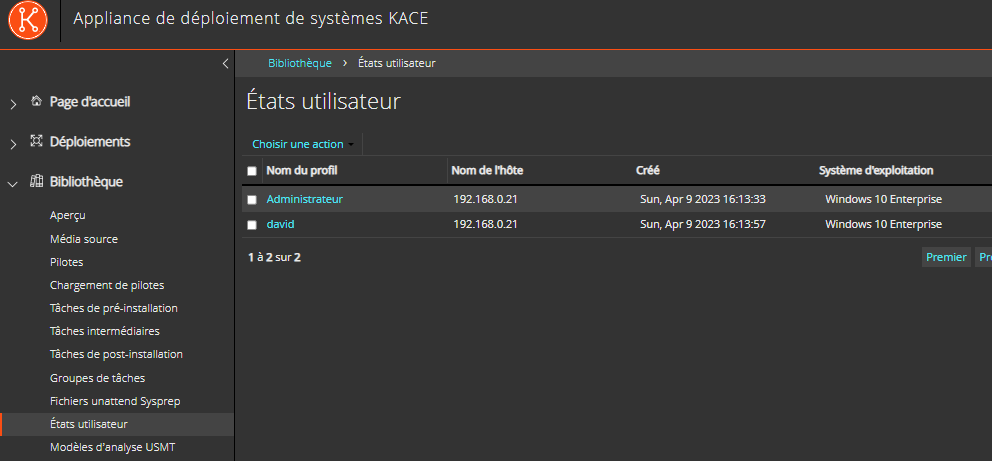
Manage User Data – IN BLUE HIGHLIGHT
Manage User Data – All profiles already saved on the appliance will be displayed.
Manage User Data – Note: You will need to manually delete old profiles from the appliance to avoid saturating the appliance disks.