This procedure explains how to build and deploy Windows with Tanium Provision using PXE. The workflow is organized as a step-by-step runbook: prerequisites, resource preparation, OS bundle creation, PXE setup, bundle assignment, deployment, and first troubleshooting checks.
Prerequisites
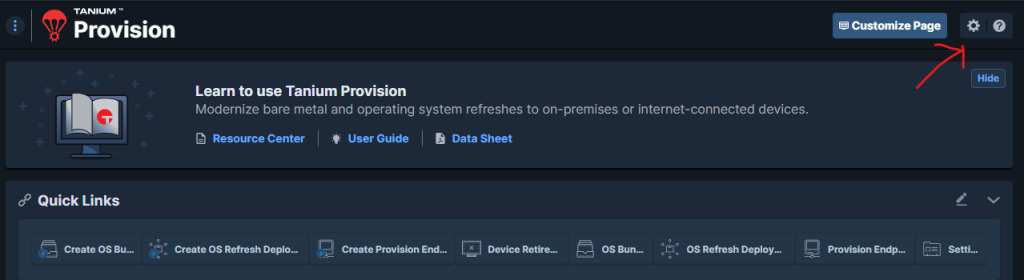
Step 1 – Download Provision tools
- In the Tanium Console, open Provision -> Settings.
- Download the ZIP files provided by the module, typically
scripts.zipandutility.zip. - Keep these files on the preparation machine. They are used later to prepare the ADK content and build the OS bundle.

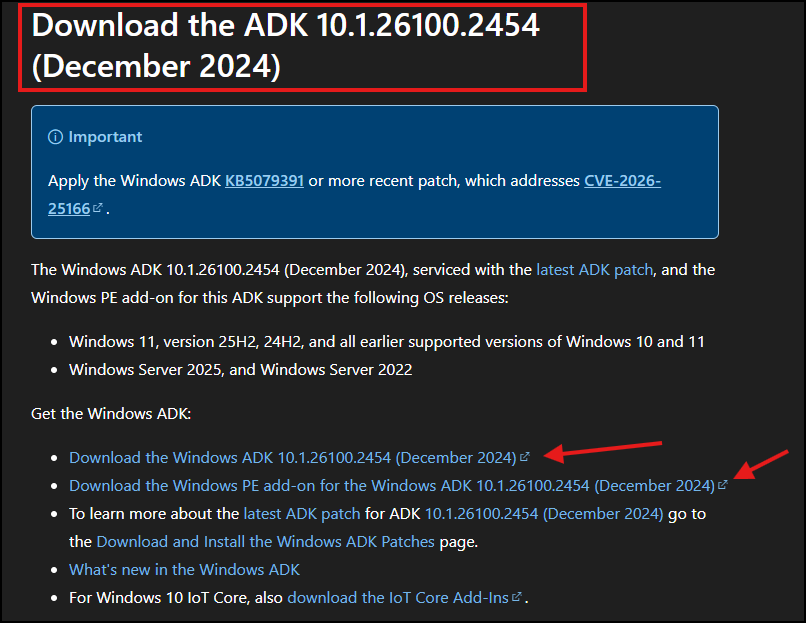
Step 2 – Install Windows ADK and WinPE add-on
- Install the Windows ADK and the Windows PE add-on on the preparation machine.
- This step is only required once per preparation machine.
Important: Use Windows ADK 10.1.26100.2454 (December 2024) for this procedure. Keep the ADK version consistent on the preparation machine to avoid WinPE package differences.
Prepare resources
Step 3 – Build the ADK package
- Extract
utility.zipon the ADK preparation machine. - Run
adkprep.ps1to generate the ADK package expected by Tanium Provision. - Keep the generated archive ready. It will be uploaded into the OS bundle.

Step 4 – Prepare unattend.xml
- Prepare an
unattend.xmladapted to your Windows deployment. - Test the file before using it in a production bundle.
- Adapt language, partitioning, local administrator settings, and domain or workgroup behavior to your environment.
Example unattend.xml: GitHub sample
Step 5 – Prepare the Tanium Client package
- Download the Tanium Client ZIP that matches your environment.
- Use the package that contains the correct server configuration for the endpoints you are provisioning.
Step 6 – Prepare the Windows install.wim
- Mount or extract the Microsoft Windows ISO.
- Use the Windows
install.wimas the operating system image for the OS bundle. - If the ISO contains
install.esdinstead ofinstall.wim, convert it before uploading it to the bundle.
Step 7 – Prepare drivers
- Prepare the driver ZIP that matches the target model or virtual platform.
- Keep one driver package per model or platform when possible.
- Confirm that storage and network drivers are included for bare-metal deployments.
Note: If you want to use a common driver package for all devices, such as basic network and mass storage drivers, name the archive
drivers.zip.
Create Bundle
Step 8 – Create the OS Bundle
- In Provision, click Create OS Bundle.
- Name the bundle, select the operating system and architecture, then add each required component: WIM, ADK archive,
unattend.xml, Tanium Client ZIP, and drivers. - Select the Windows image index that matches the edition you want to deploy.
Note: You can list the available indexes in a WIM file with the following PowerShell command.
Get-WindowsImage -ImagePath "C:\Path\FullPathWimFile.wim"Validation checklist: before moving to PXE, confirm that the bundle is saved and all required files appear in the bundle details.
Install PXE
Step 9 – Check PXE prerequisites
- Confirm that the target endpoint can reach the Provision satellite for PXE boot. If it is on another subnet, configure the DHCP relay or IP helper.
- Check that the firewall does not block the PXE path. Common PXE flows use DHCP / BOOTP (
UDP 67/68), TFTP (UDP 69), and PXE proxy / BINL (UDP 4011), depending on your design. - Make sure the test endpoint uses the expected firmware mode: UEFI or legacy BIOS, correct boot order, and correct Secure Boot behavior.
- Verify that the OS bundle is fully synchronized to the Provision satellite before the first PXE boot.
- For lab testing on Hyper-V, disable Secure Boot if the guest does not boot correctly with your selected PXE flow.
Step 10 – Create the Provision endpoint / satellite
- Create and save the OS bundle before enabling PXE on an endpoint.
- In Provision, select Create Provision Endpoint then Create Satellite.
- Choose a device name.
- On the target client, run
get_endpoint_fingerprint.cmdand collect the MAC address. - Enter the MAC address under Unique Identifier, enable PXE, and finish the configuration.
- Select the PXE role and the cache that will host your bundle.
- Wait for the PXE service to be installed on the satellite.
Affect Bundle To PXE
Step 11 – Assign the OS Bundle to PXE
- In the Provision endpoint / satellite configuration, assign the OS Bundle to the PXE endpoint, then wait until the bundle is synchronized before starting the first boot test.

Deployment
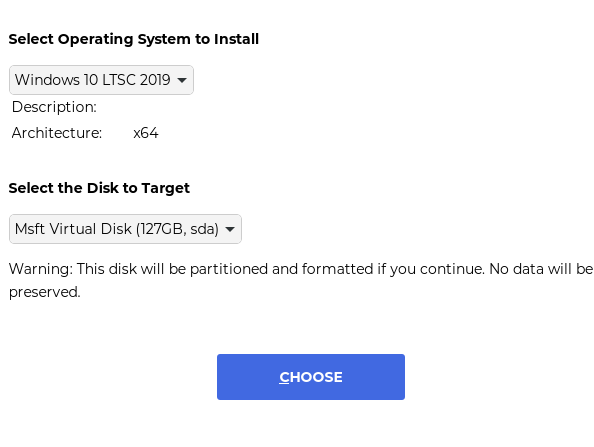
Step 12 – Boot and run the deployment
- Boot the endpoint on PXE.
- In the PXE workflow, select the keyboard layout and continue.
- Select the Task Sequence or deployment target presented by Provision.
- Monitor the deployment until Windows setup completes and the Tanium Client is installed.

Troubleshooting
- No PXE response: check that the Tanium PXE service is running on the satellite.
- Verify that the PXE endpoint is on the same network as the deployment device, or that DHCP relay / IP helper is configured.
- Confirm that the OS bundle is synchronized to the selected cache / satellite.
- If the boot starts but the deployment fails later, recheck
install.wim, drivers,unattend.xml, and the Tanium Client ZIP.