Install KACE Desktop Authority Step by Step
Install KACE Desktop Authority step by step, including appliance setup, prerequisites, configuration, deployment options and administration tasks.
Useful external reference: Quest KACE resources.
Identifying prerequisites (OS, Ports, AD, SQL …) and installation of KACE Desktop Authority
Useful external reference: Quest KACE resources.
Install KACE Desktop Overview
Supported OS
Installation
Useful external reference: Quest KACE resources.
- Microsoft Windows Server 2008 R2 Standard/Enterprise
- Microsoft Windows Server 2012
- Microsoft Windows Server 2012 R2 Standard/Enterprise
- Microsoft Windows Server 2016
Client
Useful external reference: Quest KACE resources.
- Microsoft Windows 7 (including 64-bit)
- Microsoft Windows 8.1 (including 64-bit)
- Microsoft Windows 10 (including 64-bit)
- Microsoft Windows Server 2008 R2 Standard/Enterprise
- Microsoft Windows Server 2012
- Microsoft Windows Server 2012 R2 Standard/Enterprise
- Microsoft Windows Server 2016
Port Opening
| Port | Services |
| 135 | Remote Service Management Port |
| 139 | Remote Registry needed to install the admin service. |
| 443 | HTTPS port used by IIS |
| 1433 | Microsoft-SQL-Server. |
| 1529 | Off-Network Remote Management Gateway Service. |
| 2000 | Remote Management (if used and the port can be changed in the element for Remote Management) |
| 8017 | Desktop Authority Operation Master Settings |
| 57238 | Desktop Authority Manager Service |
Antivirus Exceptions
Add the following exceptions
Useful external reference: Quest KACE resources.
Clients:
Useful external reference: Quest KACE resources.
- C:Desktop Authority
- C:Program FilesQuest
- C:Program Files (x86)Quest
- C:WindowsSystem32SLInstall.exe
- C:WindowsSystem32SLBoost.exe
- C:WindowsSysWOW64SLInstall.exe
- C:WindowsSysWOW64SLBoost.exe
- C:WindowsTempDesktop Authority
- C:WindowsPrefetch
Server:
Useful external reference: Quest KACE resources.
- C:Program Files (x86)QuestDesktop Authority
- C:WindowsSystem32DAAdminSvc.exe
- C:WindowsSysWOW64DAAdminSvc.exe
SQL Server
By default, Quest installs a SQL Express 2014, but you can also use a SQL server with the following versions:
Useful external reference: Quest KACE resources.
- 2008
- 2008 R2
- 2012
- 2014
- 2016
- 2017
The SQL server MUST be installed on the same server as QUEST Desktop Authority
Useful external reference: Quest KACE resources.
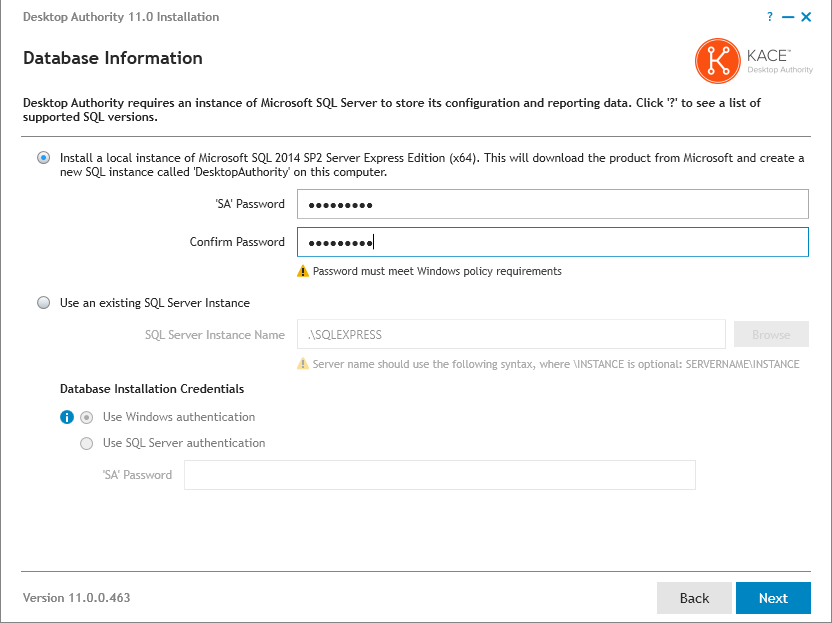
If you install SQL server manually, you must enable “SQL Authentication” mode (SA Account)
Useful external reference: Quest KACE resources.
Active Directory Functional Level
Supported Active Directory functional levels:
Useful external reference: Quest KACE resources.
- Microsoft Windows 2008 domain functional level
- Microsoft Windows 2008 R2 domain functional level
- Microsoft Windows 2012 domain functional level
- Microsoft Windows 2012 R2 domain functional level
- Microsoft Windows 2016
Service Accounts
3 accounts are required
Useful external reference: Quest KACE resources.
- Installation Account => Domain Administrator (netlogon modification required)
- Super User Group => A group for Desktop Authority administrators
- Operation Service => Local Administrator of the QUEST server
- Manager Service => Local Administrator of the QUEST server
- IIS Application => Local Administrator of the QUEST server
The last 3 accounts can be identical
Useful external reference: Quest KACE resources.
Server Sizing
On the same server with SQL and Desktop Authority, with at least:
Useful external reference: Quest KACE resources.
- Quad-core processor (dual-core in LAB)
- 16 GB of memory (4 GB RAM in LAB)
For disks, no specific prerequisites are indicated; you can start with:
Useful external reference: Quest KACE resources.
- A System partition of 60 or 80 GB
- A partition for QUEST of 20 GB
- A partition for the SQL database of 20 GB
Install KACE Desktop Overview
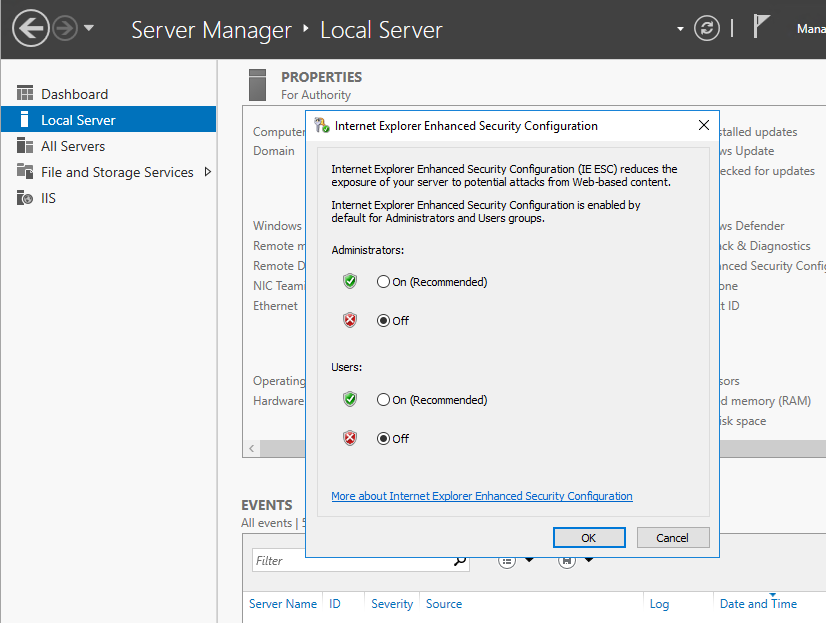
- Disable Enhanced Security. This is not a prerequisite for installation, but it allows the WEB console to launch correctly at the end of installation.
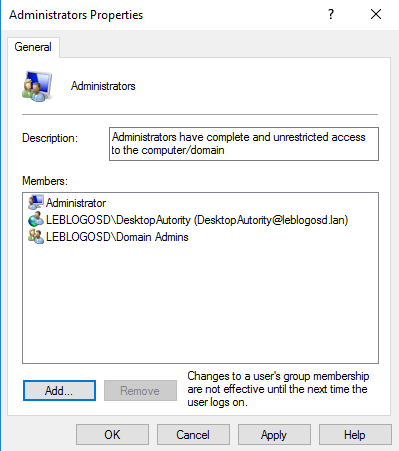
- Add “Operator Service” and “Manager Service” accounts to the local administrator group
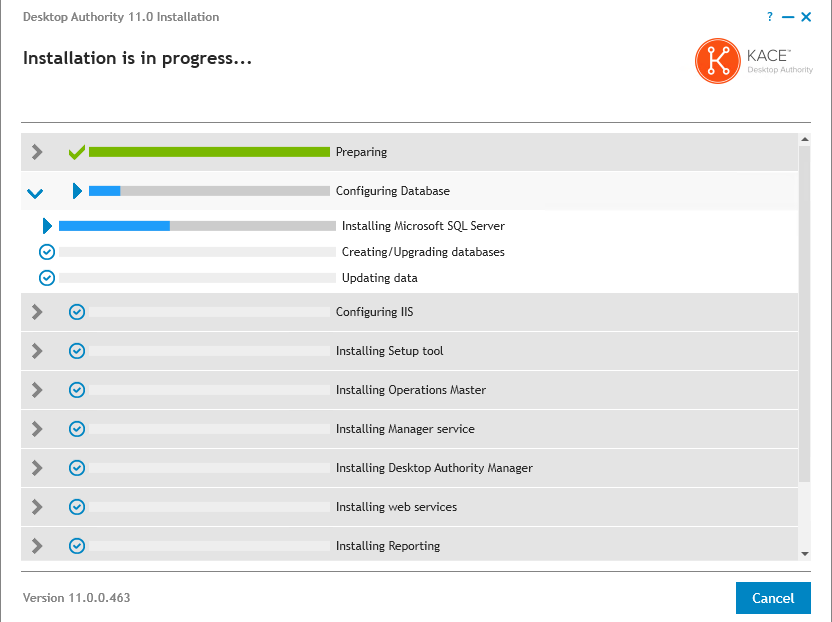
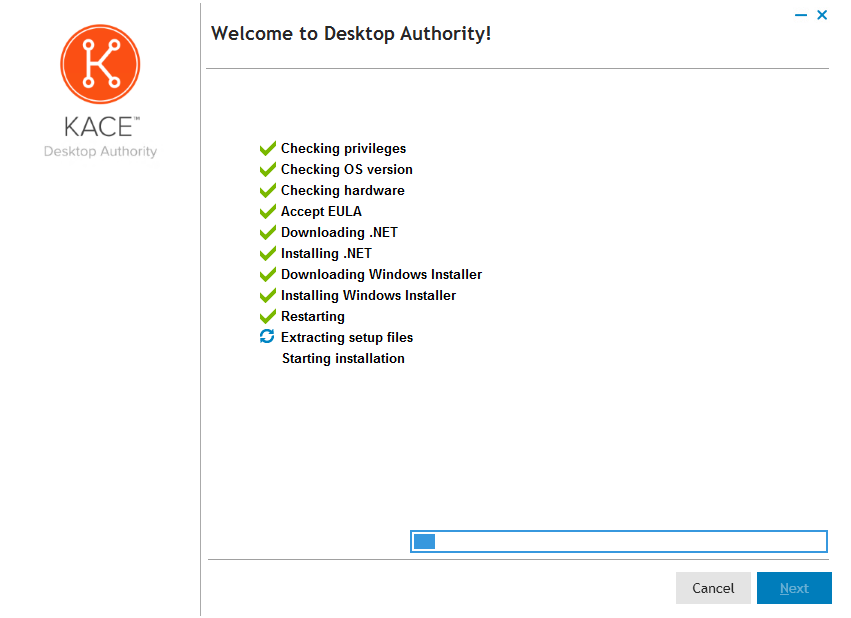
- The installation will check the prerequisites and then start the installation
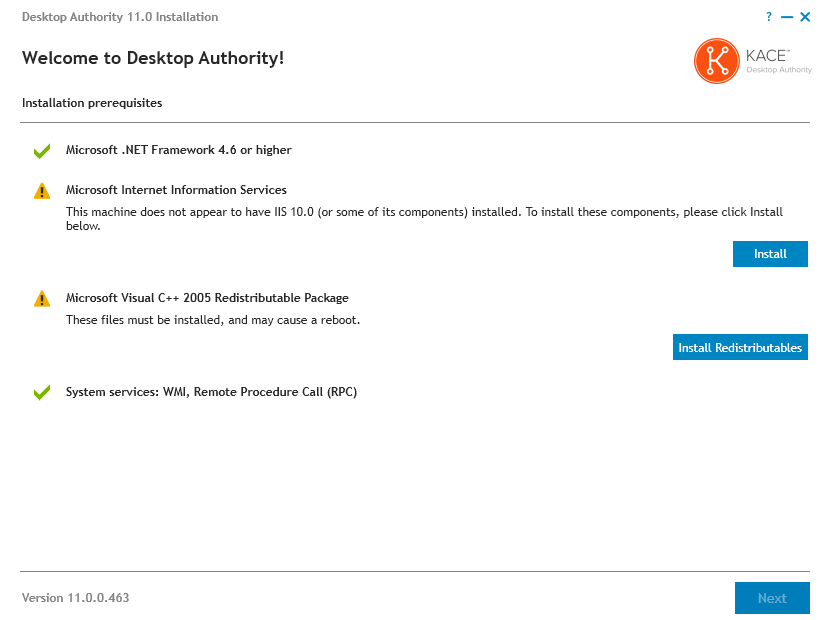
- The setup will then offer to install additional components
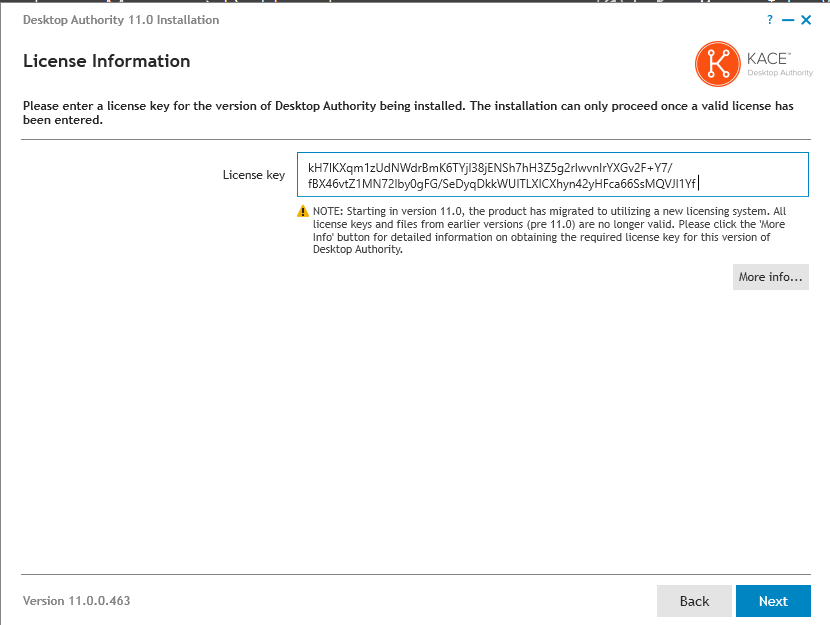
- Enter your serial number
- Install or provide information for the SQL express database
- Provide paths for the SQL database and “Desktop Authority” installation
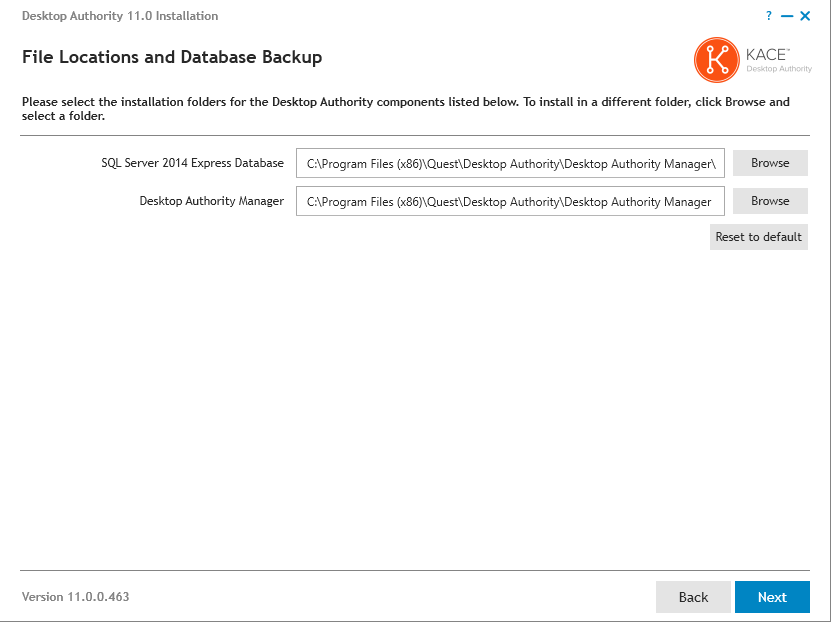
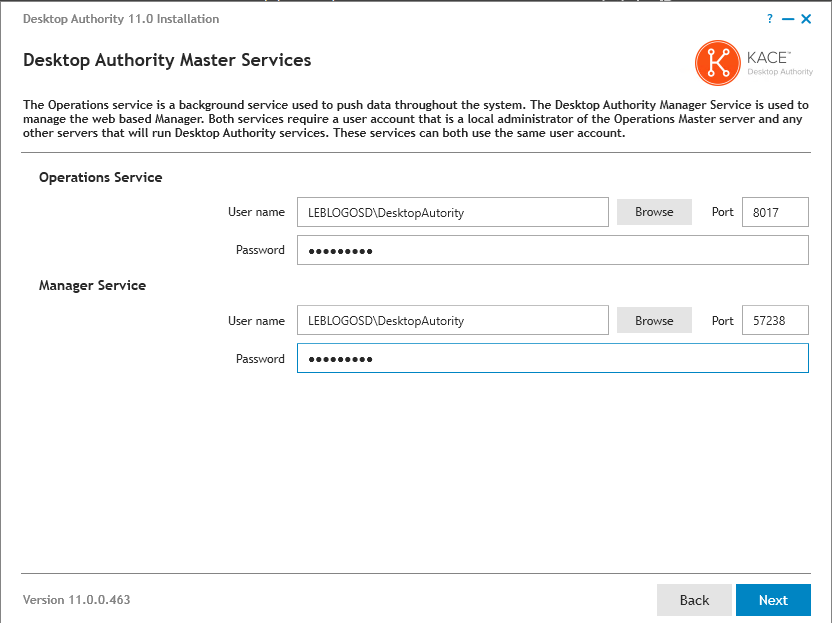
- Provide the accounts (or account) for the services
- The default ports for these services are 8017 and 57238.
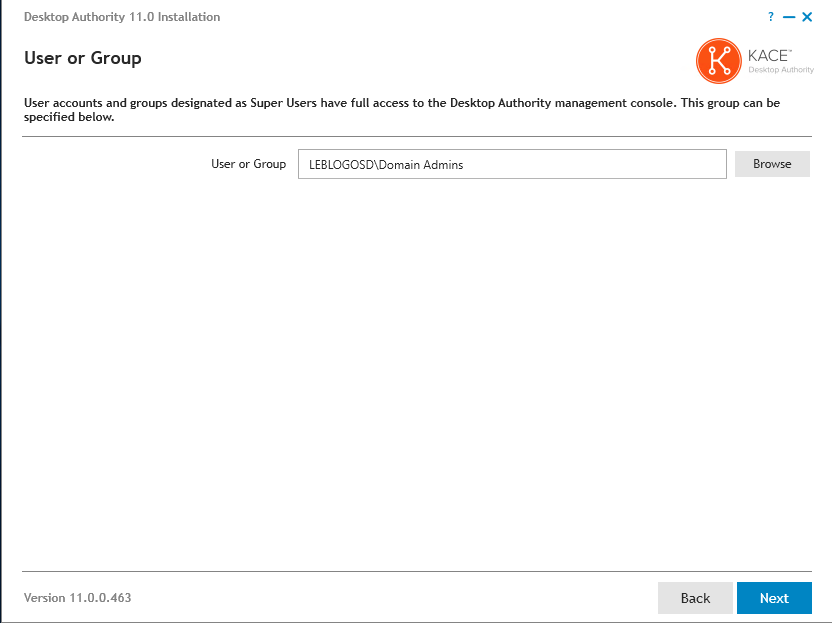
- Specify the administrator group for the solution (the account performing the installation will also be an administrator)
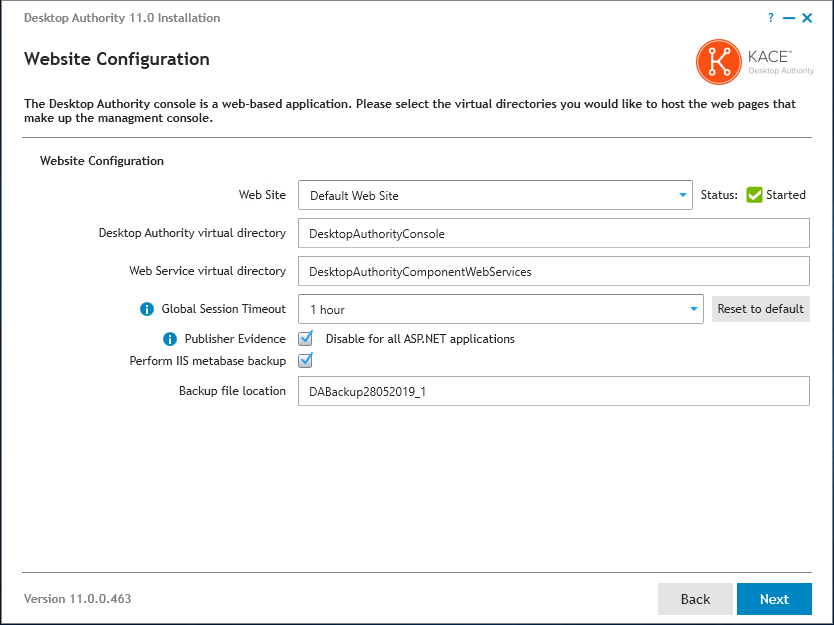
- Confirm the IIS configuration
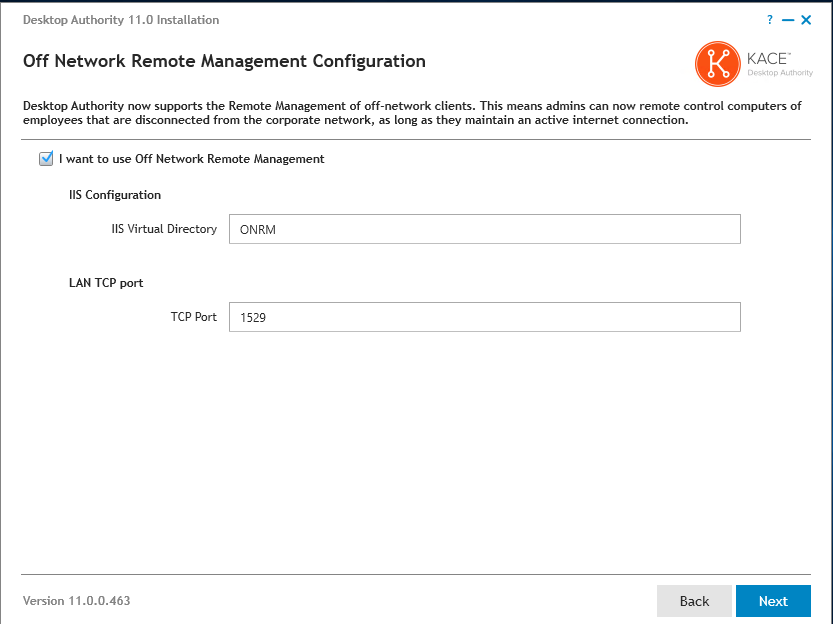
- To manage a client remotely off-network, configure the feature during installation.
- Enable the feature by selecting “I want to use Off Network Remote.”
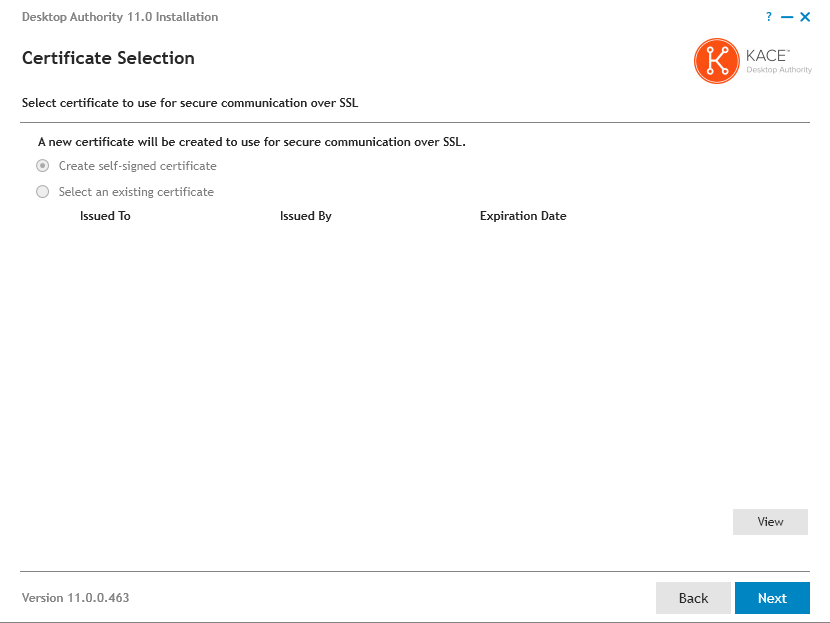
- Select a self-signed certificate, or your certificates
- Start the installation
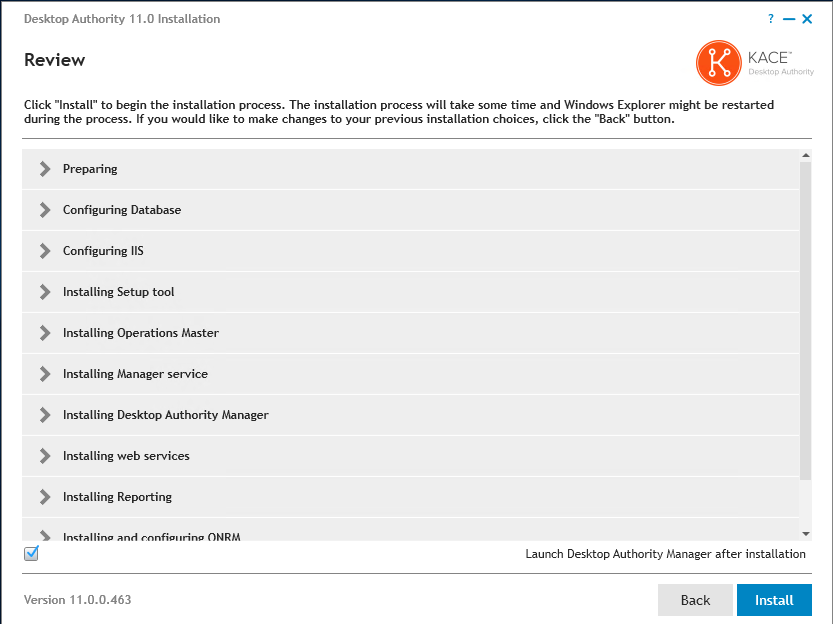
- The installation takes between 15 and 30 minutes