Deploy – Application Deployment Guide with Ivanti EPM
Deploy Application Deployment – Step-by-step guide to Deploy – Application Deployment Guide with Ivanti EPM, including configuration, deployment, troubleshooting and practical
Useful external reference: Ivanti resources.
Deploy Application Deployment – Before starting, here are a few key points:
Useful external reference: Ivanti resources.
- HTTP or UNC paths
Deploy Application Deployment – I recommend using HTTP, preferably with a path that points to the core server.
Useful external reference: Ivanti resources.
Deploy Application Deployment – If you are using a CSA (gateway) for internet terminals, the terminals will not be able to communicate with any path other than the core server.
Useful external reference: Ivanti resources.
- Configuration of preferred servers
Deploy Application Deployment – If you have remote sites, the preferred servers must be correctly configured to avoid saturating the network.
Useful external reference: Ivanti resources.
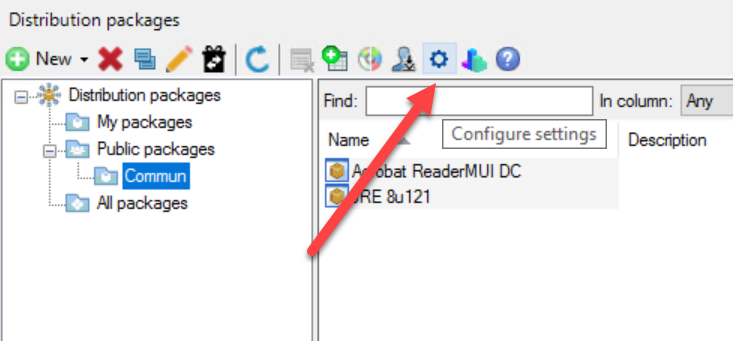
- Configuration of the default path
Deploy Application Deployment – You can configure the default package path using the gear-shaped button.
Useful external reference: Ivanti resources.
Package Creation
Silent Installation
Deploy Application Deployment – Start by finding the commands for silent installation.
Useful external reference: Ivanti resources.
Deploy Application Deployment – I often use batch scripts or PowerShell instead of direct installers (exe or MSI) within EPM. This allows me to:
Useful external reference: Ivanti resources.
- Display information in the console with SendTaskStatus.exe
- Test the installation manually before deploying via EPM
- Have a unified method of deployment with EPM
Deploy Application Deployment – In the following tutorial, I will use installation batch scripts.
Useful external reference: Ivanti resources.
New Package
- In the LANDESK console, launch the “Distribution Packages”
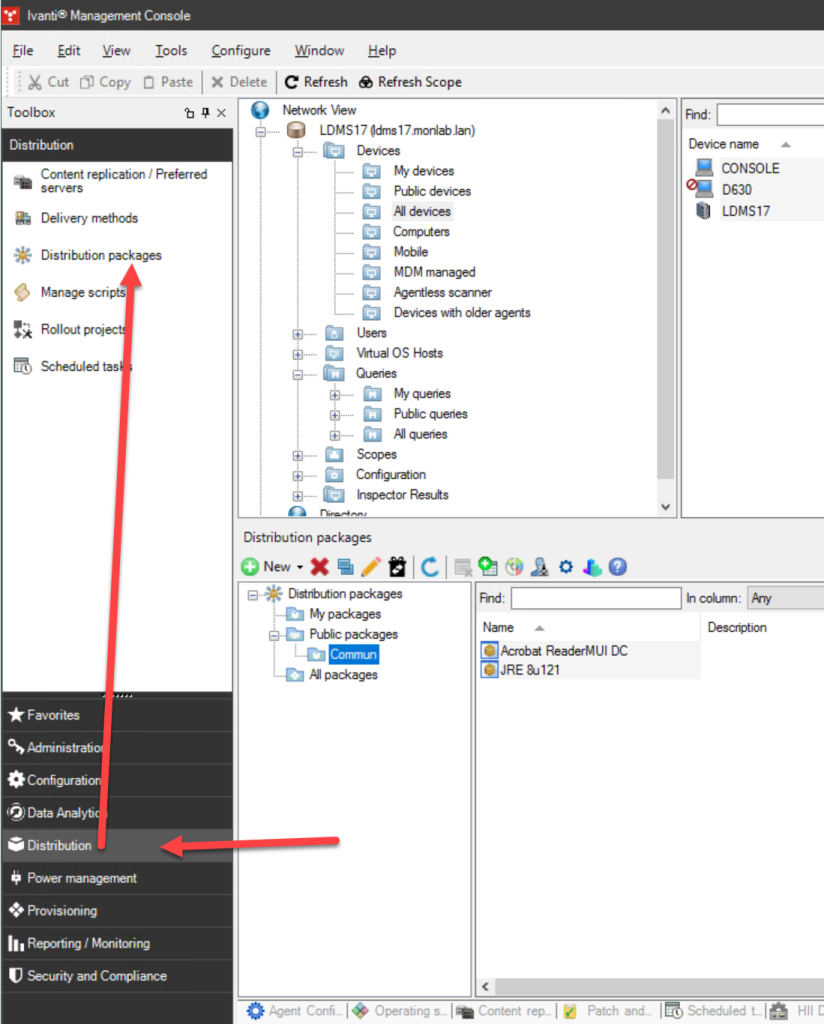
- Position yourself in a public folder preferably (avoid My Packages except for testing or pre-production)
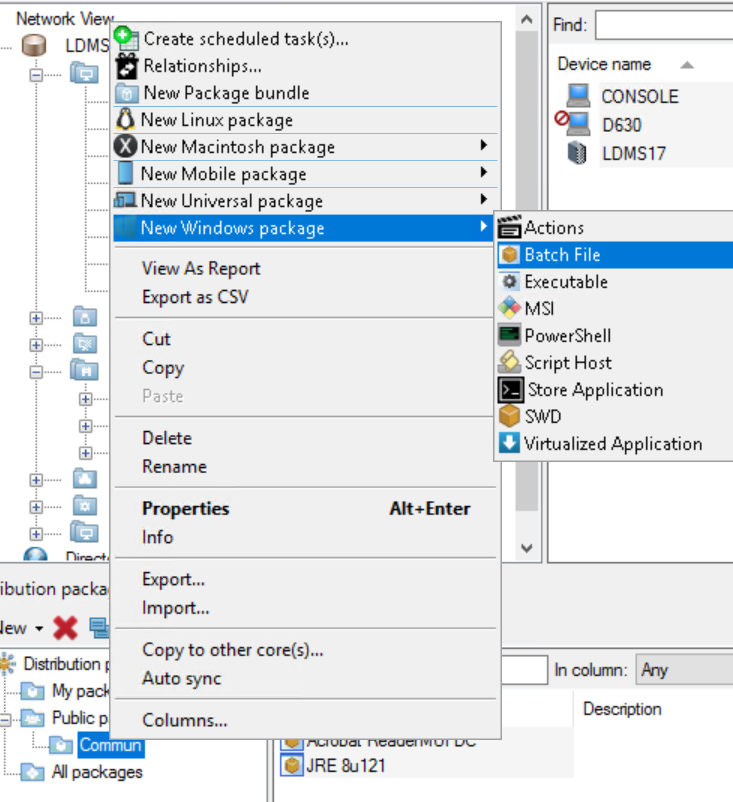
- Right-click on the folder and select “New Windows package” then choose the deployment type (in my case, it will be a batch)
- Specify the package name and the main file
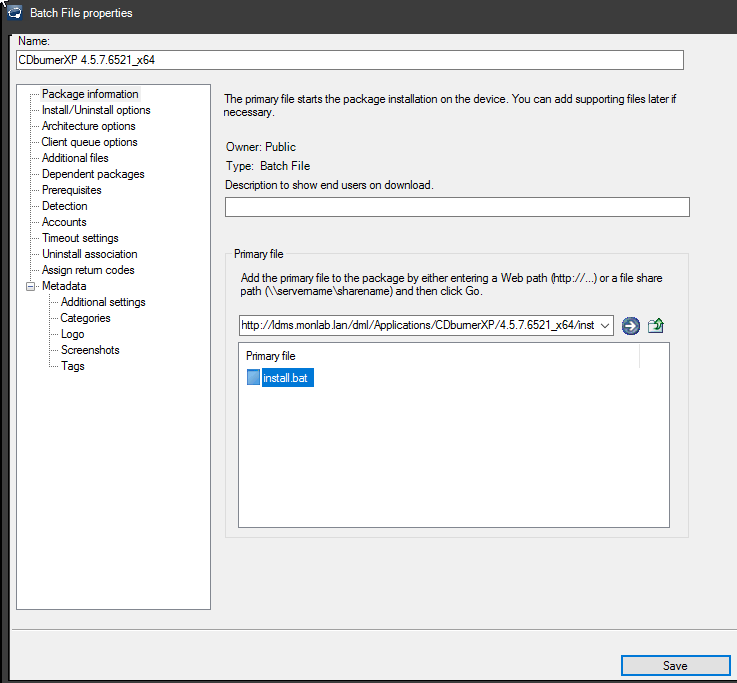
- Then add all the files necessary for the installation
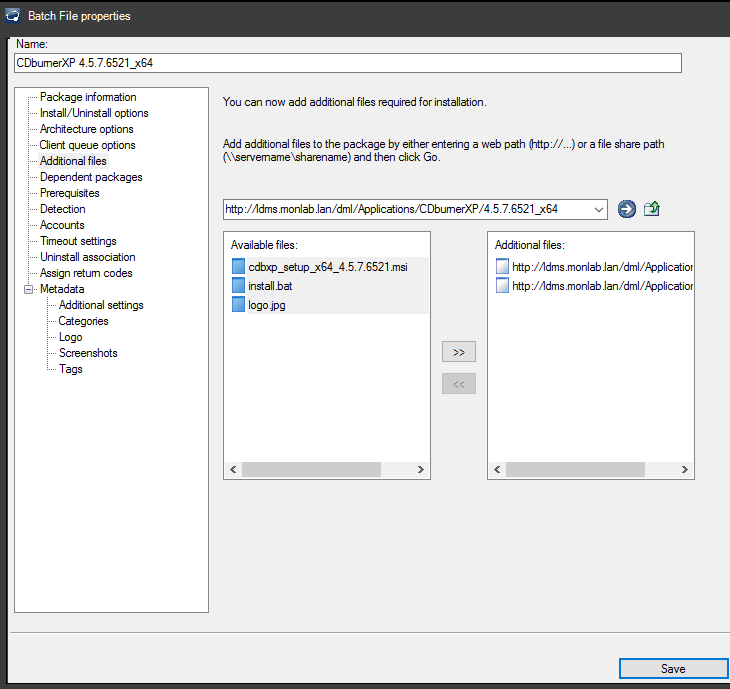
- You can add dependencies. for example, if your package needs a framework to install

- You can also add a detection method. this will prevent the package from being reinstalled

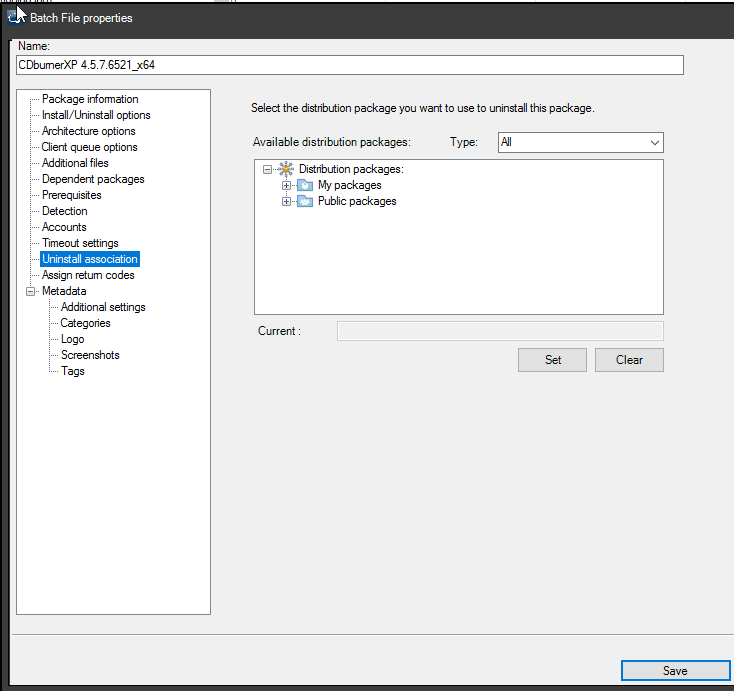
- Add an uninstall package.
Deploy Application Deployment – Be careful: This allows uninstalling this application according to the rules of the “Schedule”. For example
Useful external reference: Ivanti resources.
- If the schedule is based on an OU, when the terminal leaves the OU, the application will be uninstalled
- If the schedule is based on the presence of another version of the application, on day 1 the application will install and on day 2 the application will be uninstalled because the other version will no longer be present
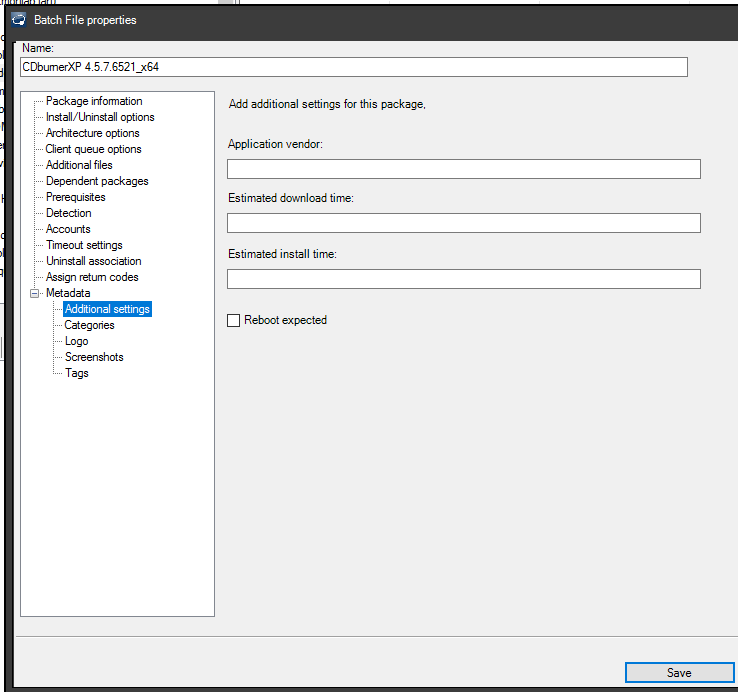
- Finally, the metadata which will be used for the display in the application portal.
Package Deployment
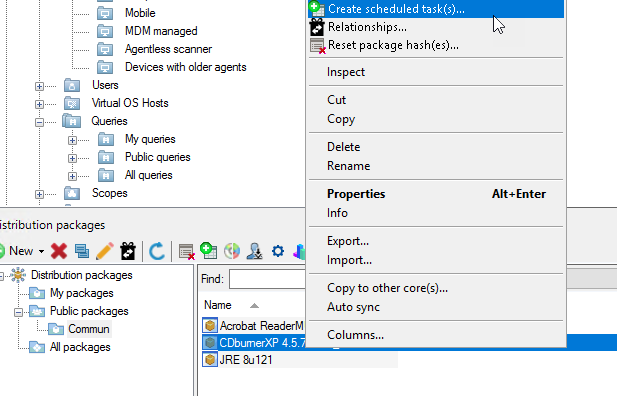
- Click on the package and select “create schedule package”
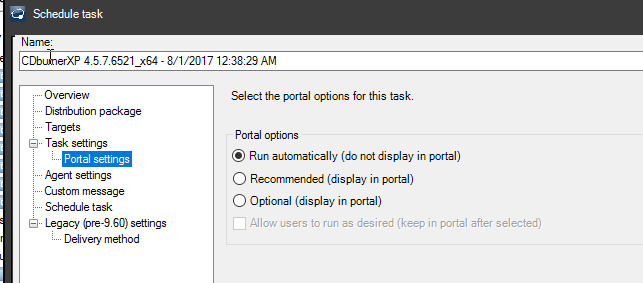
- In the deployment options
- Run automatically => Installation without user intervention
- Recommended => display in the workspace at the top
- Optional => display in the workspace a bit lower down
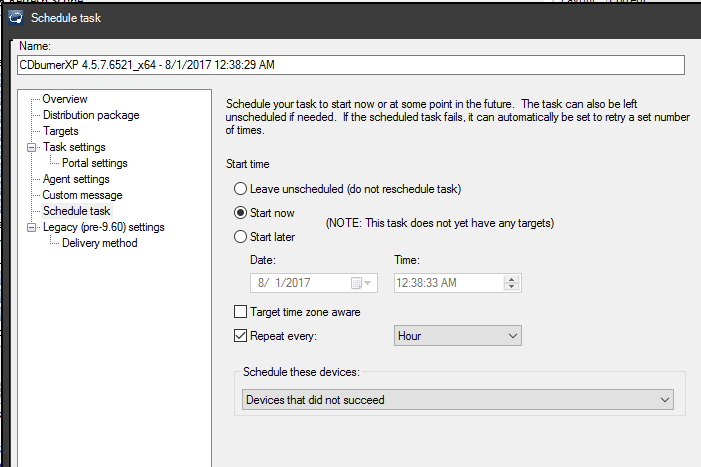
- In “schedule task”, you can schedule the task but also request that it be restarted for all terminals in error (or turned off) for example
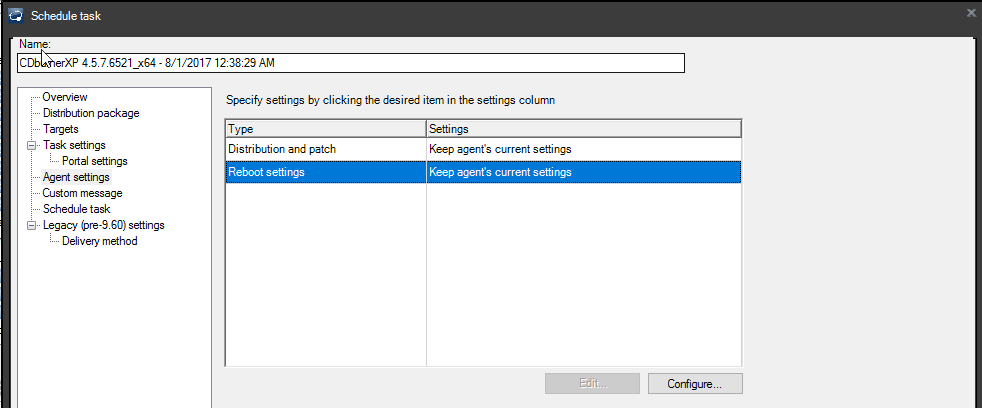
- In “Agent Setting”, you can ask to modify the agent’s settings, for example, to force a restart request to the user
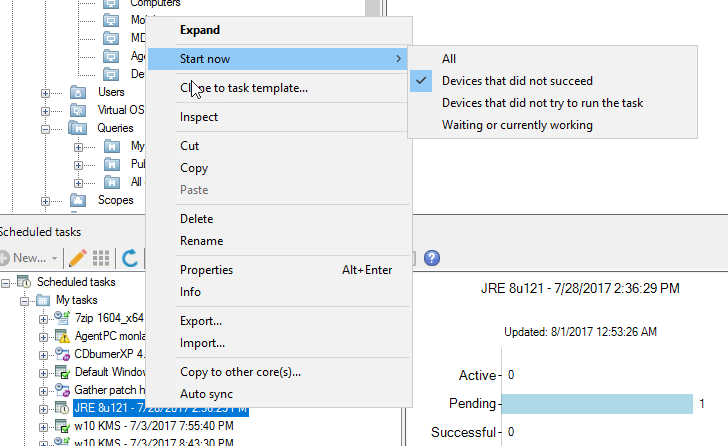
- You can add your query or your terminals to the task with a drag and drop
- You can “force” the start of the task with the “start now” option
- Here is an example of a workspace
