In this article, we dive into the process of deploying a system image based on Windows 7 with QUEST SDA, exploring each step in detail and providing tools and scripts to facilitate the work.
- Creating the reference machine
- Driver management
- Unattend file management
- Managing the machine name
Creating the Reference Machine
Manual Installation of the Machine
- I use a virtual machine to create the reference machines to avoid driver conflicts. In my case, I will use VMware Workstation, but you can use VMware Player or ESXi.
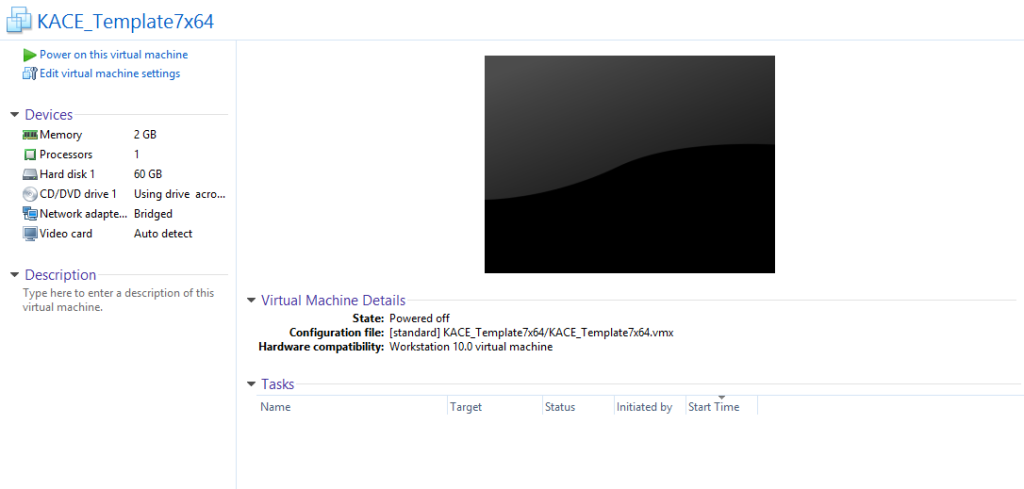
- ISO: I will use a Volume ISO: fr_windows_7_professional_with_sp1_vl_build_x64_dvd_u_677814.iso
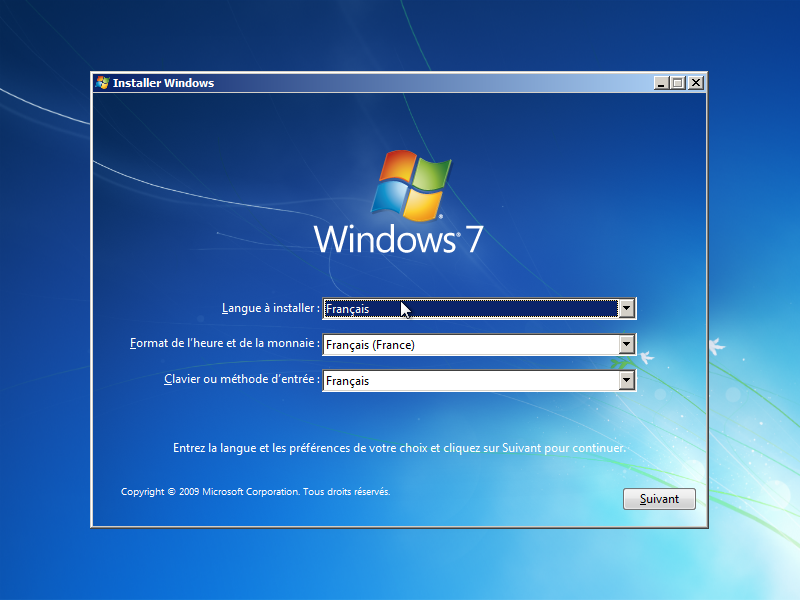
To perform the installation of Windows 7, I will create a single partition during the installation.
- On this screen, press Shift + F10
- Create a partition with the following commands
1 2 3 4 5 6 7 8 9 | diskpartselect disk 0cleancreate partition primaryselect partition 1activeassignFormat FS=NTFS QUICKexit |
- Install Windows on the partition
- When you reach this screen, use the following key combination: Ctrl + Shift + F3
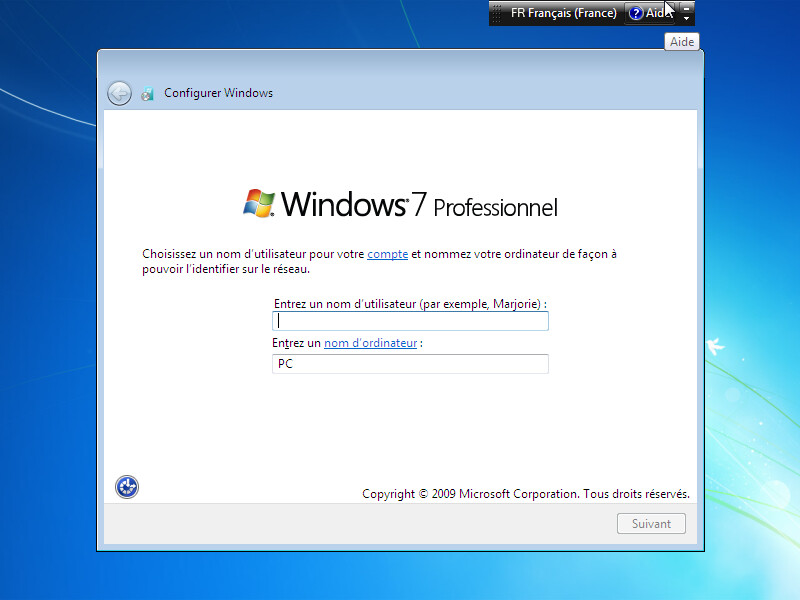
- You enter OOBE mode. The sysprep window will launch, you can close it for now (it reappears at each restart)
WINDOWS UPDATE
- Install the patch for Windows Update
Install KB KB3102810 (x86) or KB3102810 (x64)
- Disable automatic updates (this will prevent you from ending up with Internet Explorer 11).
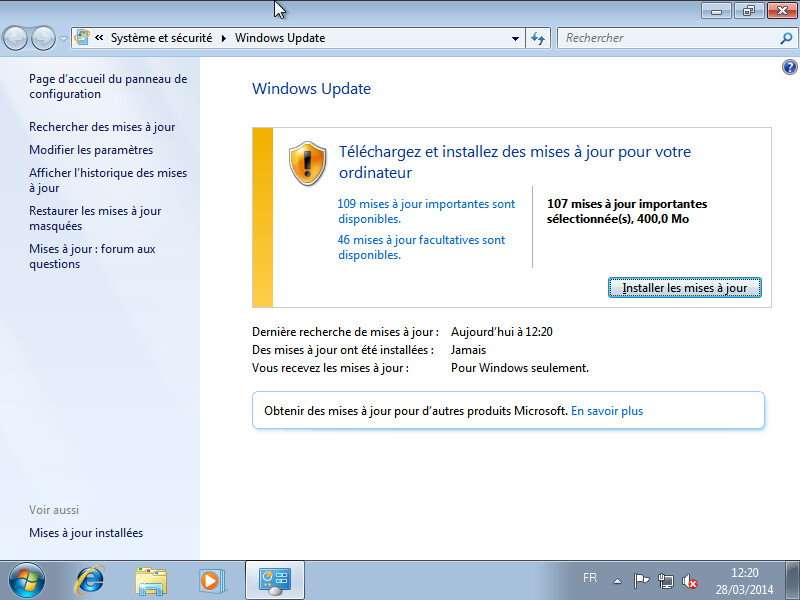
- Then perform Windows Update.
- Customize the installation (if necessary but not recommended)
Take a snapshot of the VM before performing the sysprep
Capturing the Machine
Before You Start
- Ensure that the machine can connect via PXE.
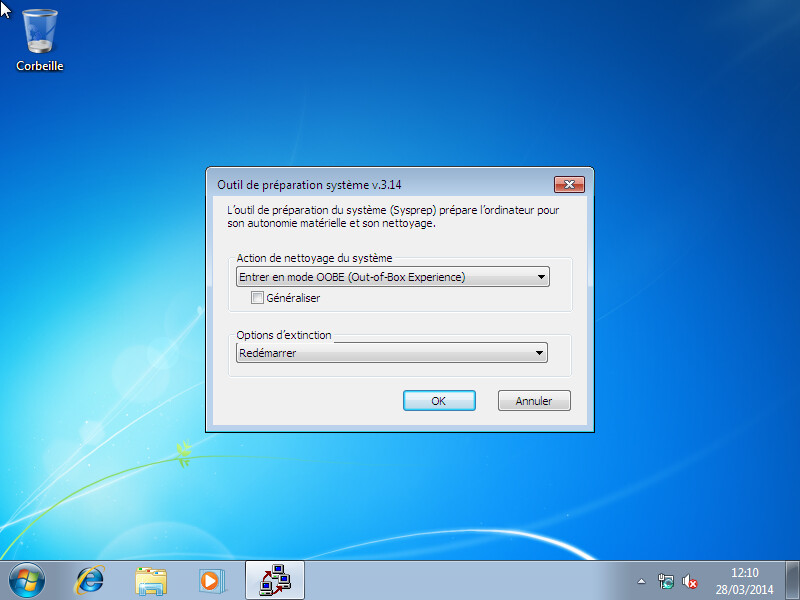
Sysprep
At the start of the machine, the sysprep tool is available (if not, launch c:\windows\system32\sysprep\sysprep.exe)
- Enable the following options:
- Generalize
- Shutdown the system
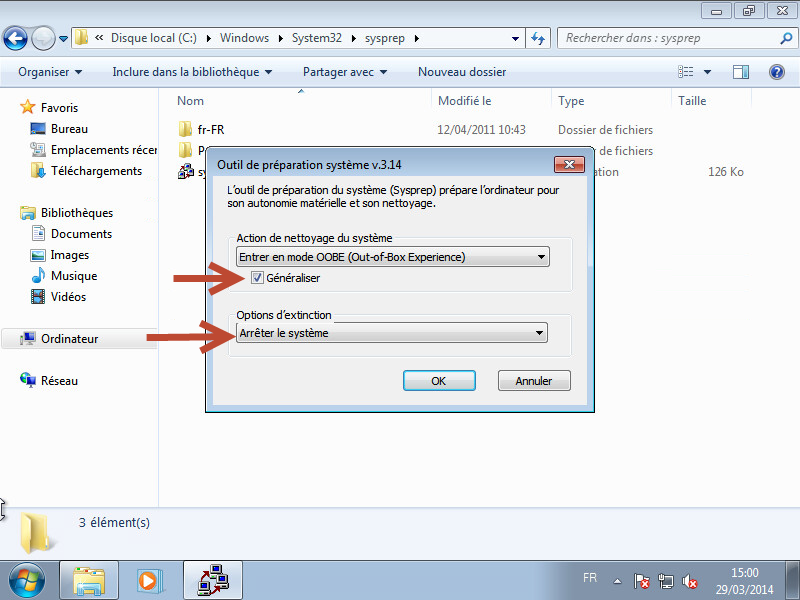
- Wait for the machine to shut down
Capturing the Machine
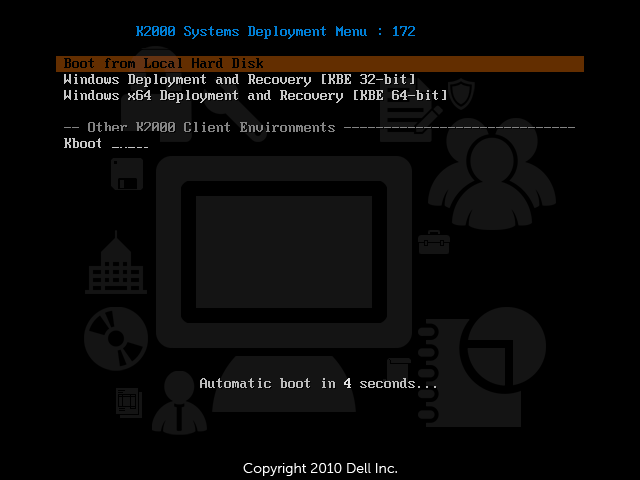
Connect via PXE. Note, you must launch:
- WinPE x86 to capture 32-bit OS
- WinPE x64 to capture 64-bit OS
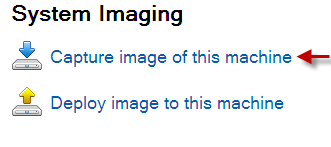
- Select “Imaging”
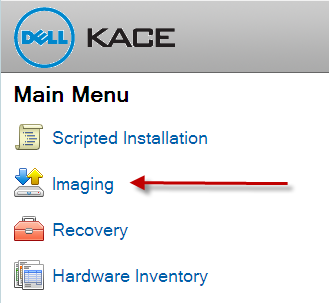
- Select “Capture image to this machine”
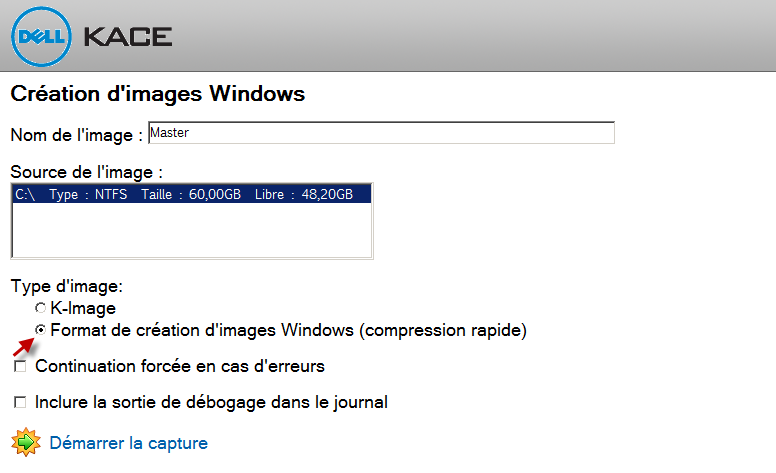
- Enter the image name and select the partitions to capture
Note: The Diskpart script that will be created later in KACE must match the existing partitions
- Then start the capture (the WIM format will be used)
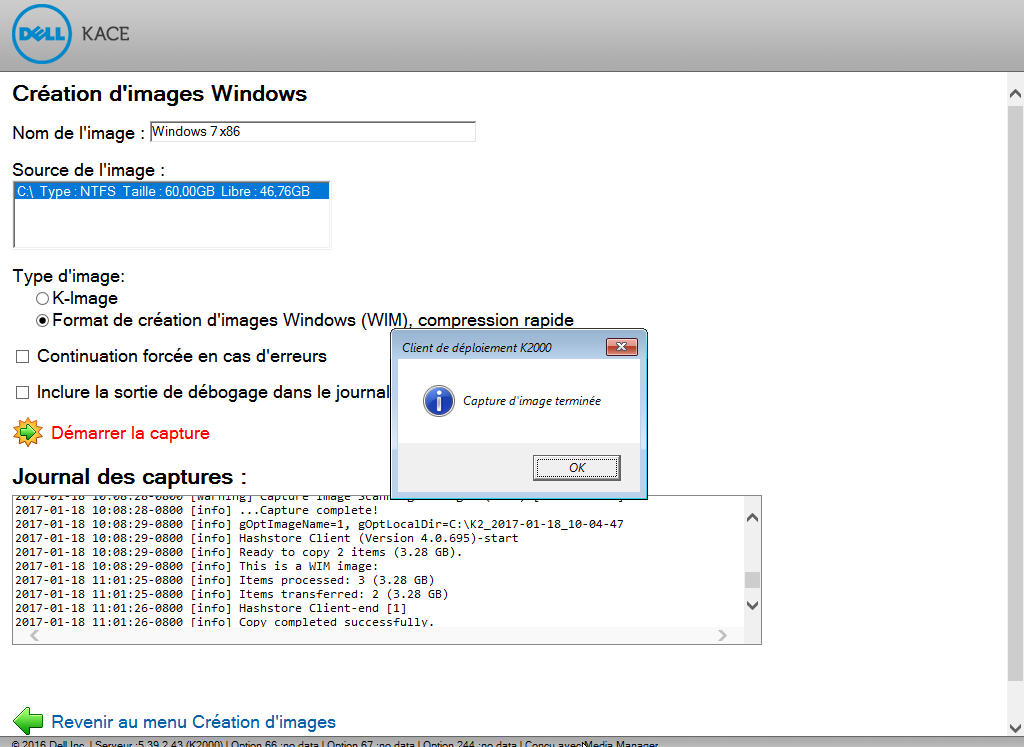
- A completion message will be displayed, you can then shut down the reference machine
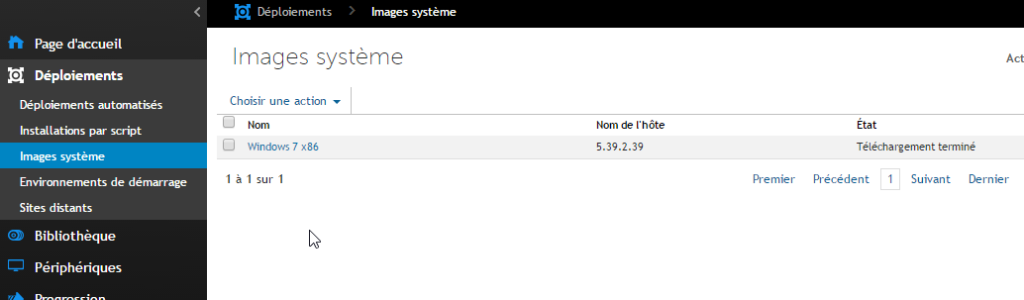
- The images will then be available in KACE
System Image
Pre-Installation Tasks: Diskpart
- The first step is to create a diskpart pre-installation task
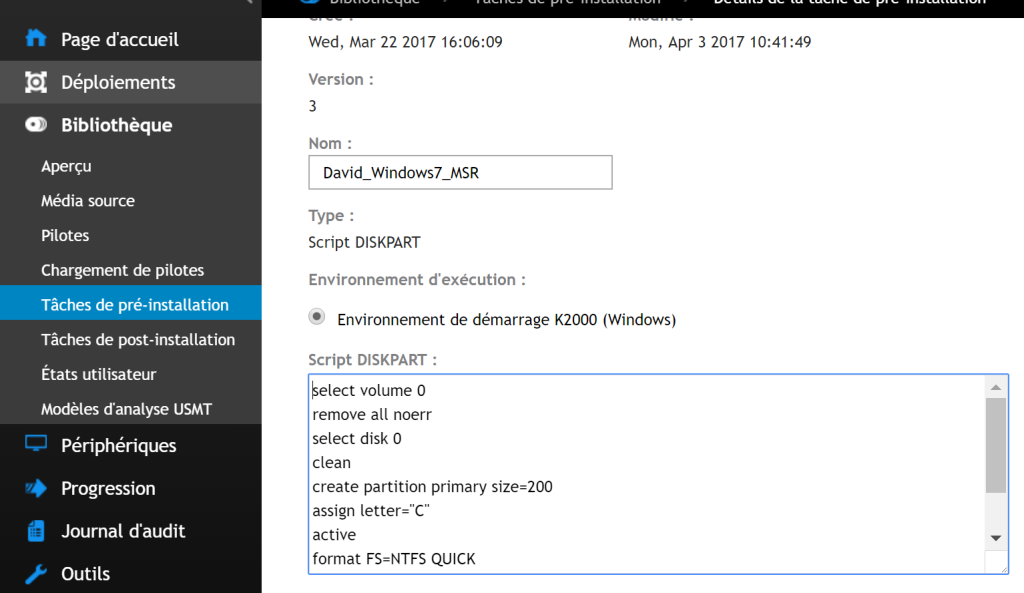
Here are the commands
1 2 3 4 5 6 7 8 9 10 11 | select volume 0remove all noerrselect disk 0cleancreate partition primary size=500assign letter="C"activeformat FS=NTFS QUICKcreate partition primaryassign letter="D"format FS=NTFS QUICK |
Copy
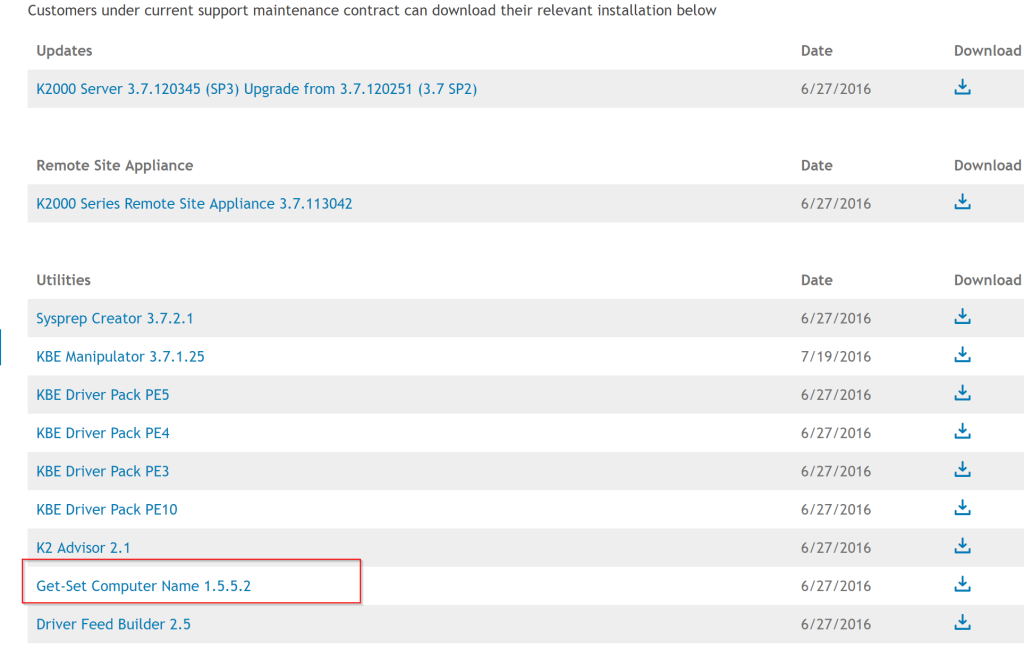
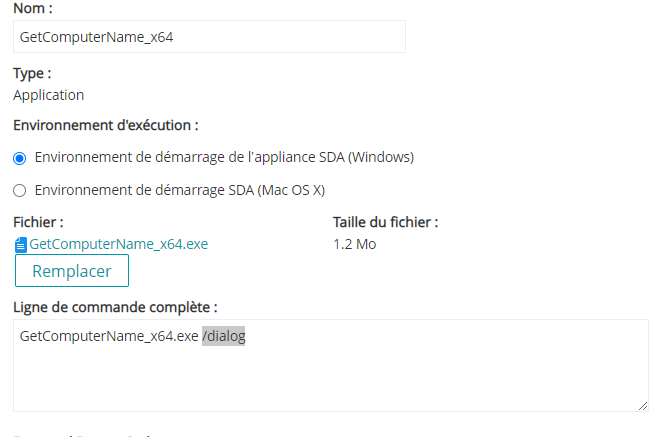
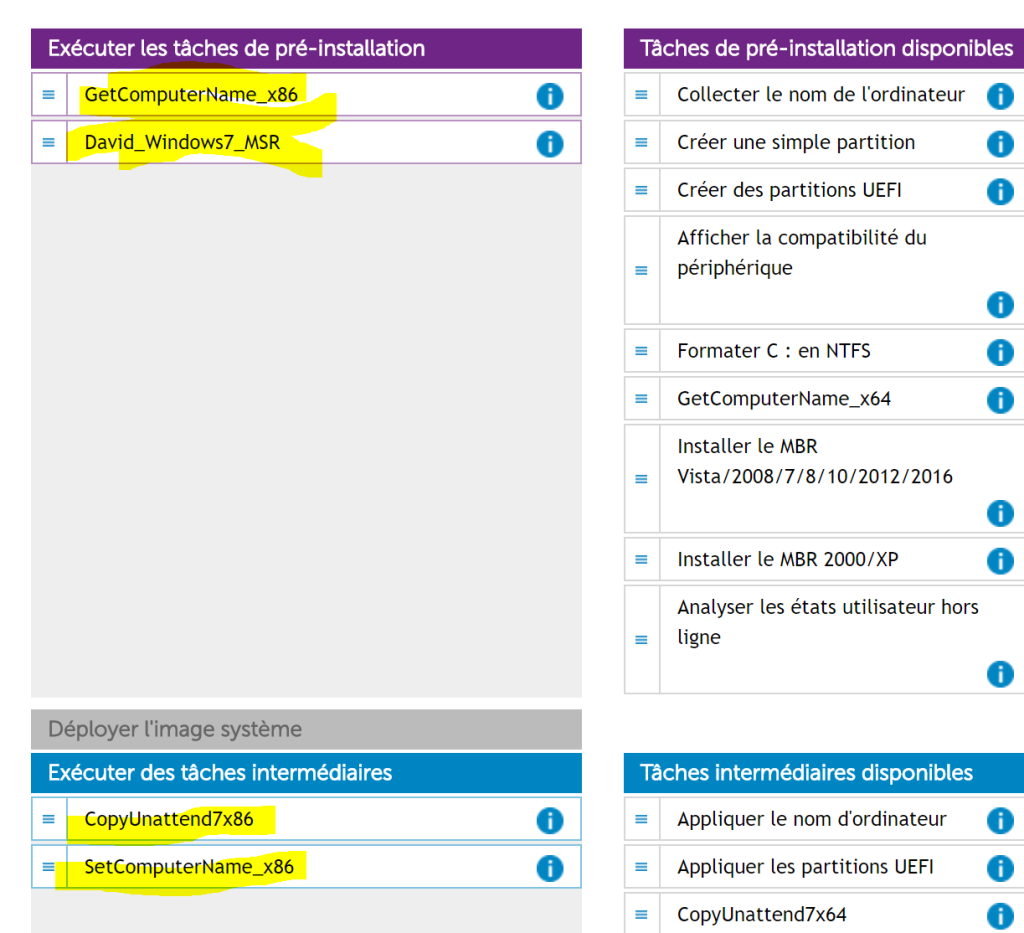
Pre-Installation Tasks: GetcomputerName
- Download the “Get-Set computer name” tool available at: SDA Download
- You can create a task:
- Associate the executable: GetComputerName_x64.exe
- Command line: GetComputerName_x64.exe /dialog
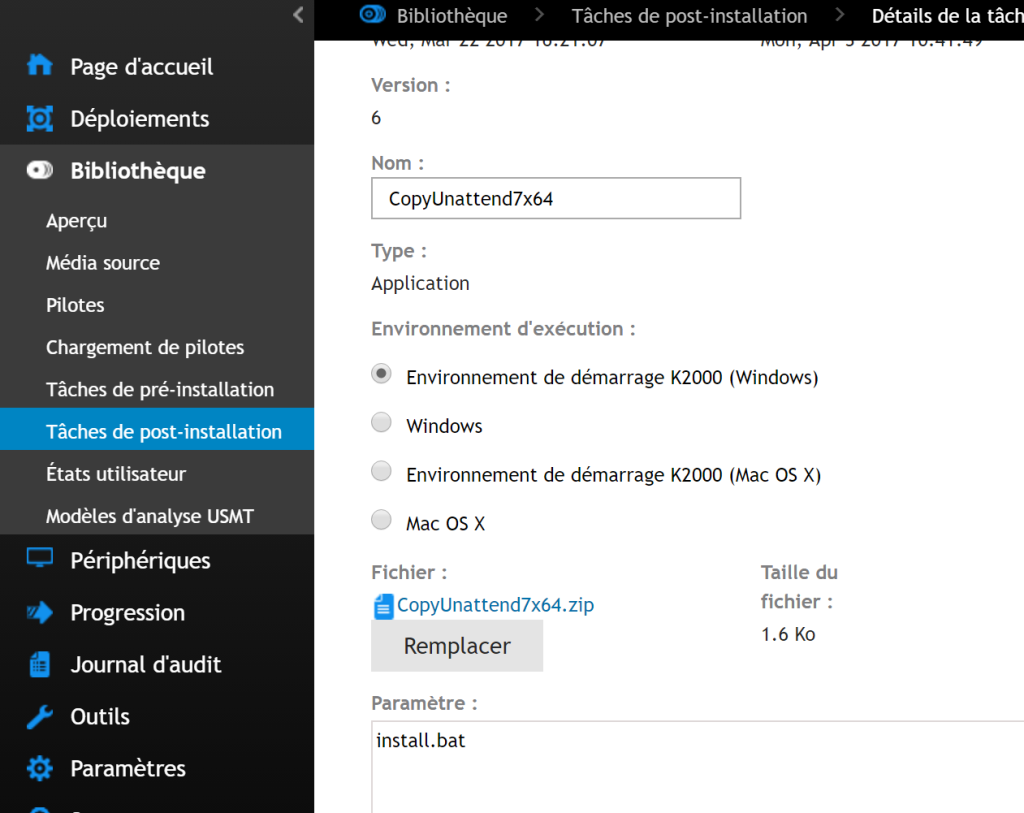
Mid-Level Tasks: Copy Unattend
You can choose to copy the unattend file before capturing the image, but I prefer to copy it during the deployment, which allows me to make adjustments if needed.
Reminder: for Windows 7 PRO, the file can be copied to c:\windows\system32\sysprep or c:\windows\panther, and for Windows Enterprise, the path will be c:\windows\panther.
- To do this, I create a task that allows me to copy the answer file (a simple copy).
- Here are some script examples (replace the domain name and passwords)
unattend 7×64 or unattend 7×86
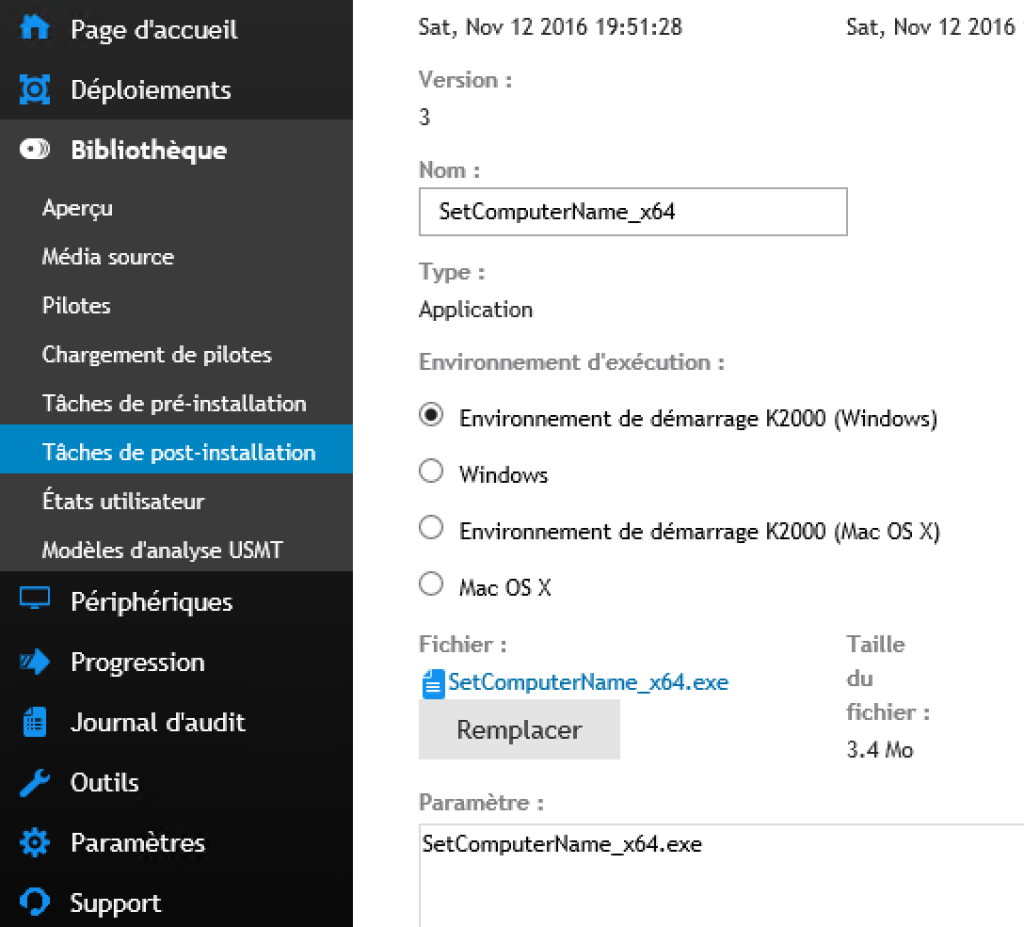
Mid-Level Tasks: SetComputerName
Download the “Get-Set computer name” tool available at: SDA Download
- You can create a task:
- Associate the executable: SetComputerName_x64.exe
- Command line: SetComputerName_x64.exe
System Image
Modification
You will need to add the tasks in the system image for:
- Entering the machine name
- Diskpart
- The unattend file
You can also add tasks for:
- Installing the SMA agent
- Installing applications
Example to Download
If you want a ready-to-use example, go to download
- Unzip the 7z file
- Copy it to \\k2000\restore
- Then import the package
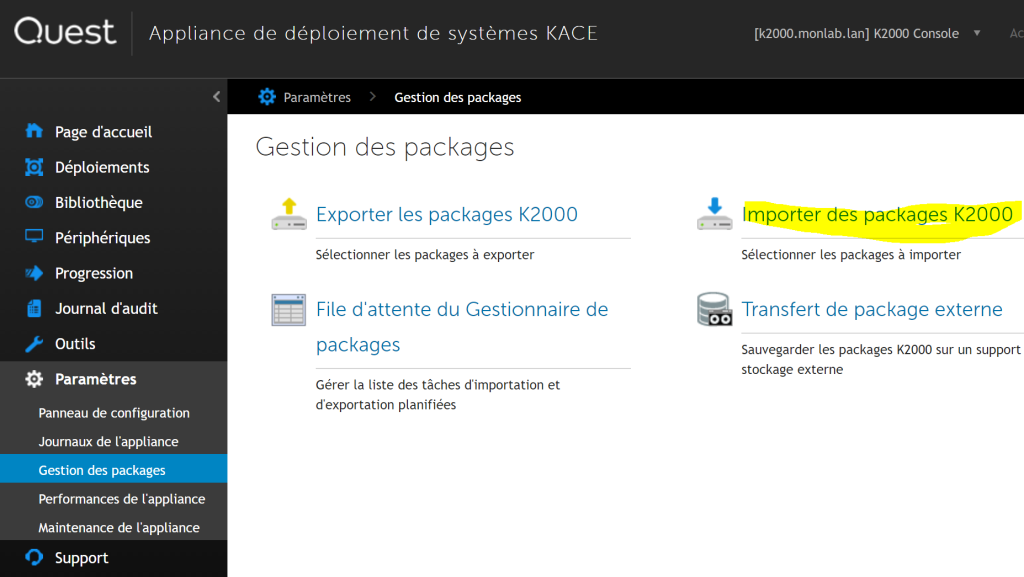
The package includes the previous steps. However, you will still need to modify the unattend file to change the domain name and passwords.
0 Comments