Creating a PC with VMware for SMA and SDA
Constraints considered in this tutorial:
- No ESX server at the remote site
- Need for an SMA and SDA relay at the remote site
- No need to purchase additional Microsoft licenses
- No available Hyper-V relay
Overview
The goal of this tutorial is to use a PC or equivalent as a relay for SMA and SDA while reducing costs.
Reminder:
- SMA requires an agent on a workstation and a network share (not necessarily on the same server)
- SDA requires a VMware VM
We will use a free version of ESX on a PC with 8GB of RAM and 2TB of hard drive, a dual core is sufficient
- A VM with the VMware Appliance for the SDA relay
500GB of disk space for SDA and 2GB of RAM
Note: Since version 4, 1TB is required
- An Ubuntu VM (the agent is available for this version) where the KACE agent and Samba for UNC share will be installed
500GB or 1TB of disk space for SMA and 2GB of RAM
Installing ESXi
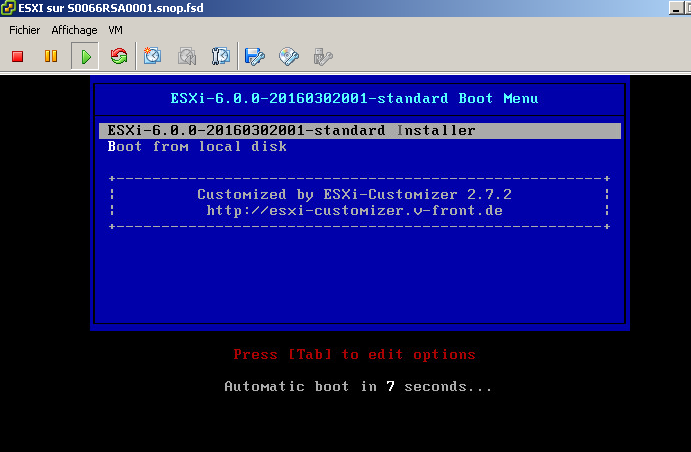
- Insert the installation CD into the drive and boot from it.
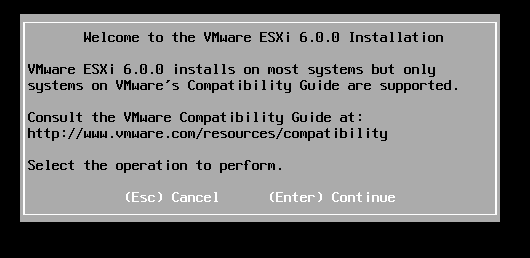
- Press Enter
- Press Enter.
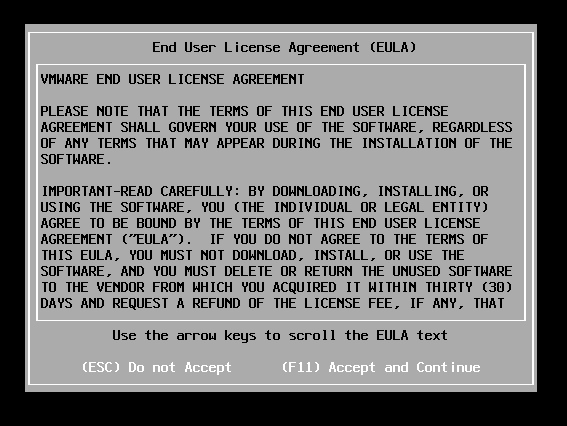
- Press F11.
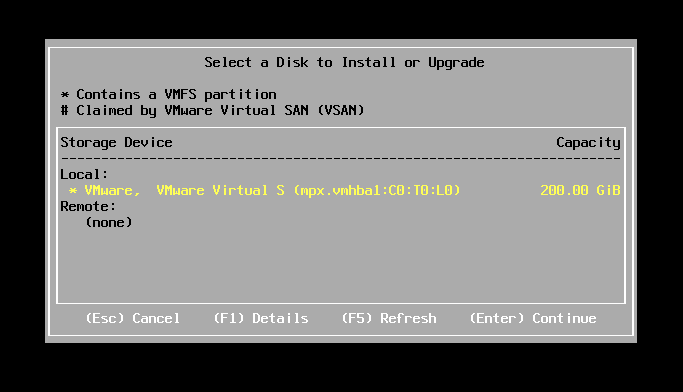
- Press Enter.
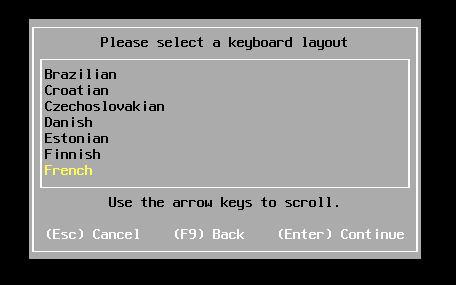
- Select French and press Enter.
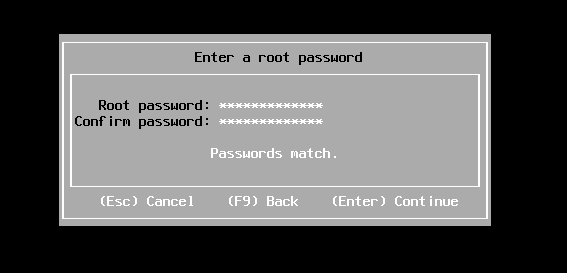
- Enter the root password and press Enter.
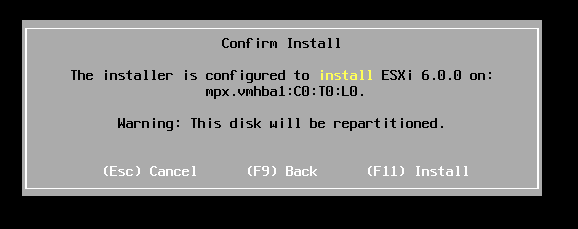
- Press F11.
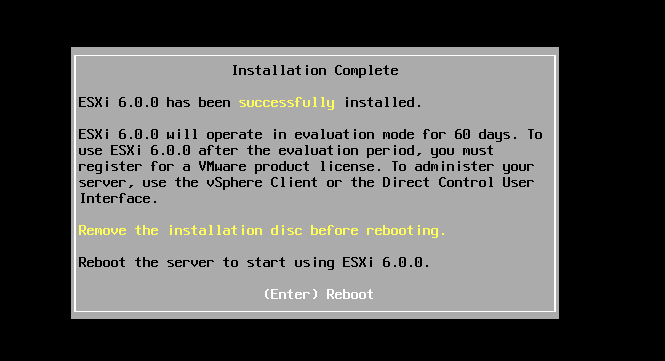
- Press Enter.
- Log in to the PC
- On this page
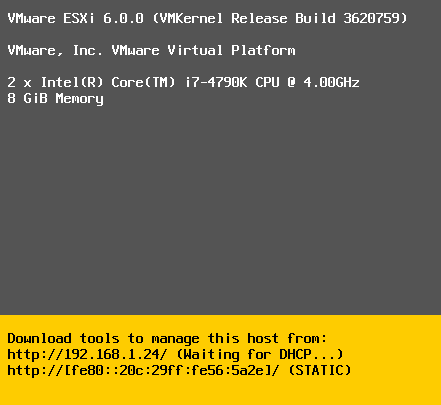
- Press F2.

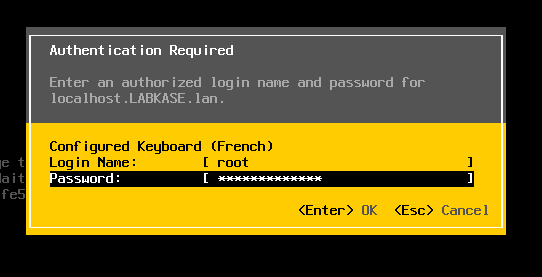
- Enter the credentials defined during the installation and press Enter.
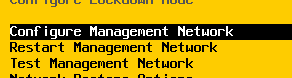
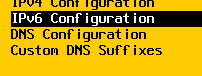
- Select Configure Management Network and press Enter.
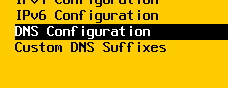
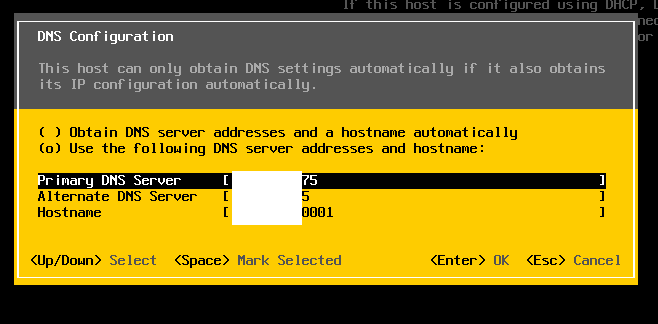
- Select DNS Configuration and press Enter.
- Check “Use the following DNS Server…”, fill in “Hostname” with the ESXi name, and press Enter.
- To return to the previous menu, press Escape once.
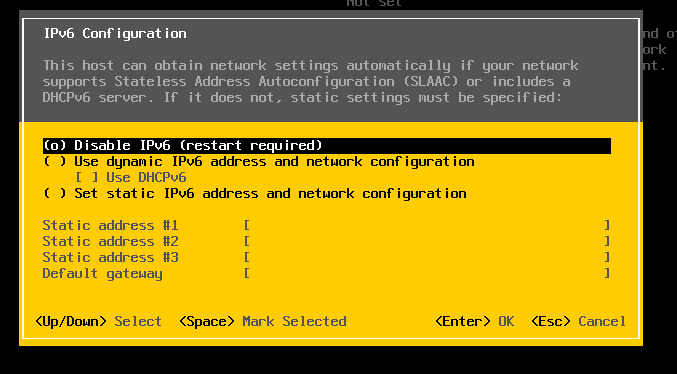
- Select IPv6 Configuration and press Enter.
- Select “Disable IPv6 (restart required)” and press Enter.
- To return to the main menu, press Escape twice.
- Press Y.
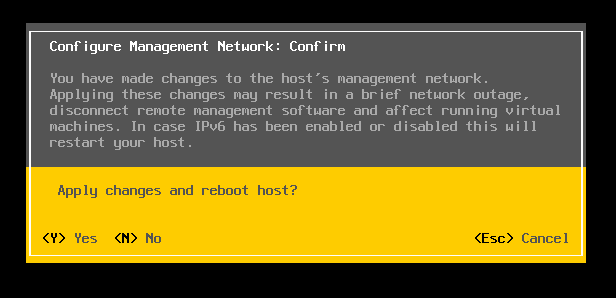
- ESXi restarts.
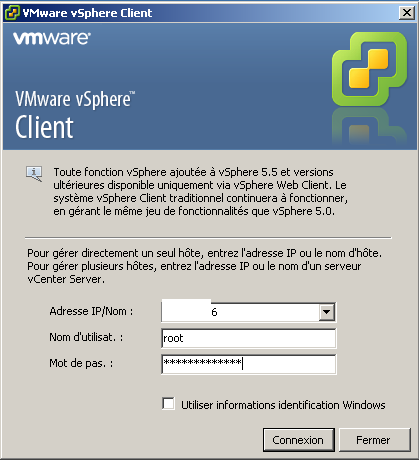
- Install vSphere client (see PACKAGE page)
- Once ESXi has restarted, enter the ESXi server’s IP address and the credentials, then click Connect.
- Go to Configuration, then Licensed Features.
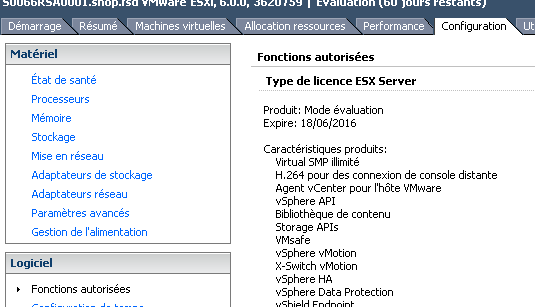
- Click Edit.
- Check “Assign a new license key to this host” then click “Enter key…”.
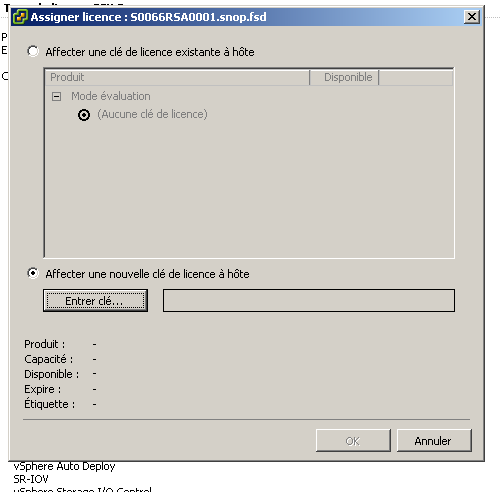
Note: You can get a “free” key from the VMware site
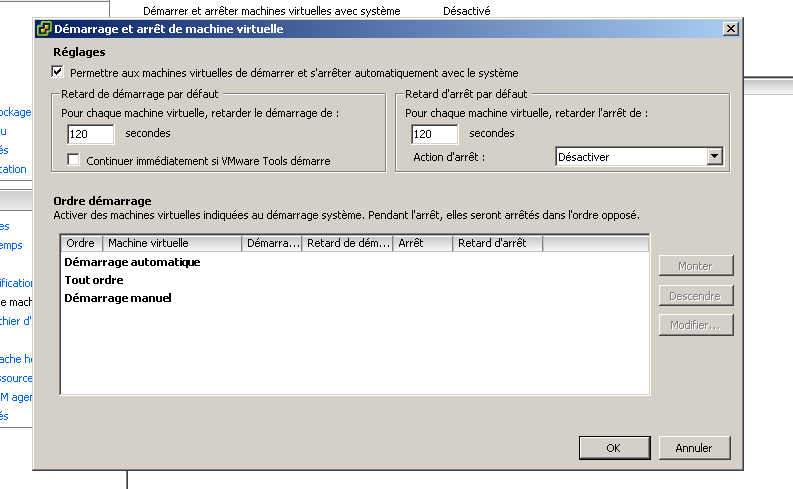
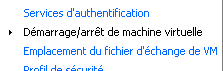
- Select Virtual Machine Startup/Shutdown.

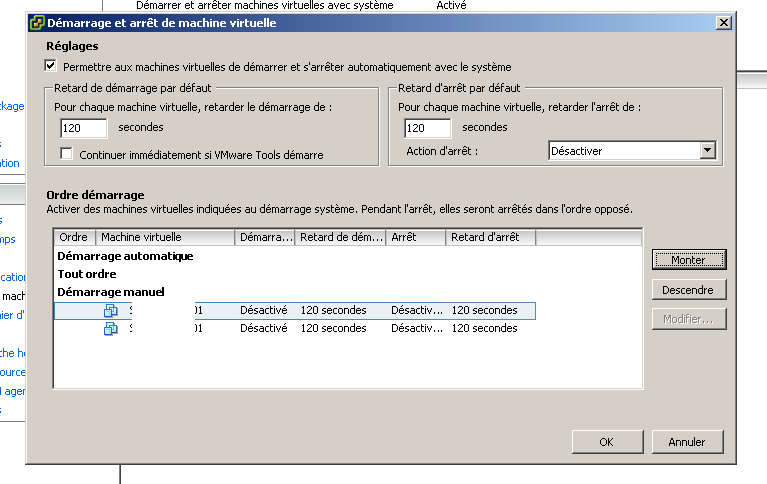
- Click Properties…
- Check “Allow virtual machines to start and stop automatically with the system” then click OK.
Installing the SMA Relay
Creating the VM
- From the vSphere client
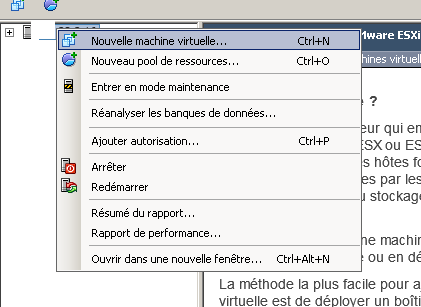
- Select the server and right-click, then click “New Virtual Machine”.
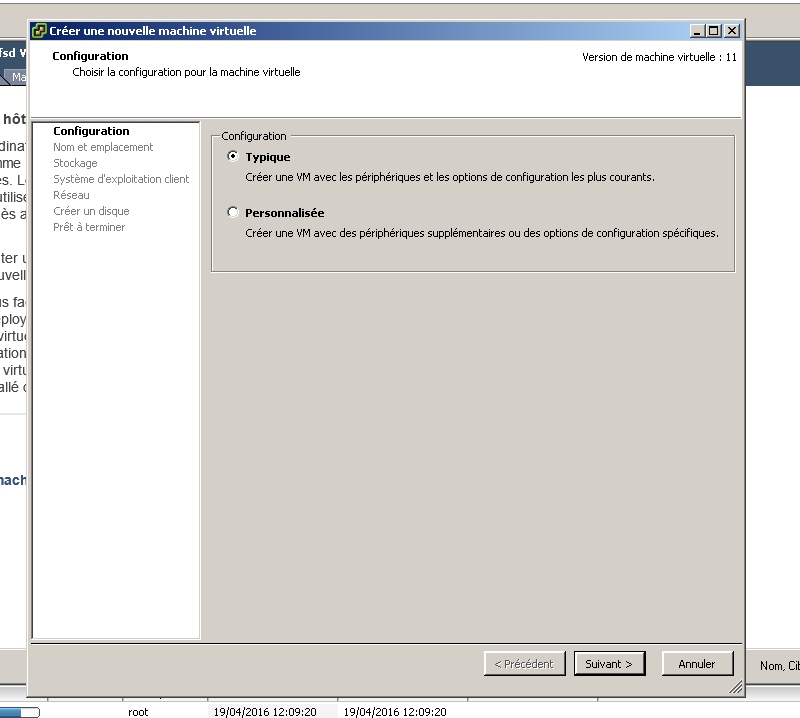
- Click Next.
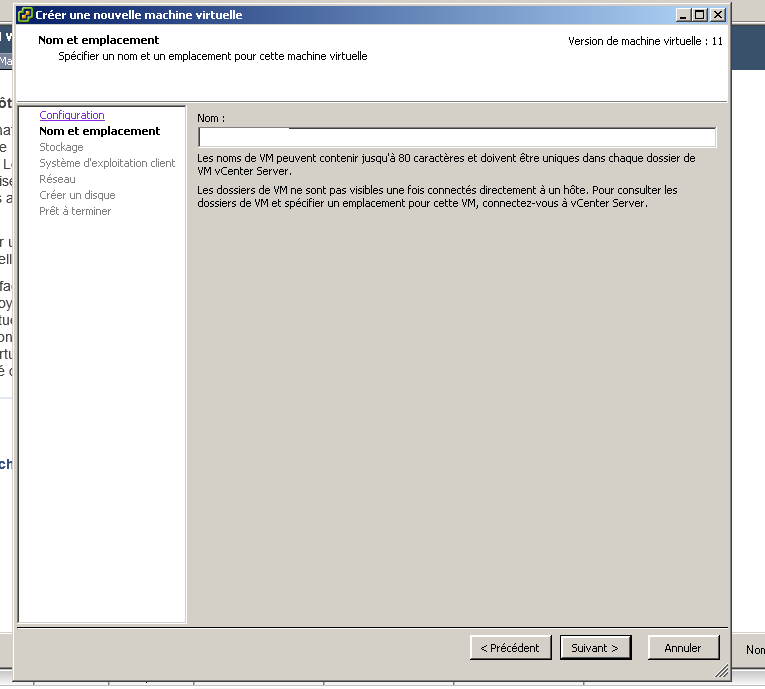
- Name the virtual machine and click Next.
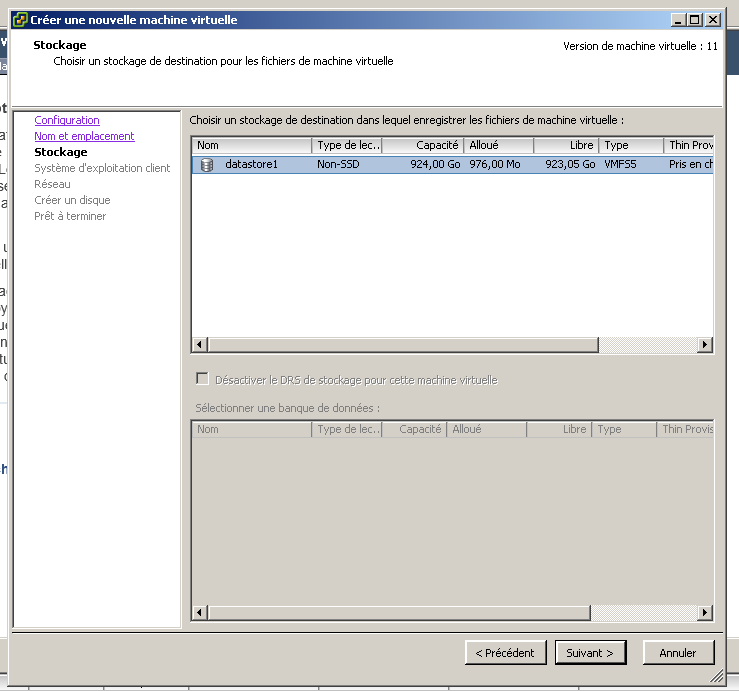
- Click Next.
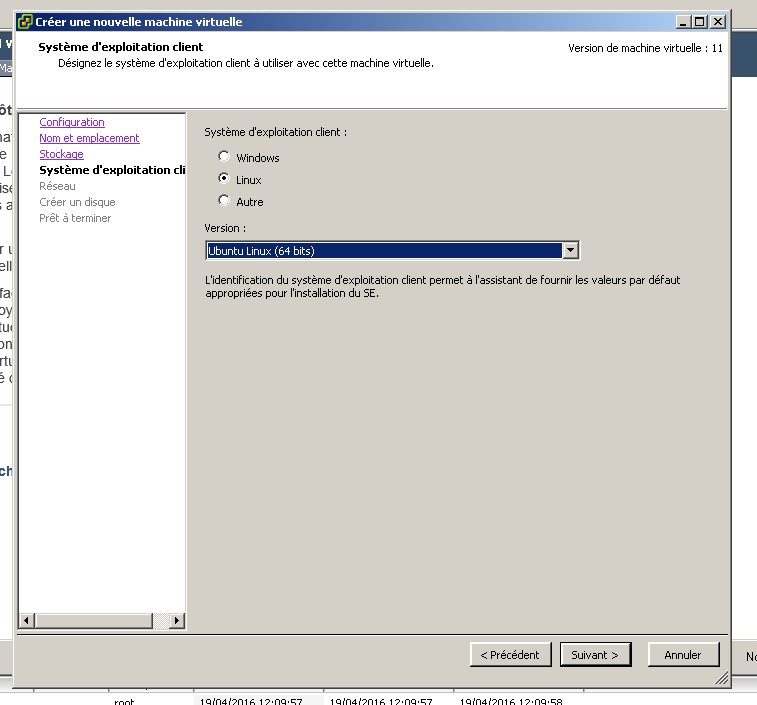
- Check Linux, select Ubuntu Linux (64-bit) and click Next.
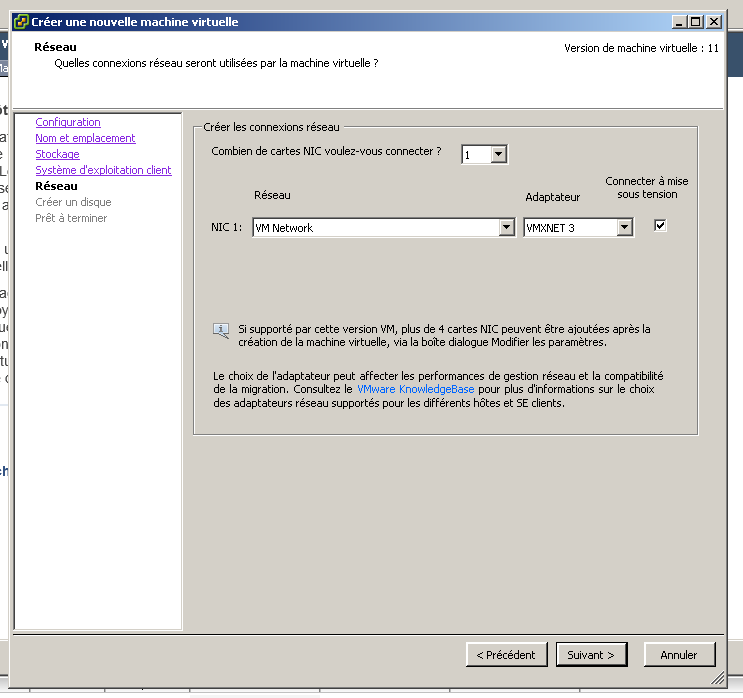
- Click Next.
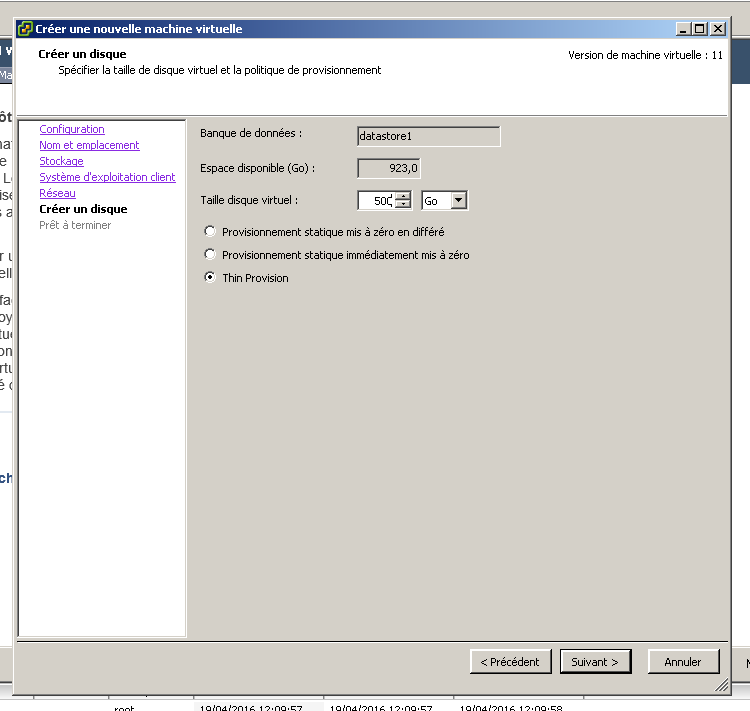
- Set the Virtual Disk size to “500”, check “Thin provision”, and click Next.
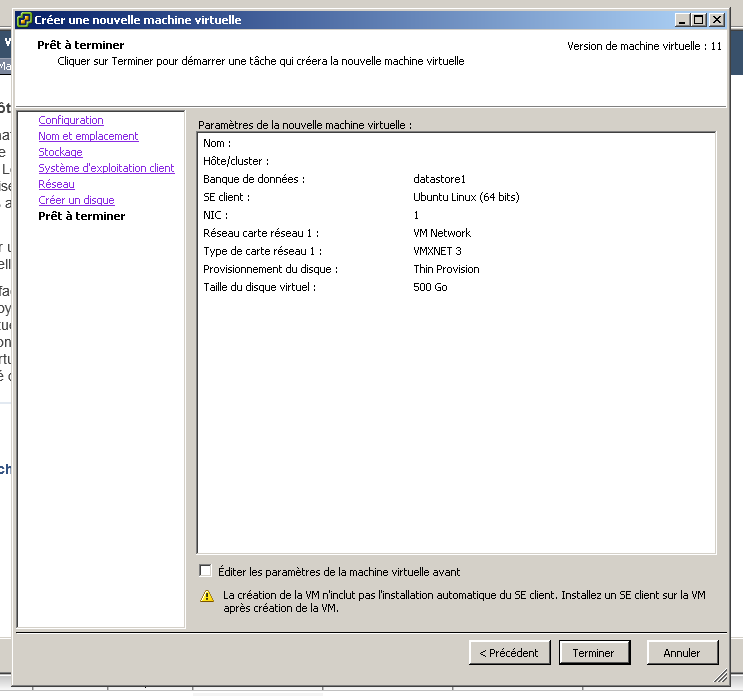
- Click Finish.
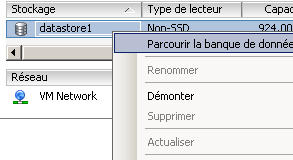
- Go to Summary. (On the virtual machine)
- On Datastore1, right-click, then click “Browse Datastore…”.
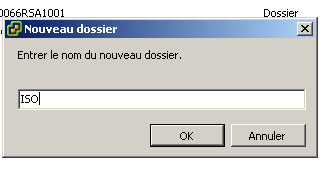
- At the root of the directory, click “Create a new folder”.
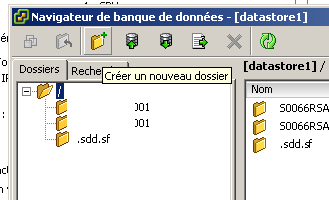
- Enter ISO and click OK.
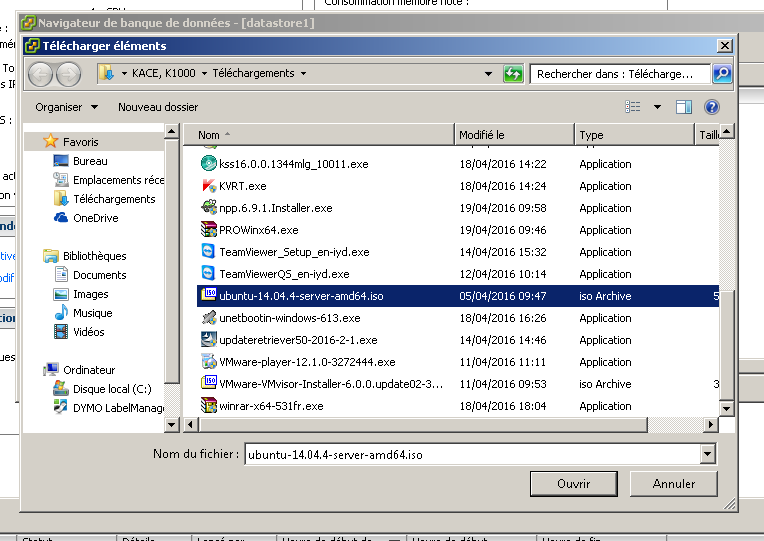
- Click “Upload a file…”.

- Select the Ubuntu installation ISO file and click OK.
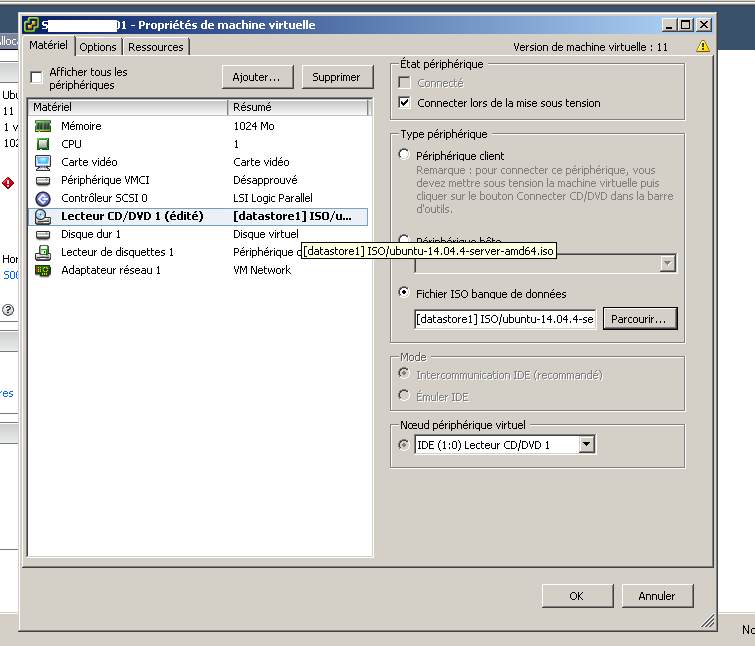
- Select CD/DVD Drive 1. Check Datastore ISO File and select the Ubuntu installation ISO from the ISO directory. Check “Connect at power on” and click OK.
- Click Power On.
- Click Open the virtual machine console.

- Then in Configuration, select Virtual Machine Startup/Shutdown.
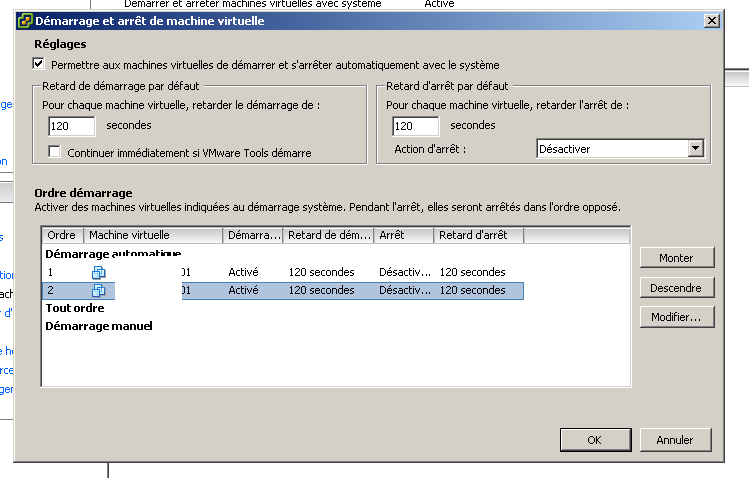
- Click the virtual machine several times to move it up to the “Automatic Startup” group.
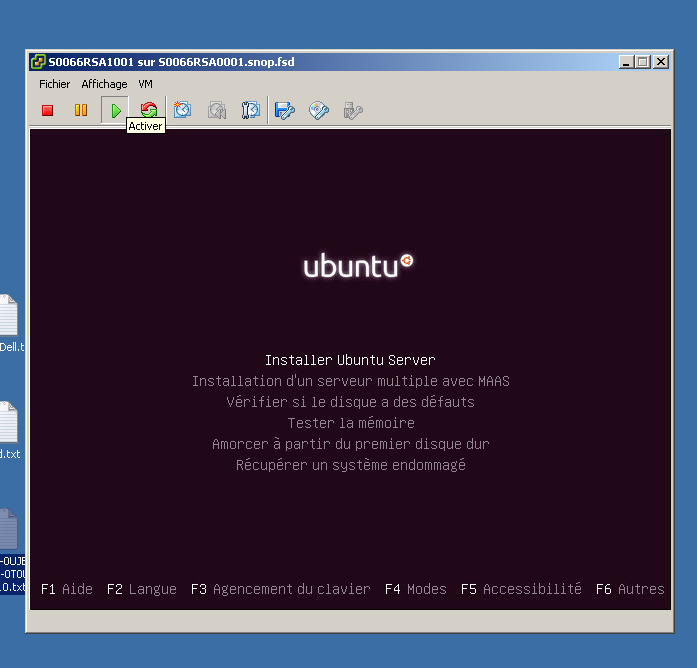
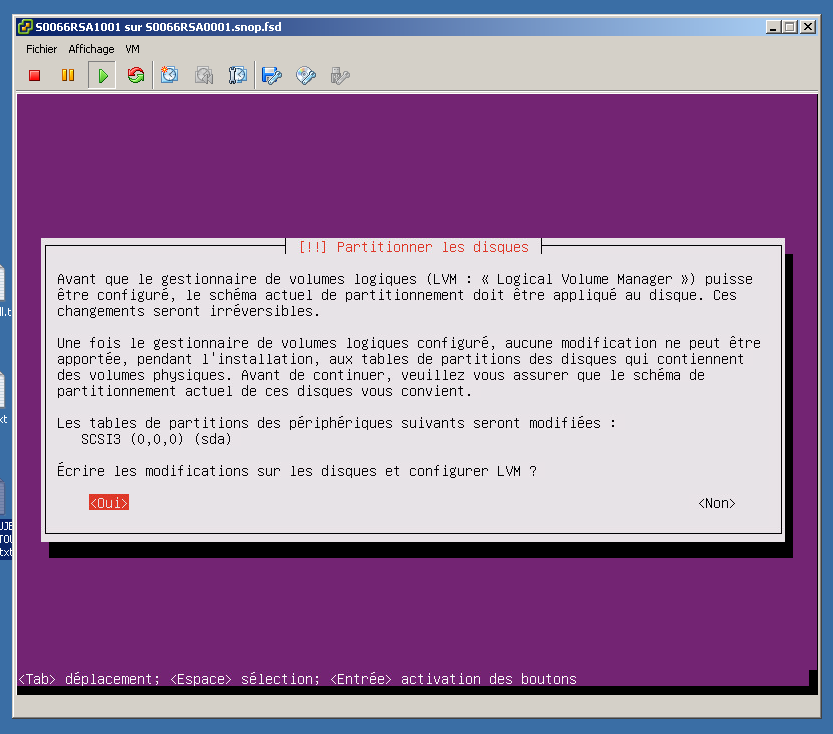
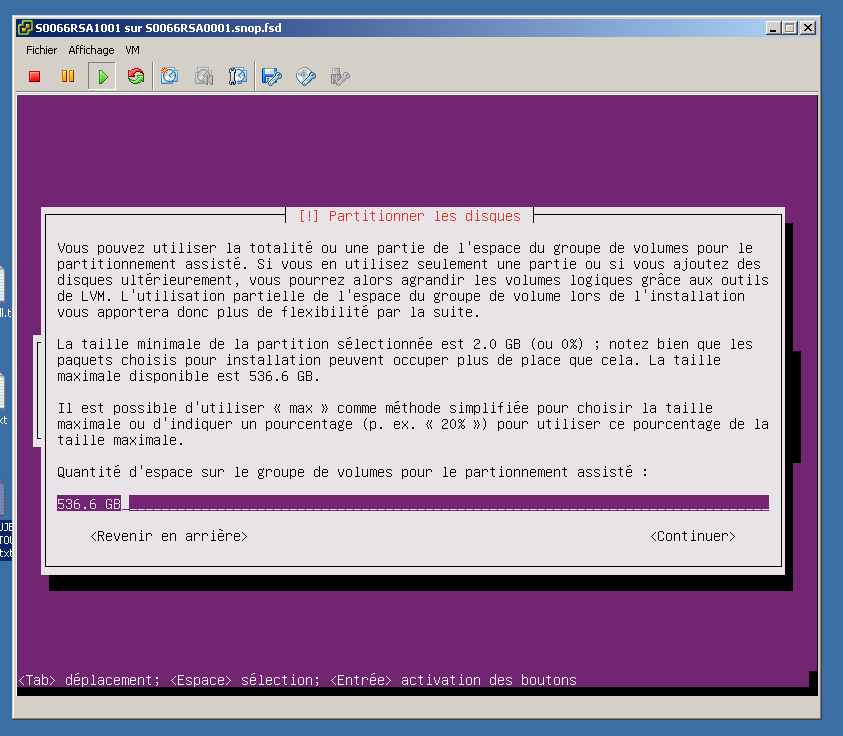
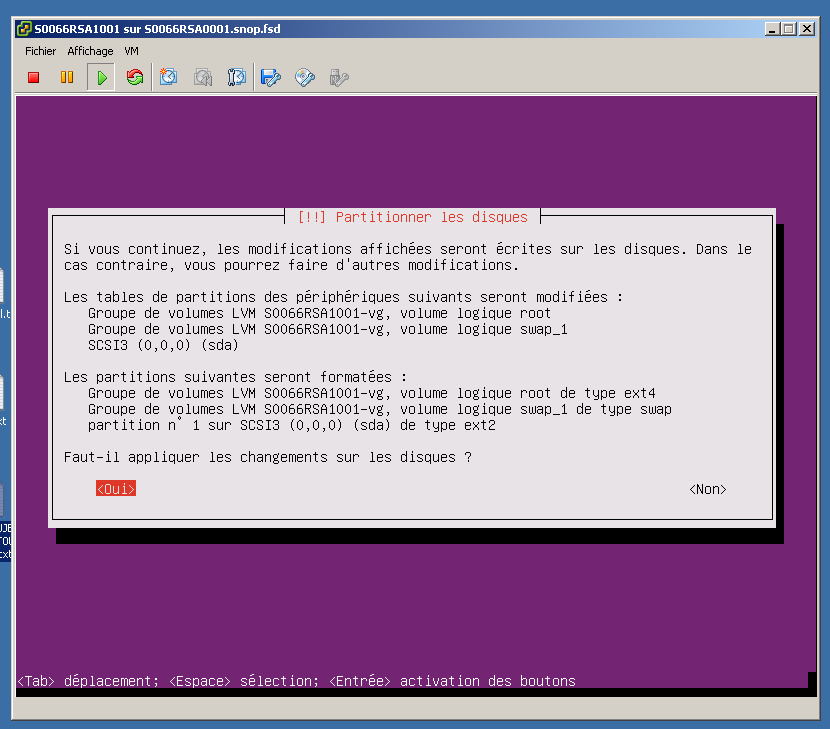
Installing Ubuntu
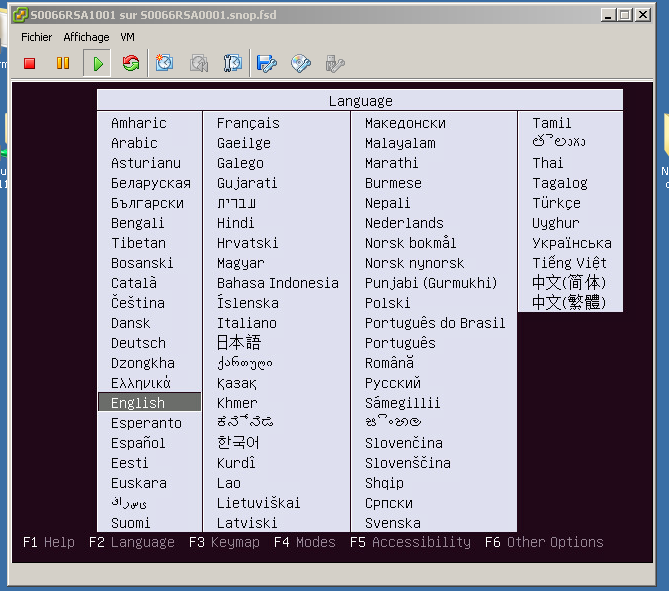
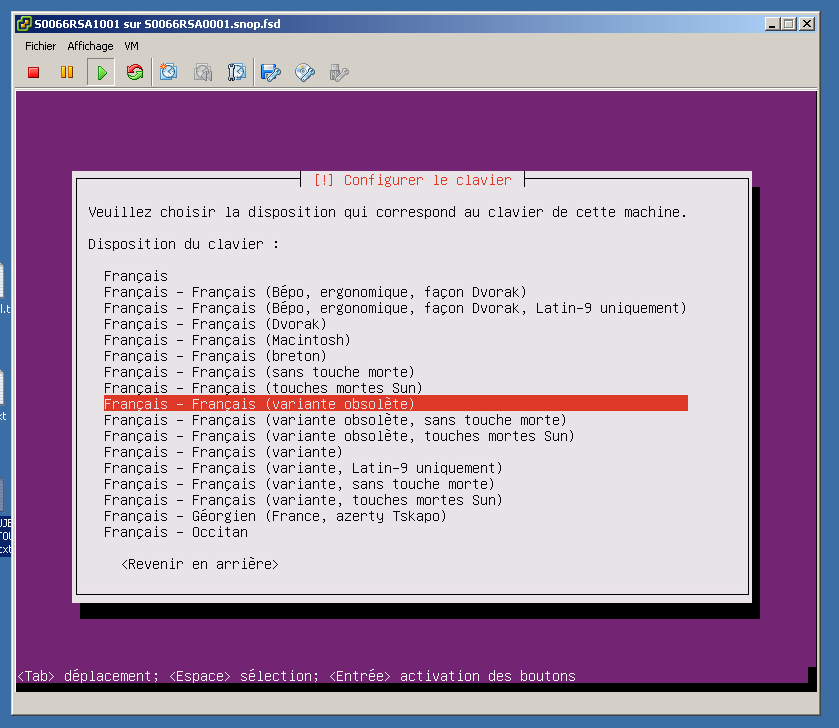
- Use the arrow keys to select French, then press Enter.
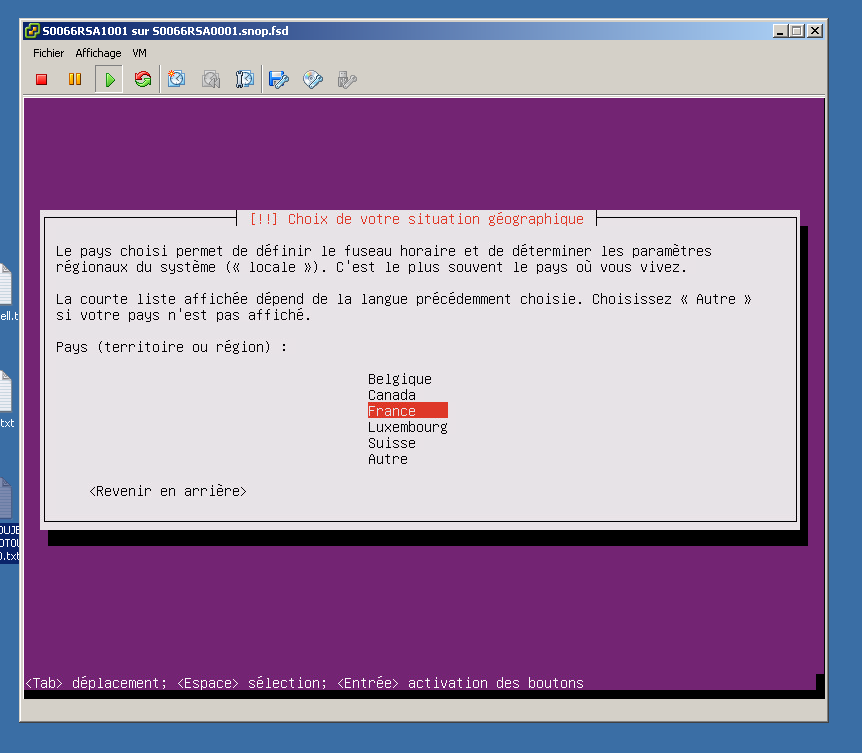
- Press Enter.
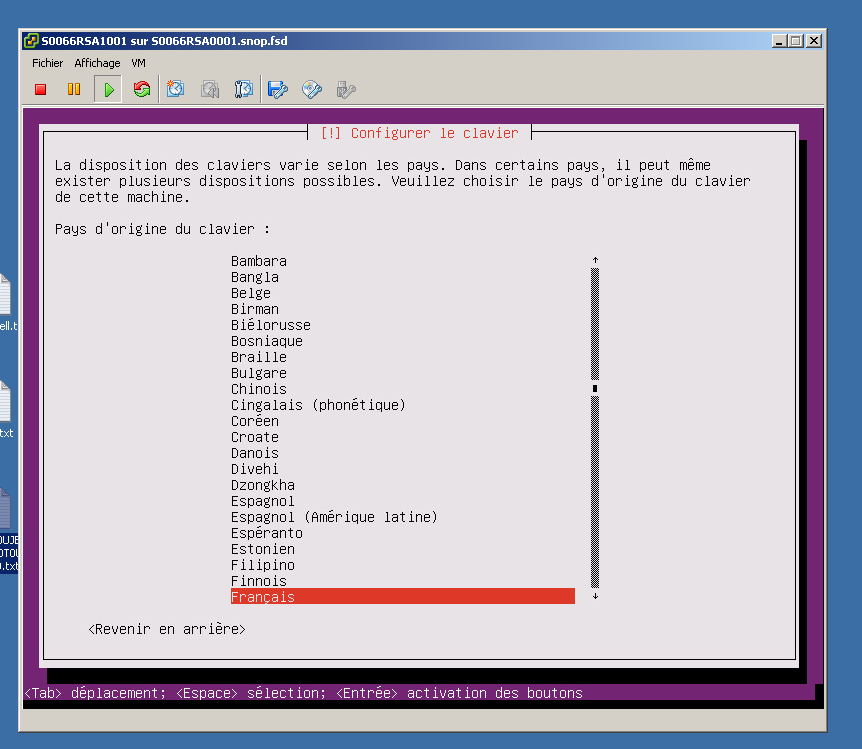
- Press Enter.
- Press Enter.

- Press Enter.
- Press Enter.

- Press Enter.
- Press Enter.
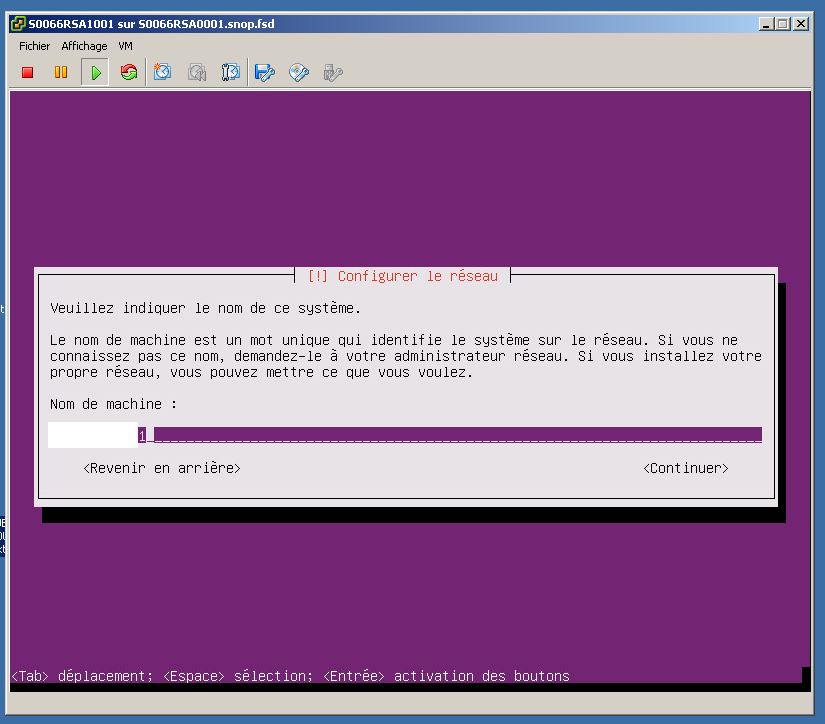
- Enter the name of the virtual machine and press Enter.
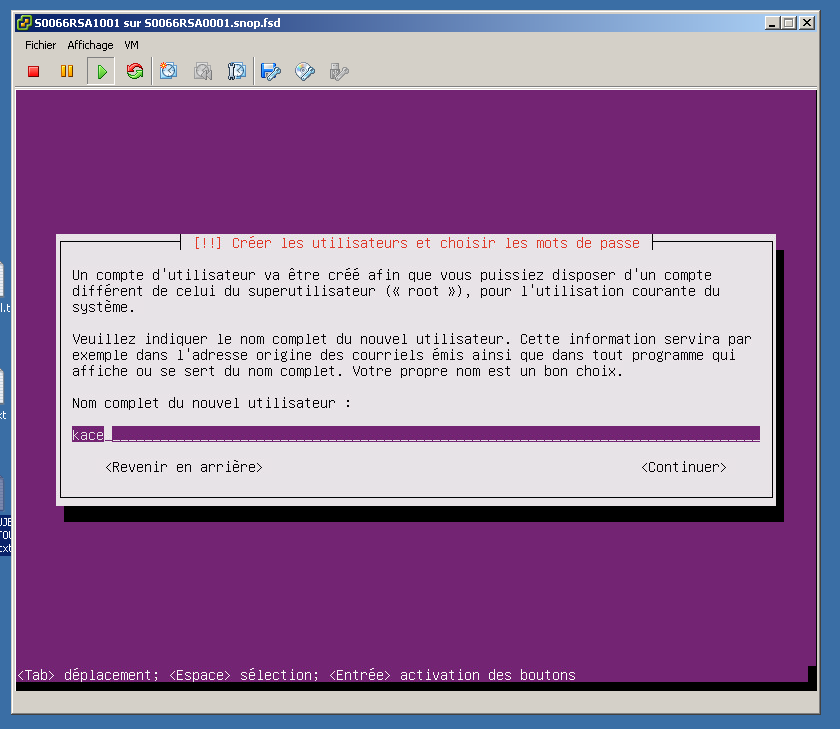
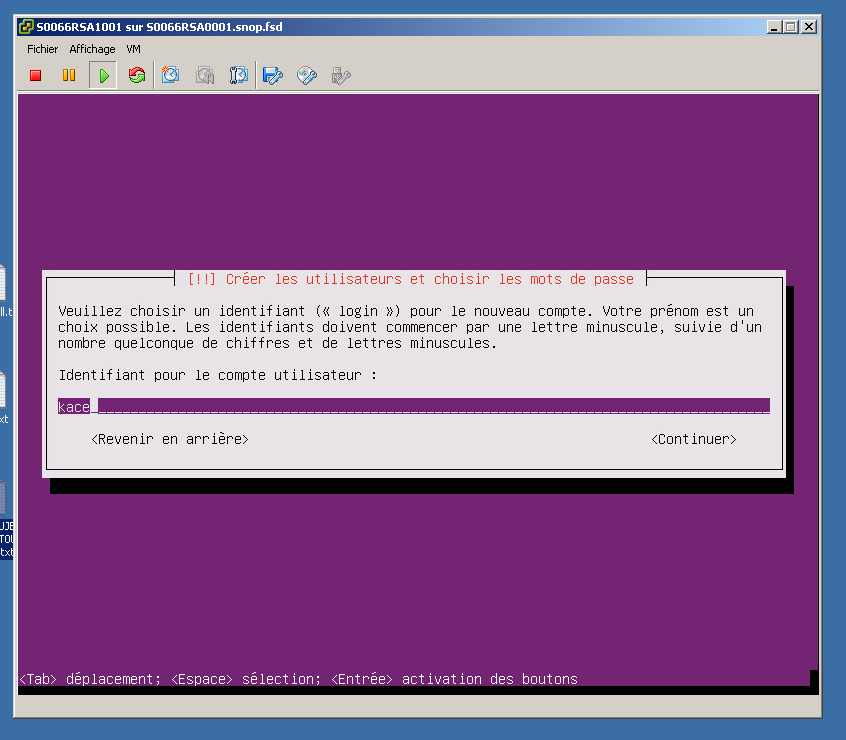
- Enter the username and press Enter. (In this tutorial, we will use the username KACE)
- Press Enter.
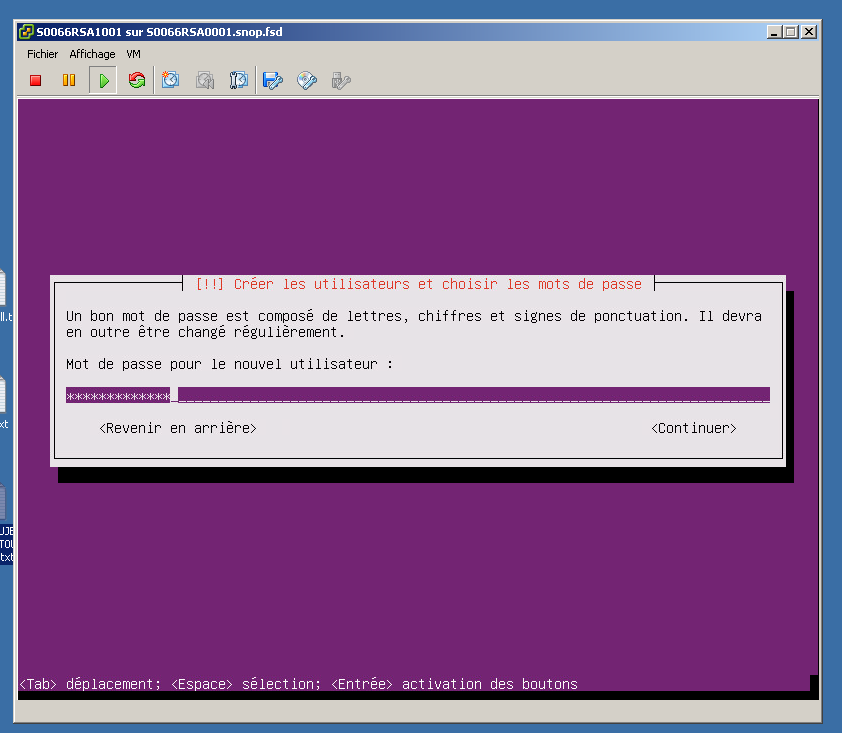
- Enter the account password.
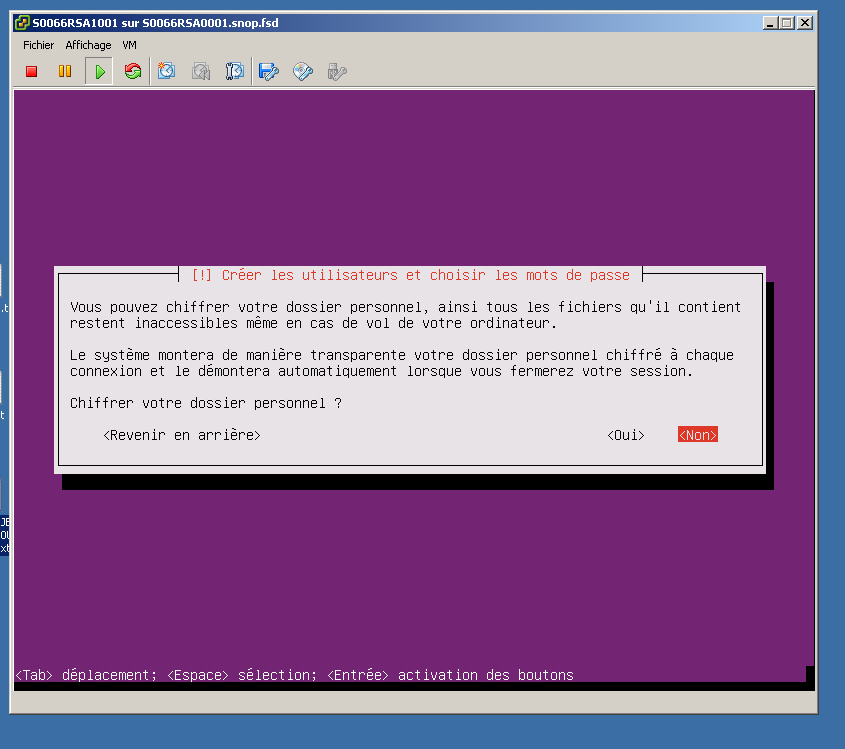
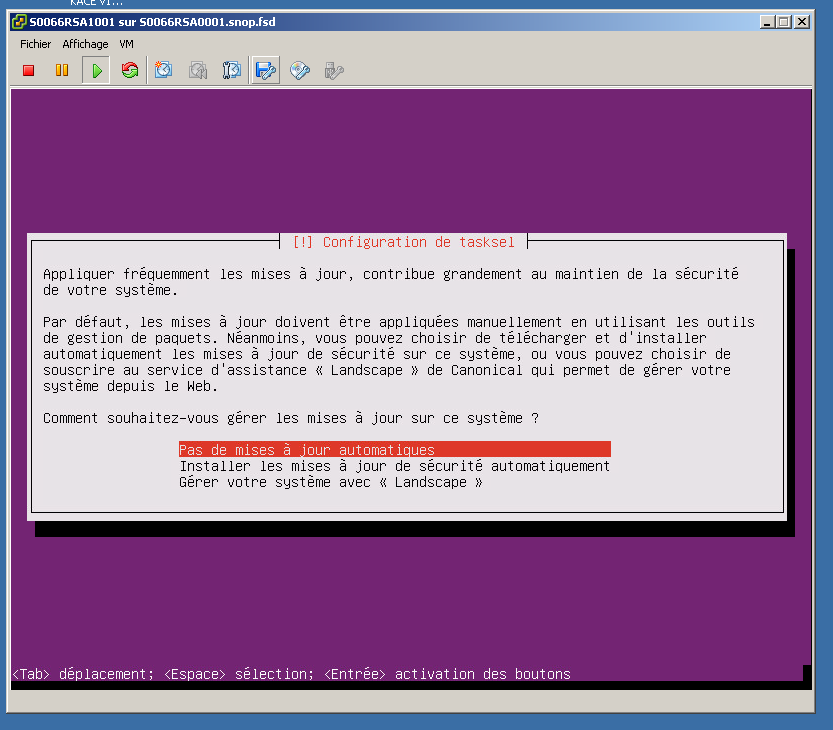
- Press No.
- Press Enter.
- Press Enter.
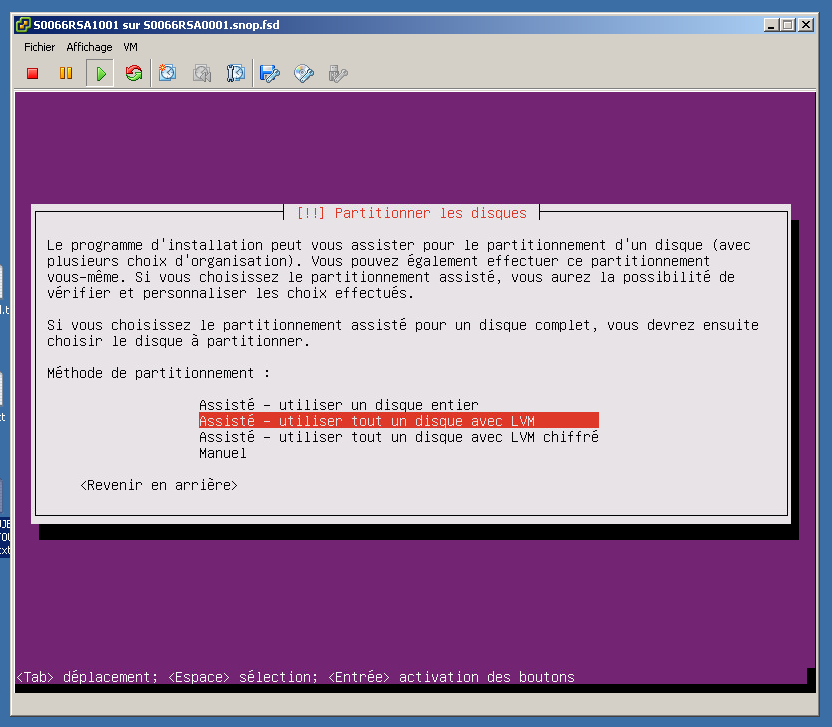
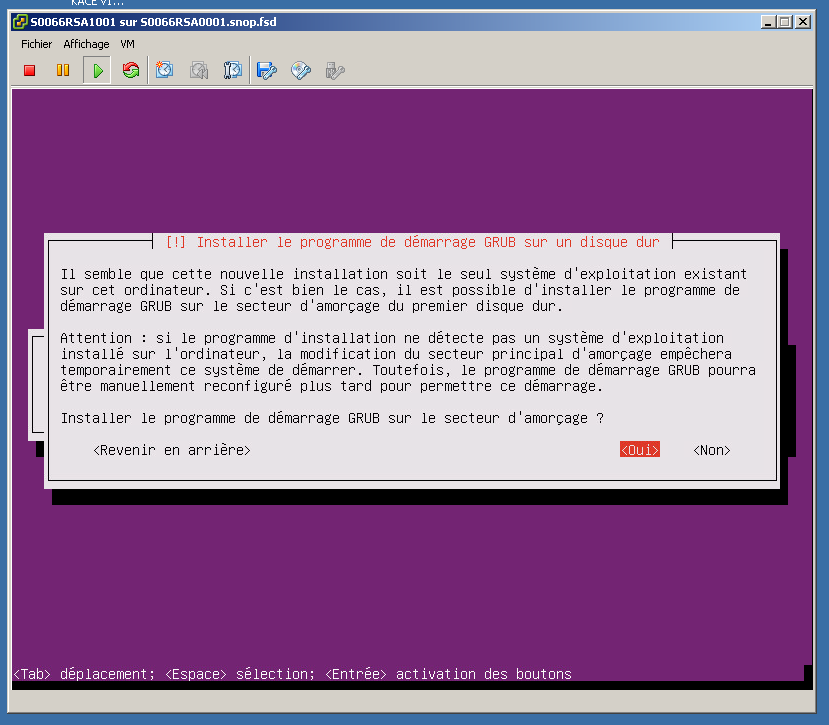
- Select <Yes> and press Enter.
- Press Enter.
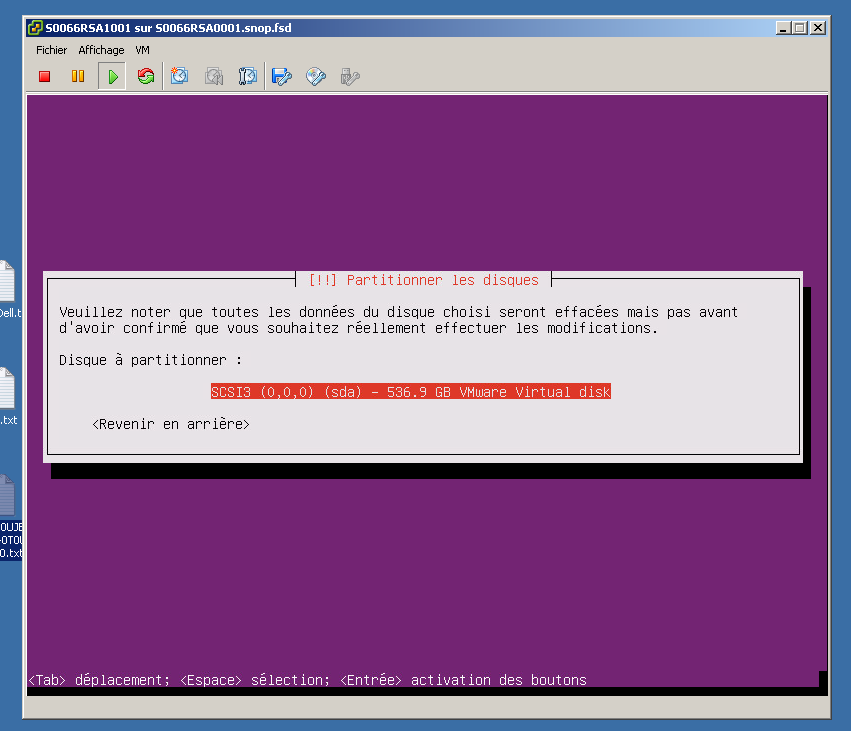
- Select <Yes> and press Enter.
- Leave blank and press Enter.
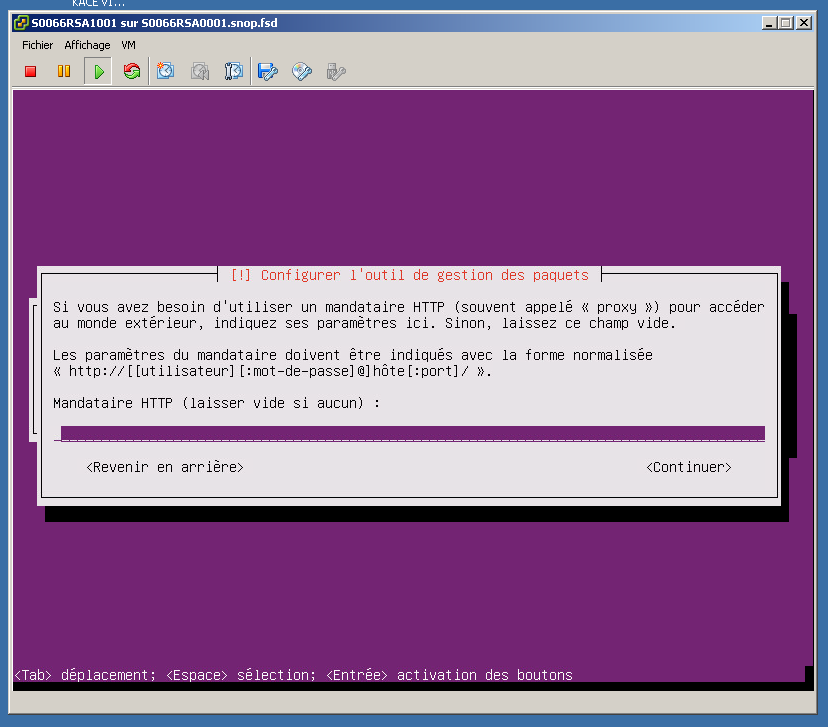
- Press Enter.
- Check “OpenSSH server” and “Samba file server” using the Space bar and arrow keys, then press Enter.
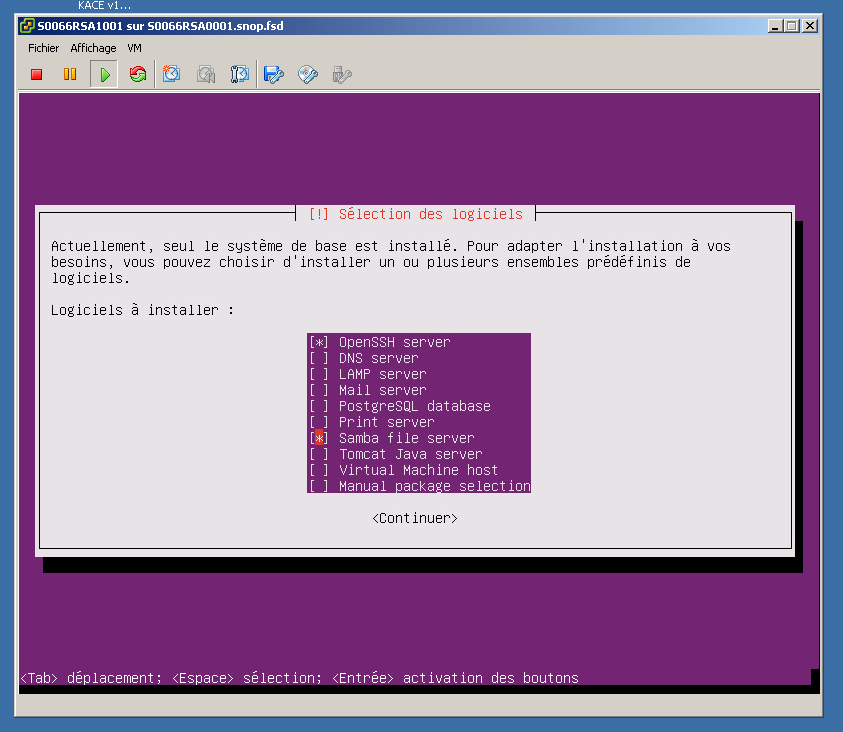
- Press Enter.
Configuring Ubuntu
Log in via SSH or on the VM console
SAMBA
1 2 3 4 5 6 7 | # create the share foldersudo mkdir /home/kace/kace# samba sharesudo nano /etc/samba/smb.conf# Add the following lines (Ctrl + O = save Ctrl + X = Exit) |
path = /home/kace/kace valid users = kace read only = no # restart samba sudo service smbd restart # validate the settings testparm
Installing the KACE Agent
1 2 3 4 5 6 7 8 9 10 11 12 | sudo mkdir /mnt/k1000clients# where K1000 is the name of your KACE serversudo mount –t cifs //k1000/client /mnt/k1000clientscd /mnt/k1000clients/agent_provisionning/linux_platform/sudo KACE_SERVER=k1000.mydomain.lan dpkg –i ampagent-6.4.522.ubuntu.64.debcd /sudo /opt/dell/kace/bin/runkbot 2 0 |
Creating the Label
- Access the SMA admin interface.
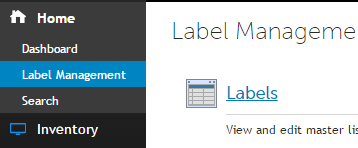
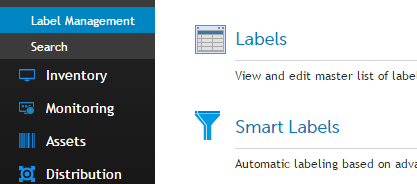
- Click Home, then Label Management, then Labels.
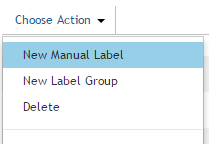
- Click Choose Action, then New Manual Label.
- In Name, enter the relay name.
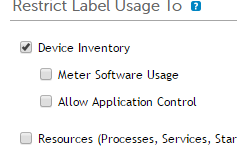
- Check the Device Inventory box.
- Click Save.
- Click Inventory, then Devices, then Smart Label.

- In the first field, select “IP Address”.
- In the second field, select “matches REGEX”.
- In the third field, enter a text such as “11111111111111111”.
- Select OR then click Add Line.
Repeat steps “1” to “3” for each IP range that this relay will use
In the Choose Label field, type the name of the previously created Label, then click Save.

- Click Home, then Label Management, then Smart Labels.
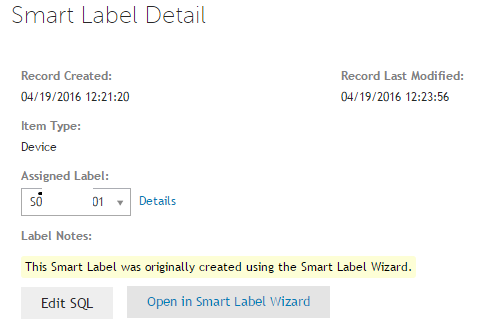
- Find the Label you just created and click its name.
- Click Edit SQL.
- In your browser, open the following link:

- In the First IP Address field, enter your starting IP.
In the Last IP Address field, enter your ending IP.
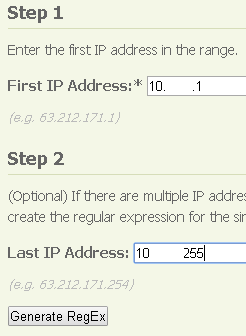
Click Generate RegEx
- In your SQL code, replace the first “11111111111111111” with your RegEx.
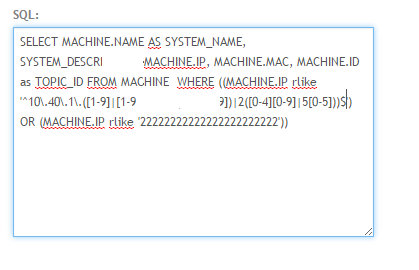
- Repeat the process for each IP range
- Then save
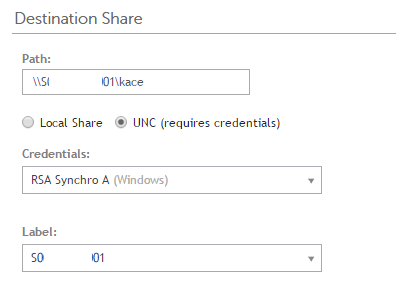
Configuring Replication
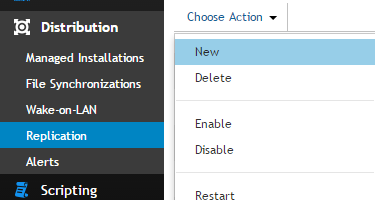
- Click Distribution, then Replication, then Choose Action, then New.
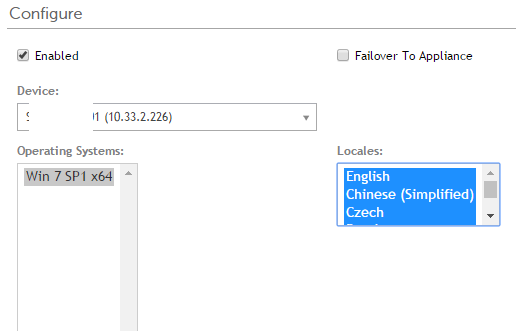
- Check the Enabled box, then enter the relay name in Device. Ensure all System versions and languages are selected.
- Destination Share:
- In Path, enter the UNC path pointing to the Samba share of the SMA Relay.
- Check UNC.
- In Credentials, select “RSA Synchro A”.
- In Label, search for the name of the SMA Relay.
- Download Share:
- In Path, enter the UNC path pointing to the Samba share of the SMA Relay.
- In Credentials, select “RSA Synchro A”.

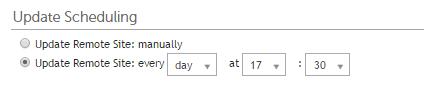
- Schedule:
Here, all the boxes are set to Replication On (High).
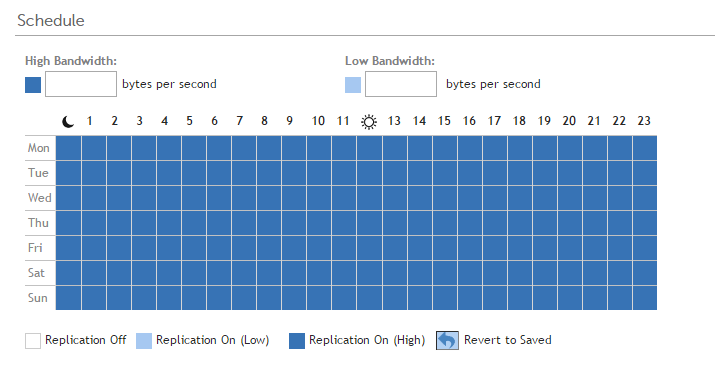
- Click Save.
- The relay synchronizes.

Installing the SDA Relay
Installation
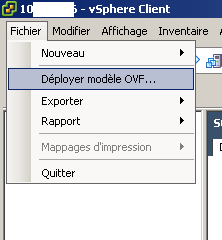
- In the vSphere client console, click File, then Deploy OVF Template…
- Select your SDA relay installation OVF file and click Next.
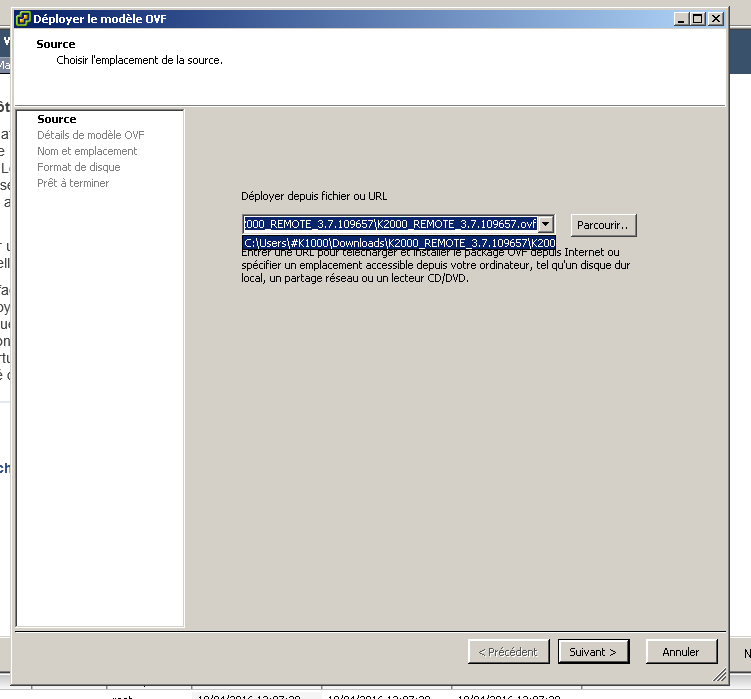
- Click Next.
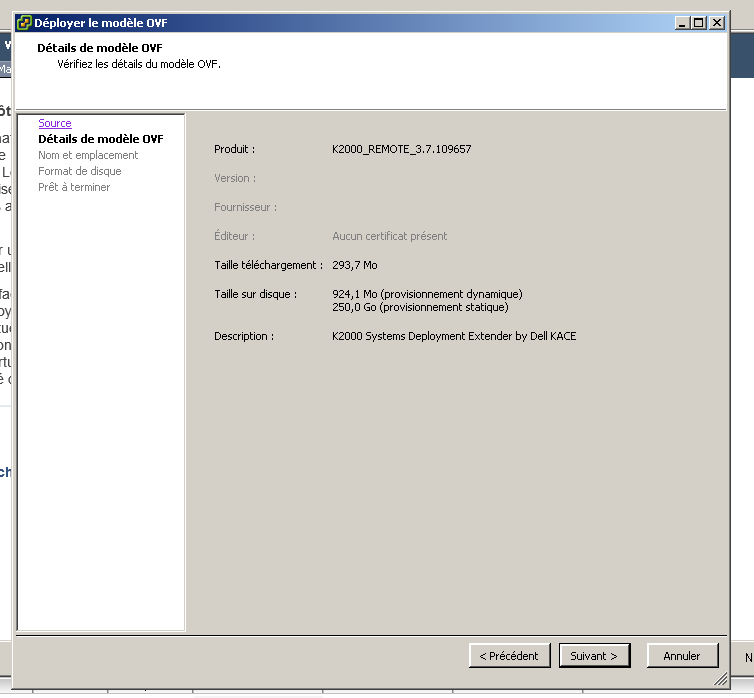
- Name the virtual machine and click Next.
- Check “Thin provision” and click Next.
- Check “Power on after deployment” and click Finish.
- Click Open the virtual machine console.
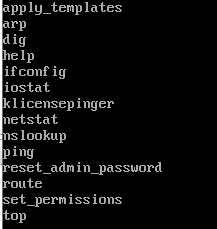
IP Configuration
- Log in with the following account:
Login: konfig
Password: konfig

- Scroll to the second page and once on Save, press Enter.
- The relay restarts to apply the changes
Replication
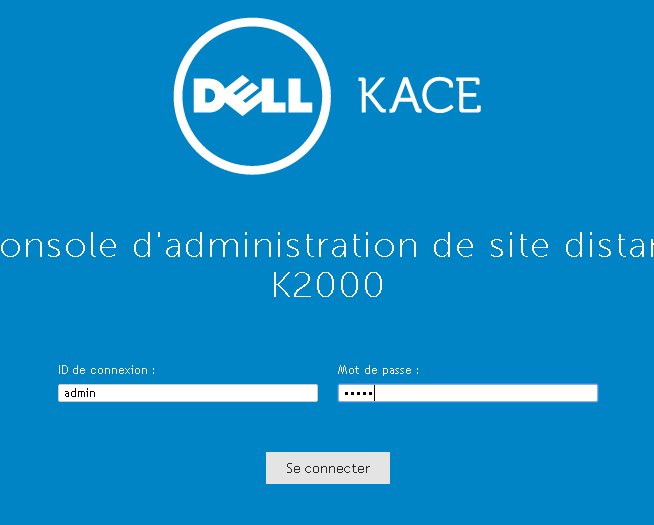
- In your browser, open the SDA server admin interface and the SDA relay admin interface
- In the SDA relay admin page, click Accept at the bottom of the page.
- In the SDA relay admin page, log in with the following account:
- Login ID: admin
- Password: admin
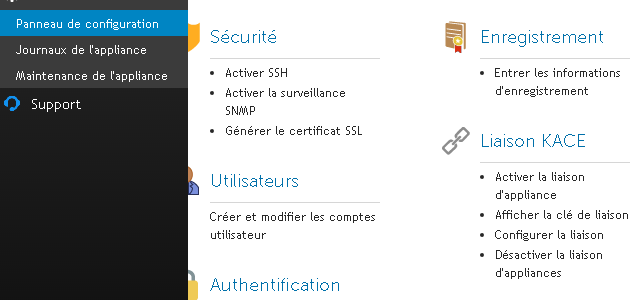
- In the SDA relay admin page, click Control Panel, then KACE Linking.
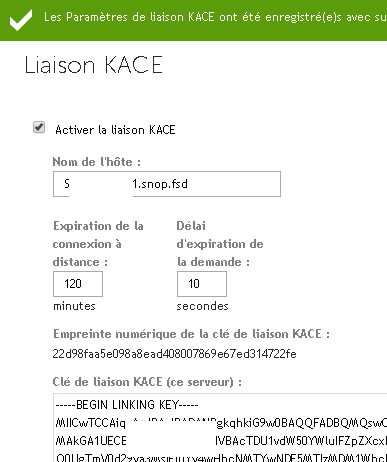
- In the SDA relay admin page, check “Enable KACE Linking” and click Save. Keep this page open.
- Repeat on the relay
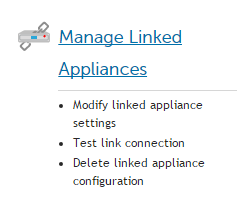
- In the SDA Server admin page, click Settings, then Manage Linked Appliances.
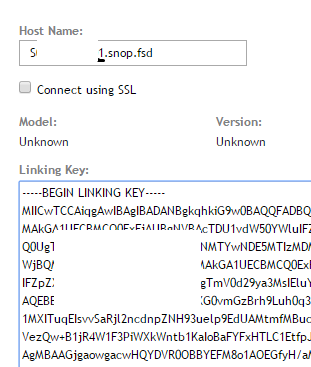
- In the SDA Server admin page, fill in the information from the relay
- Repeat on the relay
Creating the Replication Task
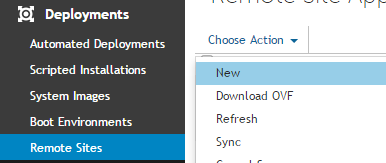
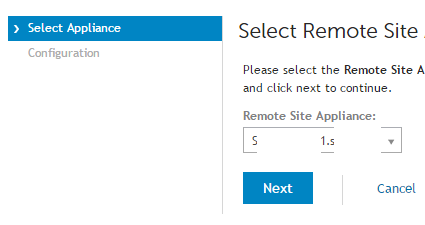
- In the SDA Server admin page, click Deployments, then Remote Sites, then Choose Action, then New
- In the SDA Server admin page, select your SDA relay from the dropdown menu.
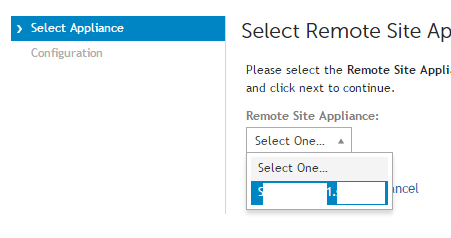
- In the SDA Server admin page, click Next.
- In the SDA Server admin page, the pre-synchronization is in progress, and you cannot modify anything, click Remote Sites
- In the SDA Server admin page, once step 17 is complete, click the name of your SDA relay


0 Comments