Step 1: Microsoft Endpoint Manager
- Access the Microsoft Endpoint Manager admin center
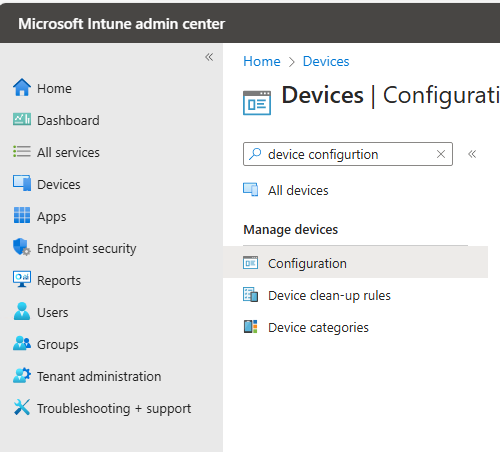
Step 2 : Create a Configuration Profile
- go to “Devices” > “Configuration”
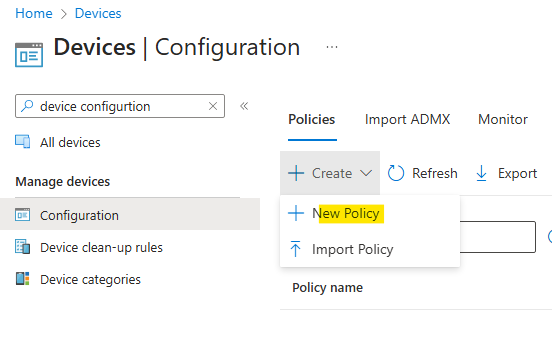
- On Policies tab, select “Create” and “New Policy”
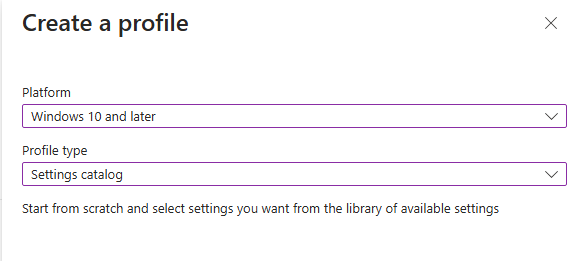
- Choose “Windows 10 and later” as the platform and select “Setting Catalog” for the profile type.
- On the Basics Tab Enter the name on the policy

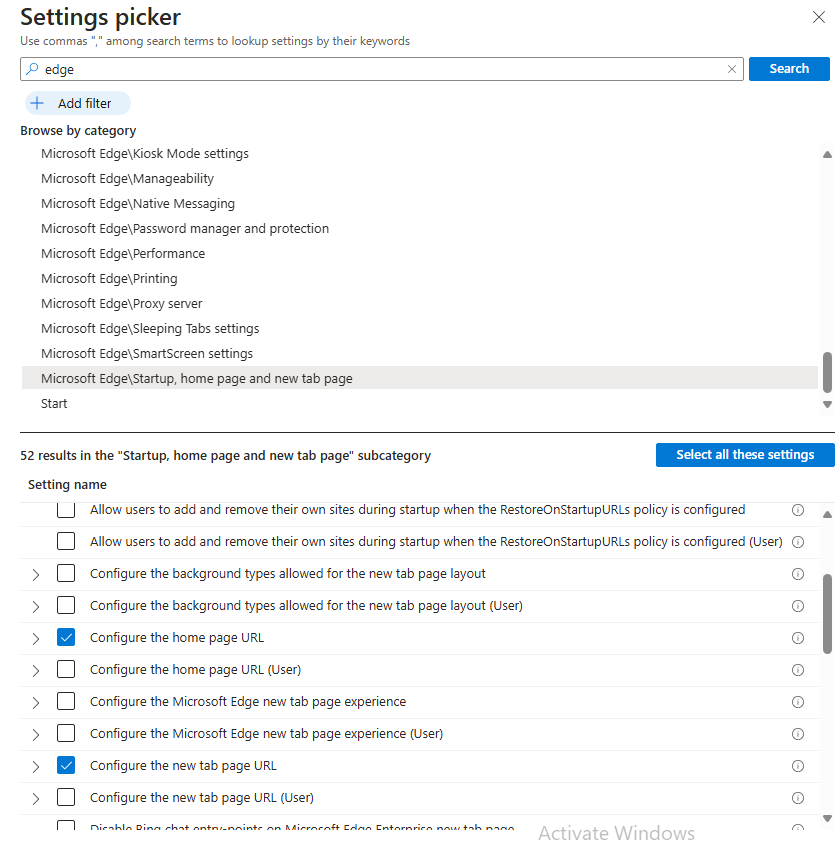
- On Configuration Setting, click on “Add Settings”

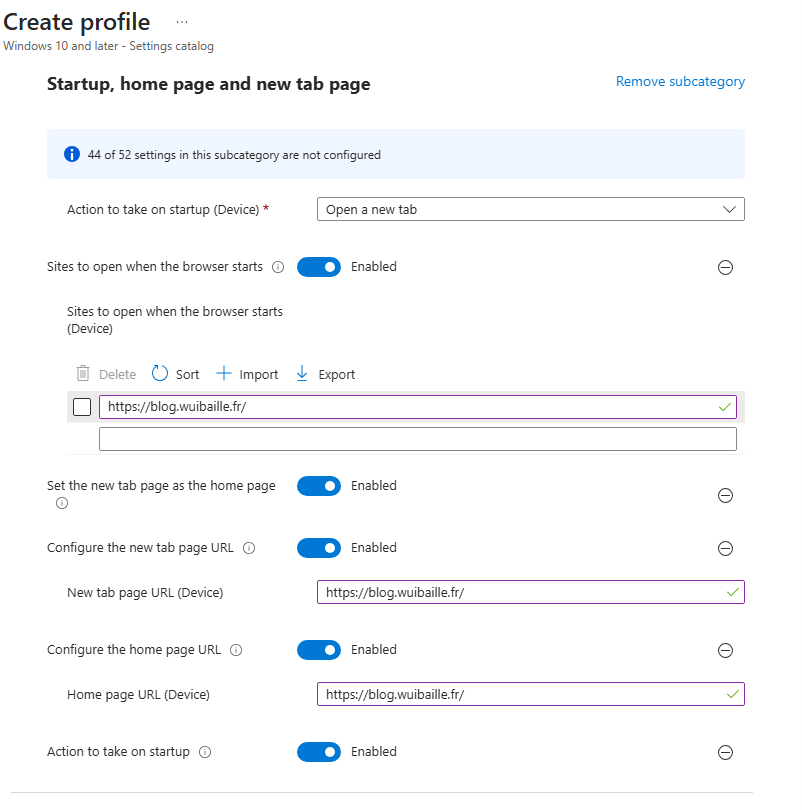
- Select “Microsoft Edge\ Startup, home page and new tab”
- Select configuration needed
- Configure the parameters selected.
- On Scope tag, click next
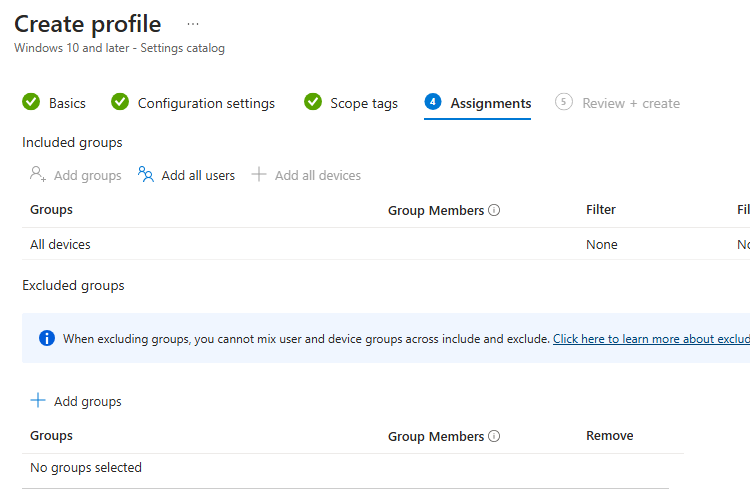
- On Assignements, select a group or for a lab you can select “All device”
Step 2 : Validate the configuration profile
- Connect to a computer linked with the Intune tenant.
- In settings, select “Access Work or School,” choose “Info,” and force a sync.
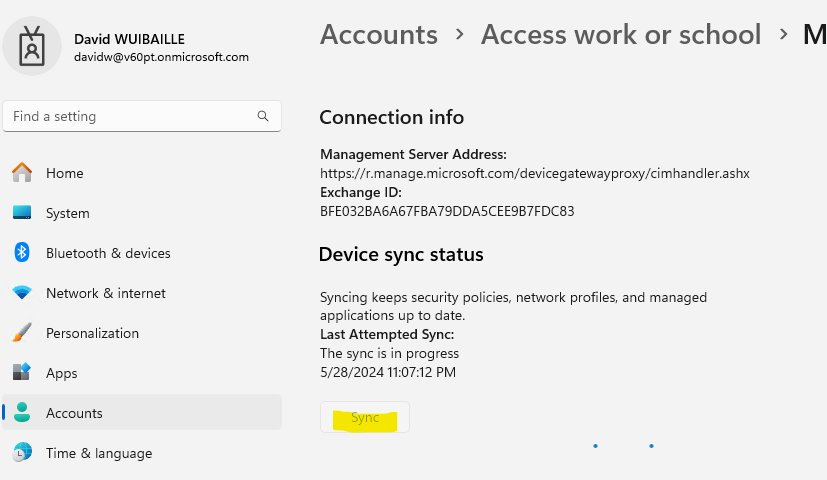
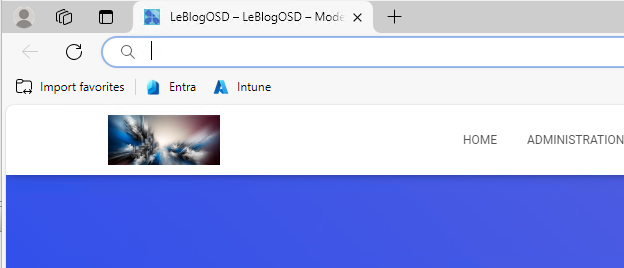
- The policy is apllied on your computer


0 Comments