Introduction
The installation of SCCM 2012 requires extending the Active Directory (AD) schema so that SCCM clients can identify their management point. This involves running the schema extension tool, creating the System Management container, and setting appropriate permissions.
Extending the Schema
Follow these steps to extend the AD schema for SCCM 2012:
- Log in with an account that has Schema Admin rights.
- Open a command prompt with elevated privileges.
- Navigate to the directory where the schema extension tool is located on the SCCM 2012 installation media:
\SMSSETUP\BIN\x64or\SMSSETUP\BIN\i386.
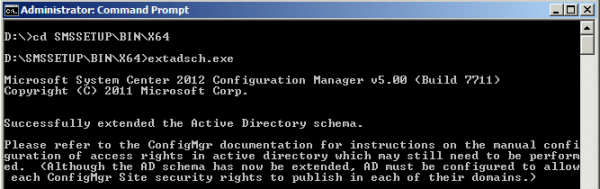
- Run the tool by executing
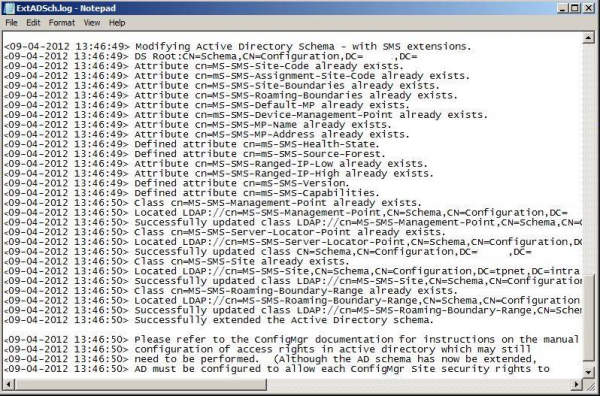
extadsch.exe. - Check the log file
extadsch.loglocated at the root of the system drive to ensure the schema extension was successful.
Creating the System Management Container
The System Management container is necessary for SCCM servers to publish information in Active Directory, which SCCM clients use to find their management point based on the site code.
Steps to Create the Container
- On a domain controller, open the ADSI Edit tool by running
adsiedit.msc.
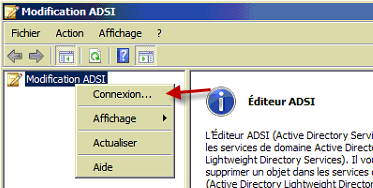
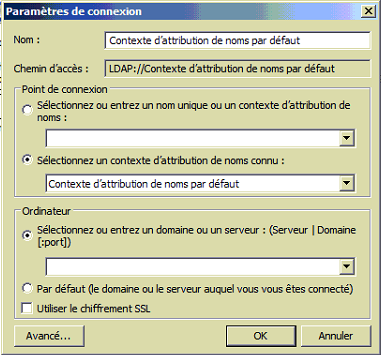
- In the ADSI Edit console, right-click on “ADSI Edit” and select “Connect to…”.
- Leave the default settings and click “OK”.
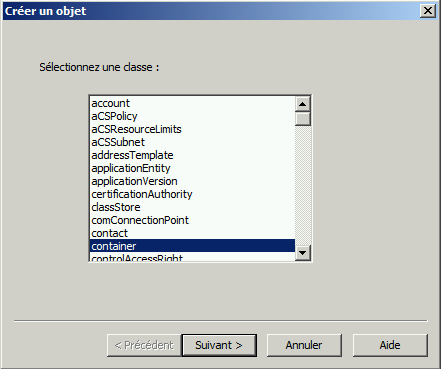
- Expand the tree and right-click on “CN=System”. Select “New” and then “Object…”.

- In the “Create Object” wizard, select “Container” and click “Next”.
- Enter “System Management” as the value and click “Next”.
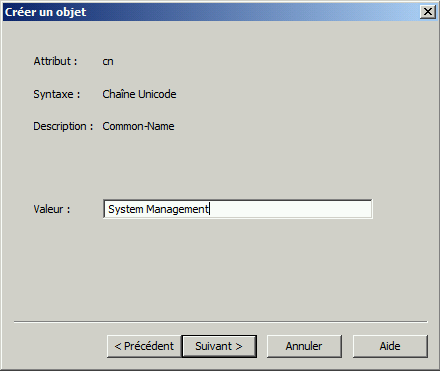
- Click “Finish” to create the container.
Delegating Control to SCCM Servers
Next, we need to delegate control of the System Management container to the SCCM servers:
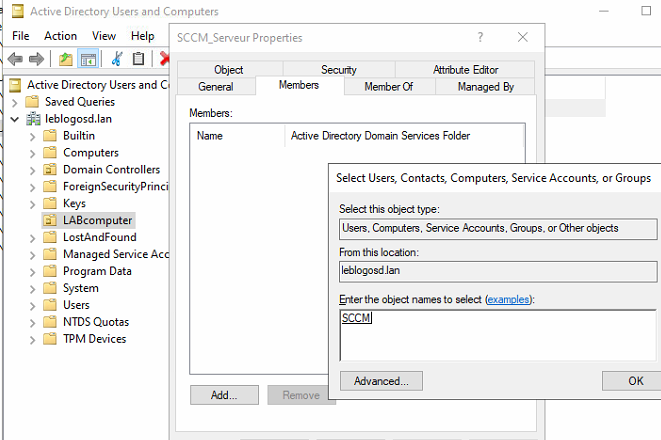
- Create a global group named “SCCM_Servers” and add your SCCM server to this group.
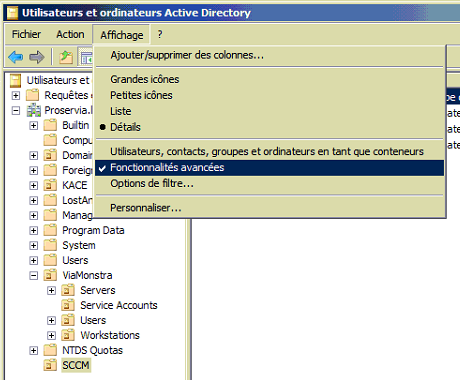
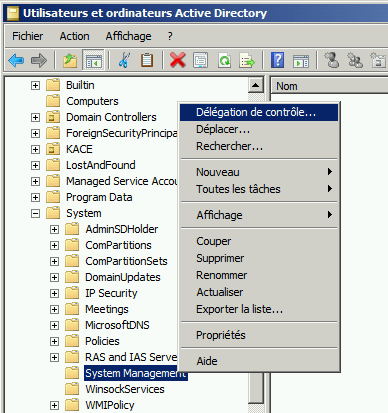
- Open “Active Directory Users and Computers”. In the “View” menu, enable “Advanced Features”.
- Navigate to “System”, right-click on “System Management”, and select “Delegate Control…”.
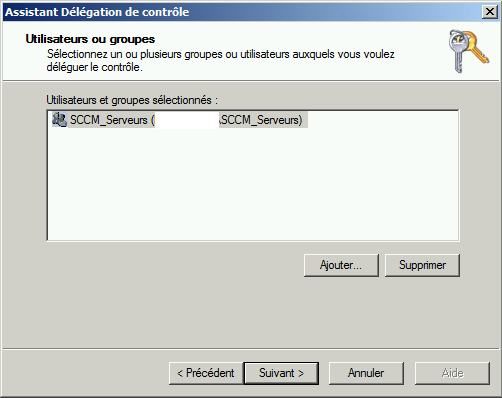
- In the “Delegation of Control Wizard”, click “Next”.
- Select the “SCCM_Servers” group and click “Next”.
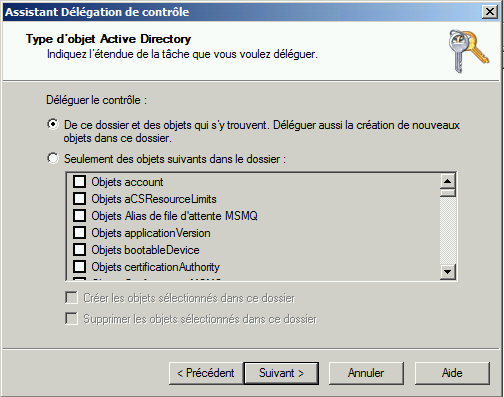
- Choose “Create a custom task to delegate” and click “Next”.
- Select “This folder, existing objects in this folder, and creation of new objects in this folder” and click “Next”.
- Check “Full Control” and click “Next”, then “Finish” to apply the permissions.

0 Comments