Creating a Custom Logon Script Using PowerShell and WPF
Introduction
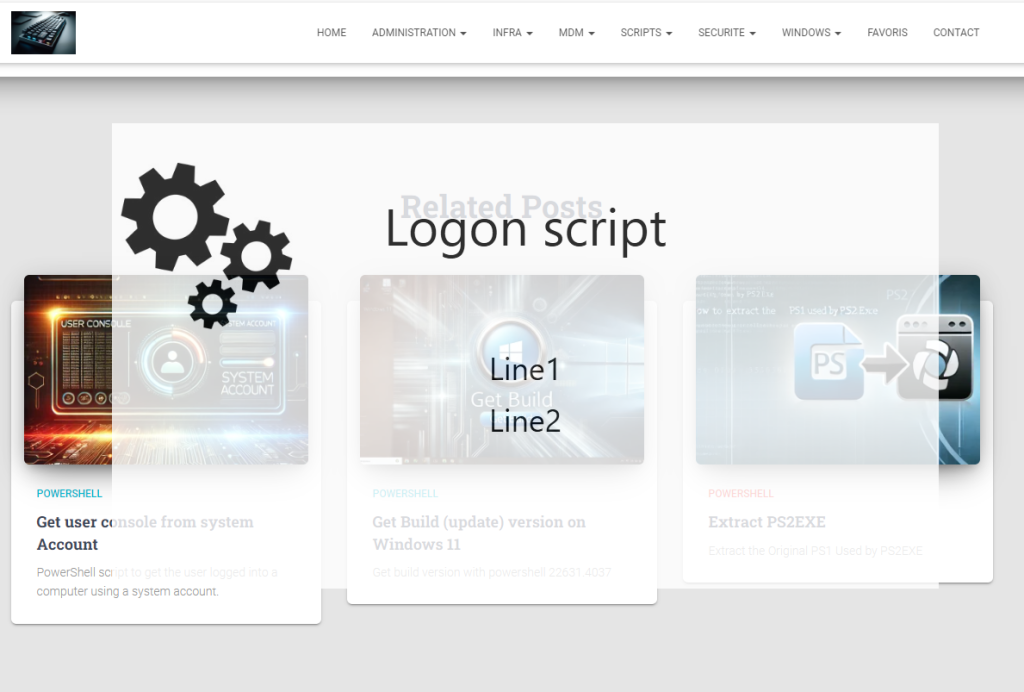
In this article, we will walk through a PowerShell script that creates a custom logon window using Windows Presentation Foundation (WPF). This script allows you to display a window with a custom message, an image, and a close button. It also includes a timer that automatically closes the window after a specified time or makes the close button visible after a delay.

Script Breakdown
Let’s break down the script into its major components and explain the purpose of each section.
1. Parameters
1 2 3 4 5 6 7 | Param( [string]$ArgMes = "Line1`nLine2", [INT]$ArgTime = 0, [INT]$CloseTime = 120, [string]$ArgMesWindow = "Logon script", [INT]$ArgButton = 1) |
Explanation: The script begins with a Param block that defines several parameters:
$ArgMes: The message to display in the window. It can include multiple lines separated by\n.$ArgTime: The time in seconds after which the window should close automatically.$CloseTime: The time in seconds after which the close button becomes visible.$ArgMesWindow: The title of the window.$ArgButton: A parameter to control button behavior, though in this script it’s not used extensively.
2. Loading WPF Assembly
1 | [void][System.Reflection.Assembly]::Load('PresentationFramework, Version=4.0.0.0, Culture=neutral, PublicKeyToken=31bf3856ad364e35') |
Explanation: This line loads the WPF assembly, which is necessary to create and display a WPF window in PowerShell. Without this, the script wouldn’t be able to use WPF elements.
3. Defining the XAML for the Window
1 2 3 4 5 6 7 8 9 10 11 12 | [xml]$XAML = @'<Window xmlns="http://schemas.microsoft.com/winfx/2006/xaml/presentation" Title="PleaseWaitLogon" WindowStyle="None" ResizeMode="NoResize" WindowStartupLocation="CenterScreen" AllowsTransparency="True" Opacity="0.8"> <!-- XAML content here --></Window>'@ |
Explanation: This section defines the layout of the window using XAML (Extensible Application Markup Language). Key features include:
WindowStyle="None": Removes the standard window frame.ResizeMode="NoResize": Disables resizing.WindowStartupLocation="CenterScreen": Centers the window on the screen.AllowsTransparency="True"andOpacity="0.8": Makes the window slightly transparent.
4. Reading and Parsing XAML
1 2 3 | $reader=(New-Object System.Xml.XmlNodeReader $xaml) try{$Form=[Windows.Markup.XamlReader]::Load($reader)}catch{Write-Host "Unable to load Windows.Markup.XamlReader."; exit} |
Explanation: The XAML is parsed into a WPF window object ($Form). This object can now be manipulated within the script.
5. Storing Form Objects
1 | $xaml.SelectNodes("//*[@Name]") | %{Set-Variable -Name ($_.Name) -Value $Form.FindName($_.Name)} |
Explanation: This code retrieves all the named elements in the XAML and creates corresponding PowerShell variables for them. For example, if the XAML contains a button with Name="CloseButton", a PowerShell variable $CloseButton is created.
6. Configuring Window Size and Position
1 2 3 4 | $desiredWidth = [System.Windows.SystemParameters]::PrimaryScreenWidth * 0.99$desiredHeight = [System.Windows.SystemParameters]::PrimaryScreenHeight * 0.90$Form.Width = $desiredWidth$Form.Height = $desiredHeight |
Explanation: The script calculates the window size to be 99% of the screen width and 90% of the screen height. This ensures the window is large but not fullscreen.
7. Loading and Setting the Image
1 2 3 4 5 6 7 8 | $Image_logo = ""$bitmap_Logo = New-Object System.Windows.Media.Imaging.BitmapImage$bitmap_Logo.BeginInit()$bitmap_Logo.StreamSource = [System.IO.MemoryStream][System.Convert]::FromBase64String($Image_logo)$bitmap_Logo.EndInit()$bitmap_Logo.Freeze()$logo.source = $bitmap_Logo |
Explanation: This part decodes a base64-encoded image and sets it as the source for the image element in the window.
8. Setting the Window Title and Message
1 2 3 4 5 6 7 | $Form.Title = $ArgMesWindow$Titre.Content = $ArgMesWindow$Messages = $ArgMes.Split("`n")if ($Messages.Count -gt 0) { $Message1.Content = $Messages[0] }if ($Messages.Count -gt 1) { $Message2.Content = $Messages[1] }if ($Messages.Count -gt 2) { $Message3.Content = $Messages[2] } |
Explanation: The title and content of the labels in the window are set based on the parameters passed to the script. The message can be split into multiple lines and displayed on separate labels.
9. Setting Up the DispatcherTimer
1 2 3 4 5 6 7 8 9 10 | $timer = New-Object System.Windows.Threading.DispatcherTimer$timer.Interval = [TimeSpan]::FromSeconds($ArgTime)$timer.Add_Tick({ $Form.Close() $timer.Stop()})if ($ArgTime -ne 0) { $timer.Start()} |
Explanation: A DispatcherTimer is set up to close the window after a specified time ($ArgTime). If $ArgTime is 0, the timer is not started.
10. Making the Close Button Visible After a Delay
1 2 3 4 5 6 7 8 9 10 | $showButtonTimer = New-Object System.Windows.Threading.DispatcherTimer$showButtonTimer.Interval = [TimeSpan]::FromSeconds($CloseTime)$showButtonTimer.Add_Tick({ $Form.Dispatcher.Invoke([Action]{ $CloseButton.Visibility = 'Visible' }) $showButtonTimer.Stop()})$showButtonTimer.Start() |
Explanation: Another DispatcherTimer is used to make the close button visible after $CloseTime seconds. This ensures that the user cannot close the window immediately, which might be useful in some logon scenarios.
11. Handling Window Closing Event
1 2 3 4 5 6 7 | $Form.Add_Closing({ param($sender, $e) if (-not $CloseRequested) { $e.Cancel = $true }}) |
Explanation: This event handler ensures that the window cannot be closed unless the close button is clicked ($CloseRequested = $true). This is useful if you want to prevent the user from closing the window using other methods.
12. Displaying the Modal Window
1 | $Form.ShowDialog() |
Explanation: Finally, the window is displayed as a modal dialog, meaning it will stay on top and block interaction with other windows until it is closed.
https://github.com/DavidWuibaille/Tools/tree/main/logonscreen


0 Comments