Configure WSUS and Software Update Point in SCCM
Configure WSUS Software – This guide explains how to configure WSUS and the SCCM Software Update Point for patch management, including synchronization, automatic deployment rules, update packages, distribution points and client settings.
Useful external reference: Microsoft Learn.
Configure WSUS Software Overview
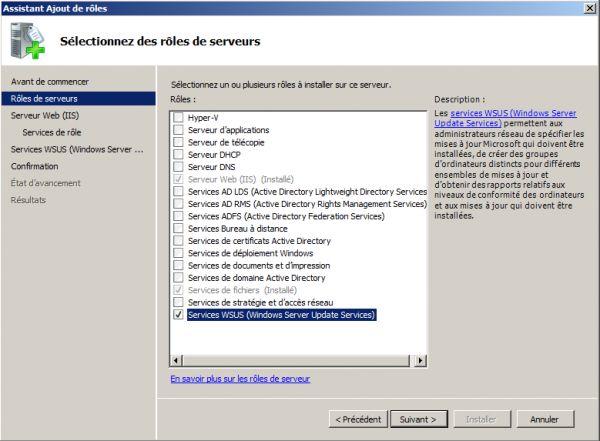
- In Server Manager, right-click on “Roles” and select “Add Roles” from the context menu.
- Select the “Windows Server Update Services” role and click “Next”.
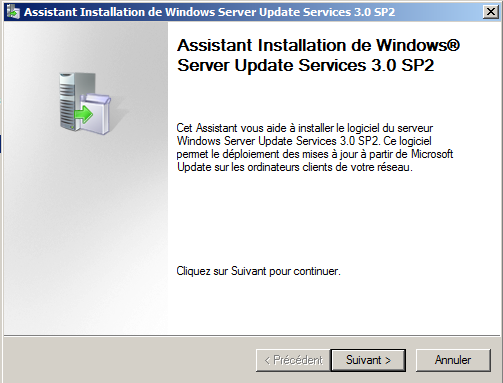
- Click “Next” again to proceed.
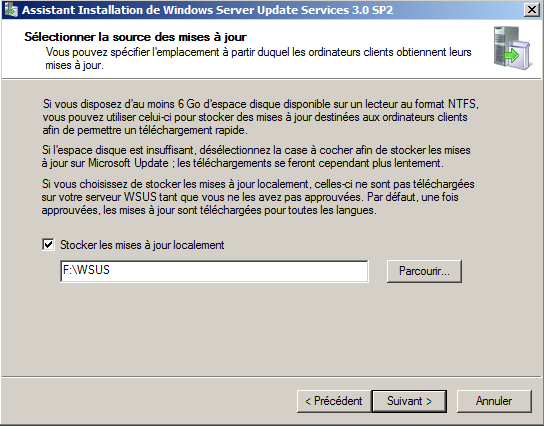
- Select “X:WSUS” as the storage location and click “Next”.
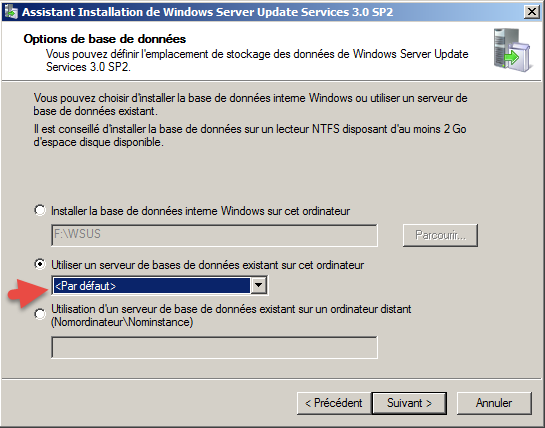
- Choose “Use an existing database server on this computer” and click “Next”.
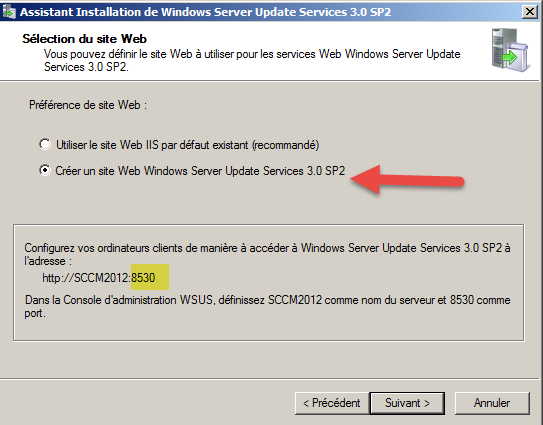
- Select “Create a Windows Server Update Services 3.0 SP2 website” and click “Next”.
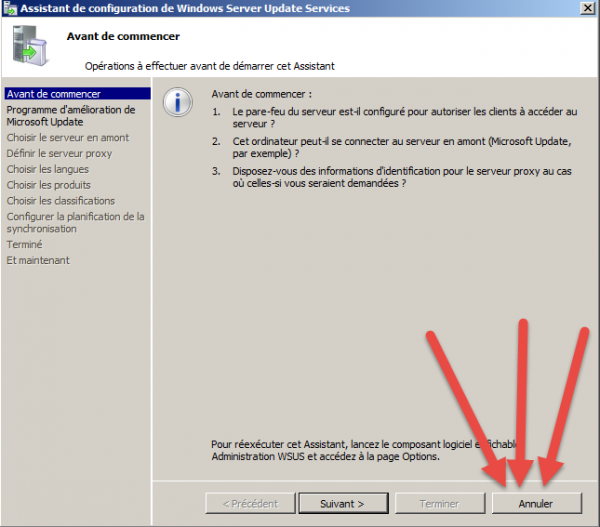
- Click “Cancel” to exit the wizard.
- Install the following patches for Windows 2008 R2:
- KB2720211
- KB2734608
Installing the SCCM Role
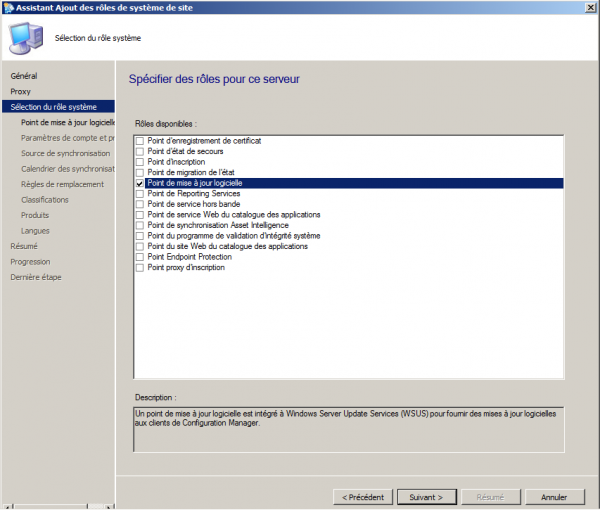
- In the “Administration” section, right-click on the server where you installed the WSUS role.
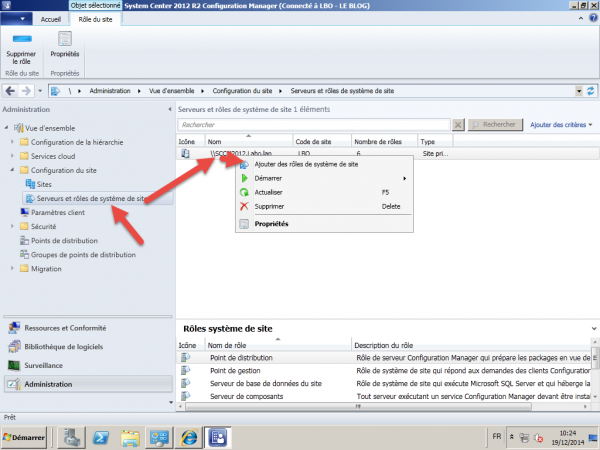
- Select the “Software Update Point” SCCM role.
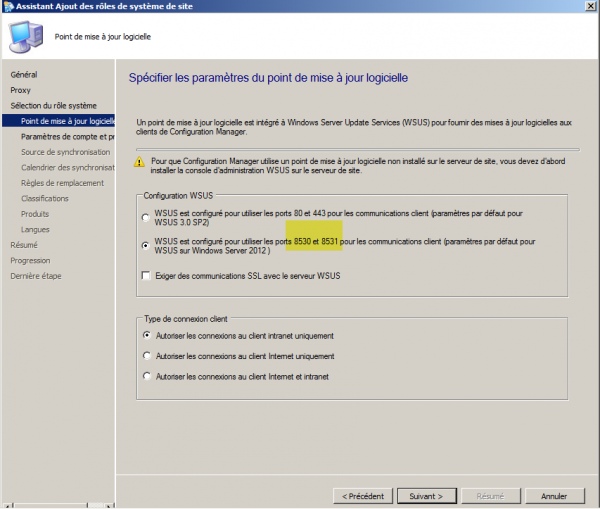
- Choose port 8530 for the software update point.
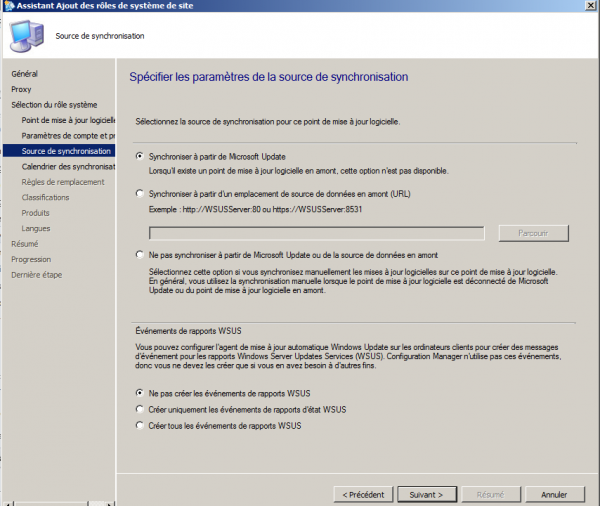
- Select “Synchronize from Microsoft Update” for the update source.
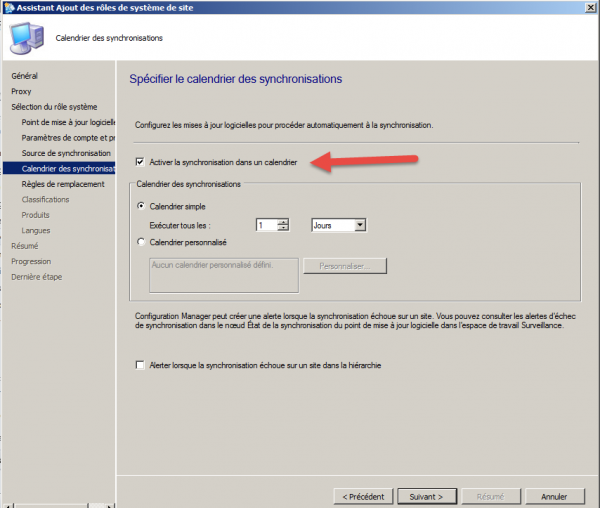
- Enable synchronization on a schedule.
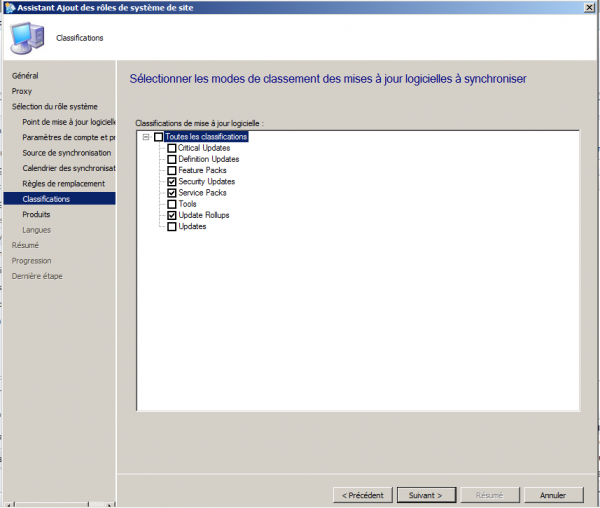
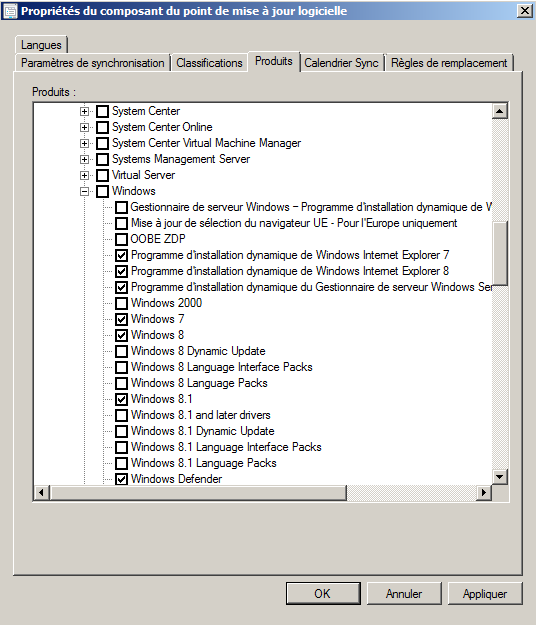
- Leave the default selections for update classifications and products for the initial synchronization.
- Wait at least 15 minutes for SCCM to install the role.
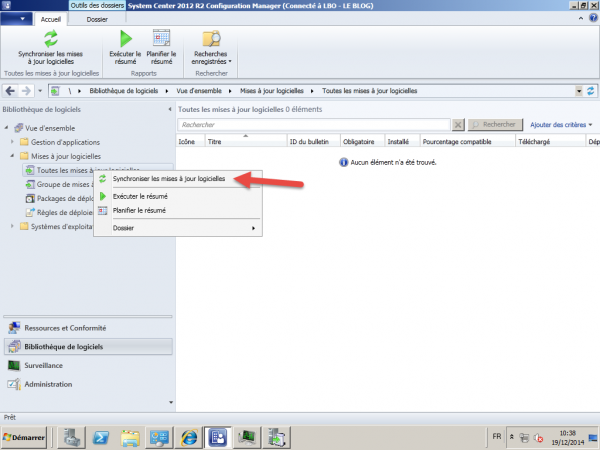
- After installation, manually trigger the patch synchronization.
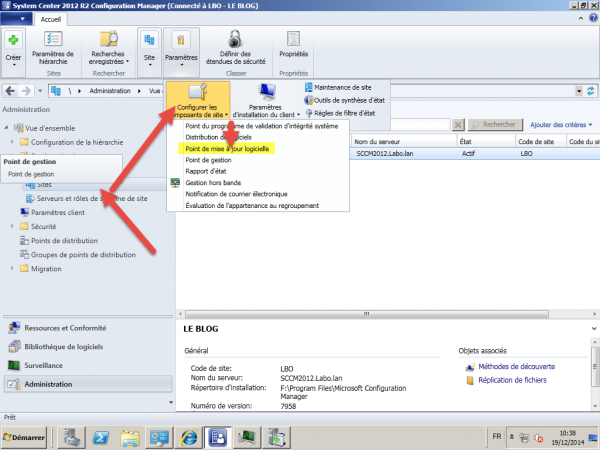
- Wait another 15 minutes, then configure the “Software Update Point” in the site settings.
- Check the “wsyncmgr.log” file to monitor synchronization progress (this can take 1-2 hours).

Deploying Patches
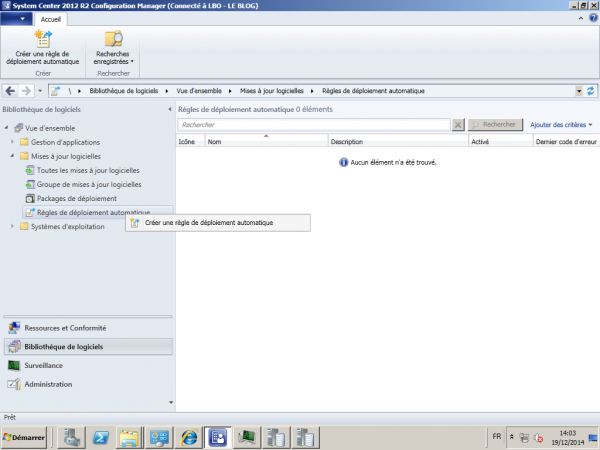
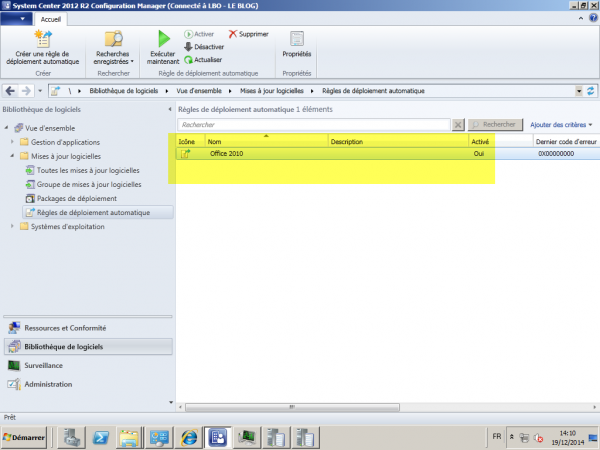
- In “Software Updates”, create a new automatic deployment rule.
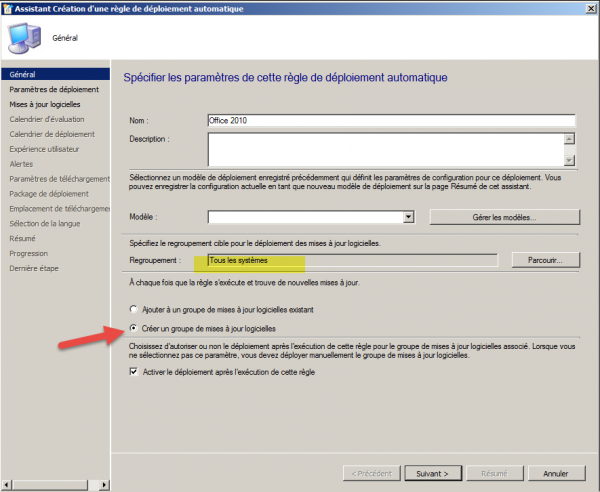
- Name the rule and specify the collection for patch deployment.
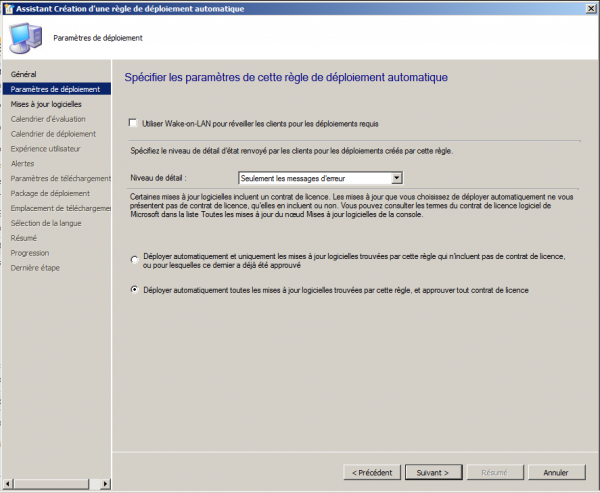
- Enable Wake on LAN (WOL) if needed and click “Next”.
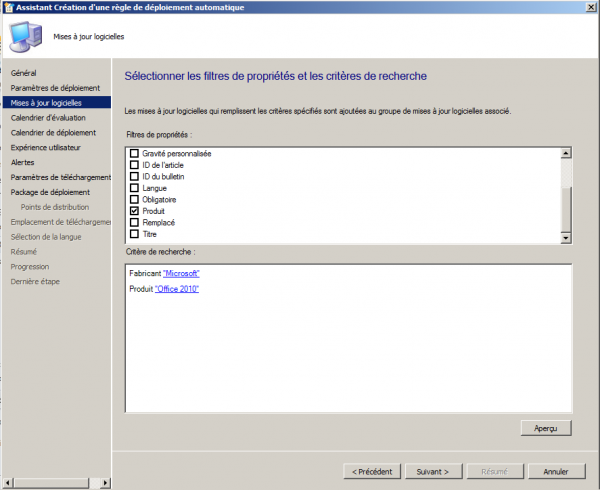
- Define the criteria for the patches to apply, such as creating a rule per product to limit package size.
- Enable rule execution at each synchronization.
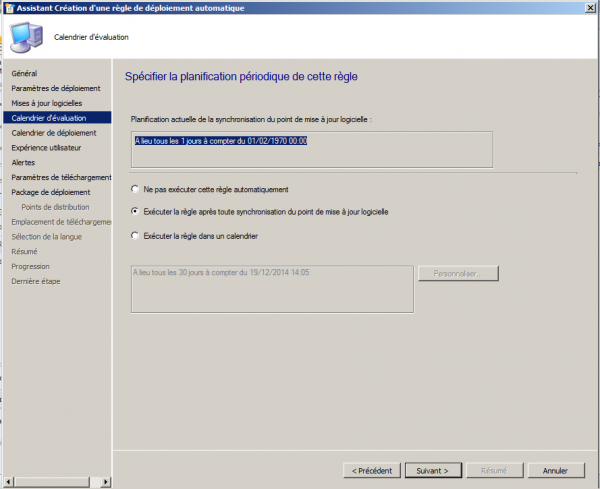
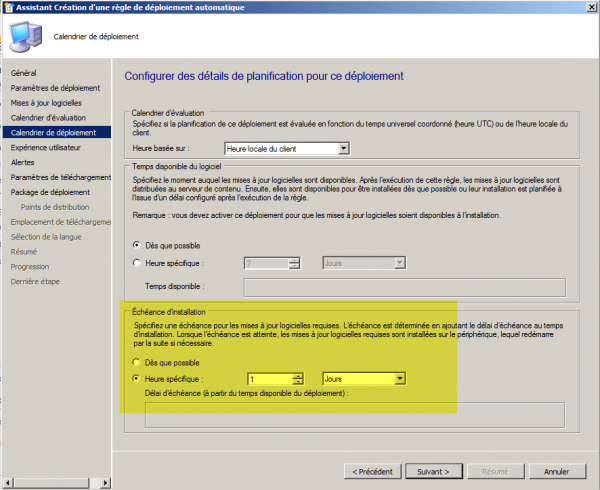
- For smaller organizations (<3000 devices), schedule daily execution.
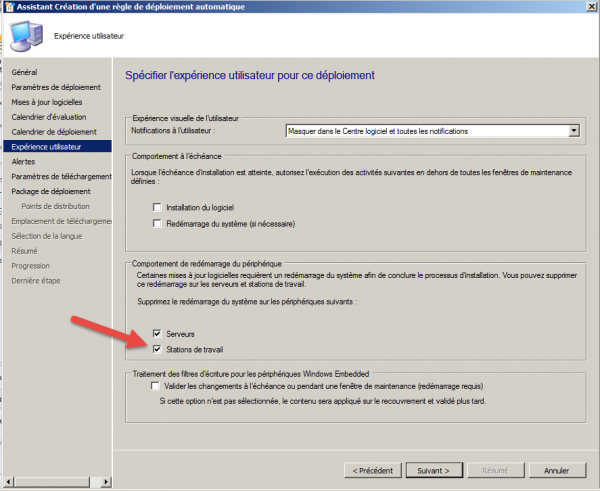
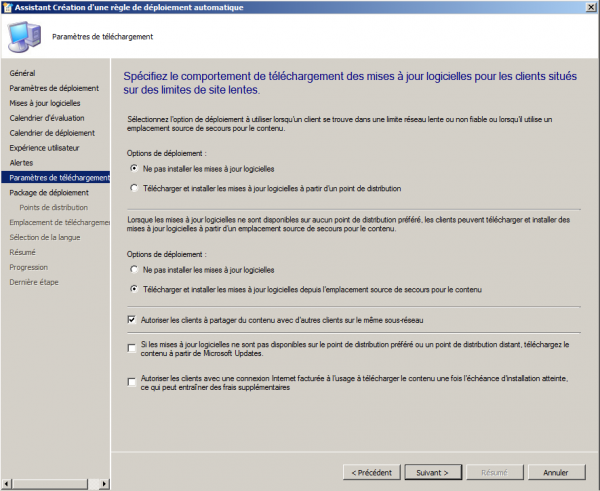
- Disable the restart prompt on client devices.
- Click “Next” to proceed.
Configure WSUS Software –
Useful external reference: Microsoft Learn.
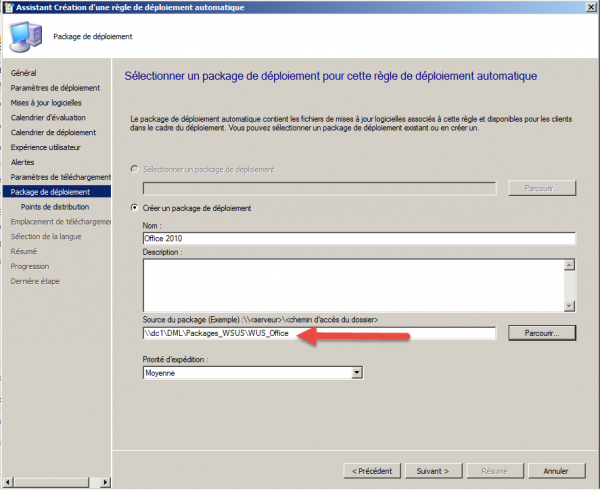
- Specify the storage path for patches, ensuring SCCM has read/write access.
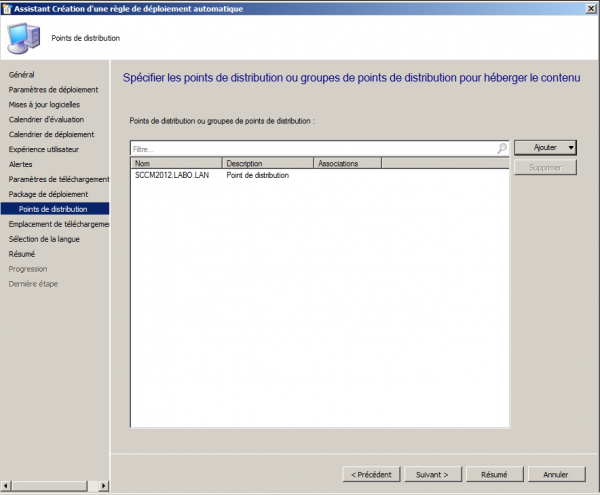
- Add your distribution points.
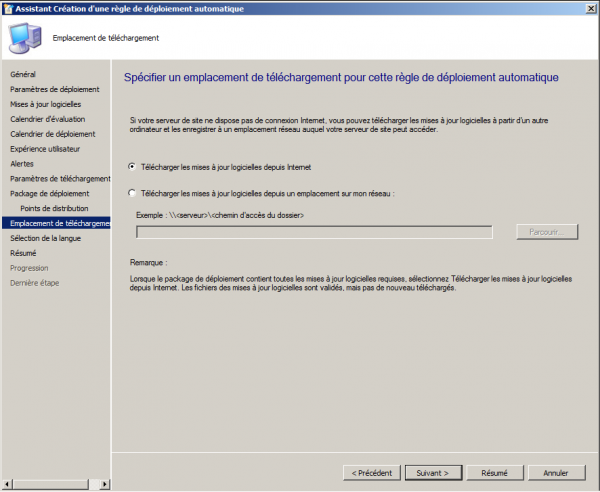
- Allow SCCM to download patches from the internet.
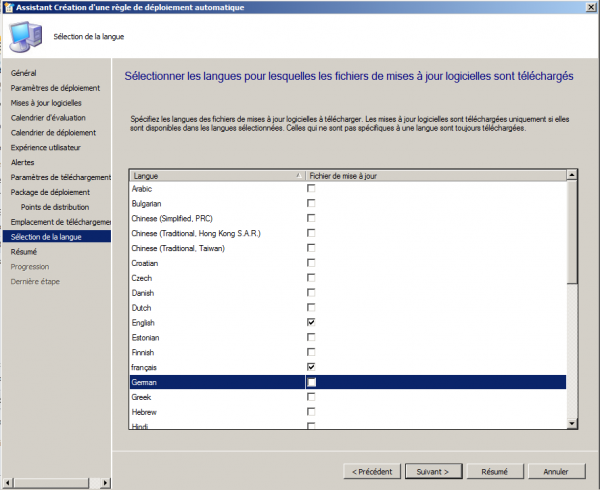
- Select only the necessary languages to limit package size.
- Activate the rule to ensure new patches are automatically installed on client devices.
Configuring Clients
Configure WSUS Software – Ensure that patch deployment is active on client devices by configuring client settings:
Useful external reference: Microsoft Learn.
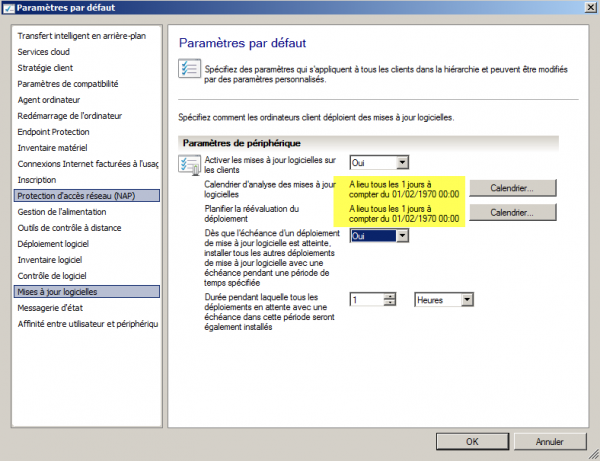
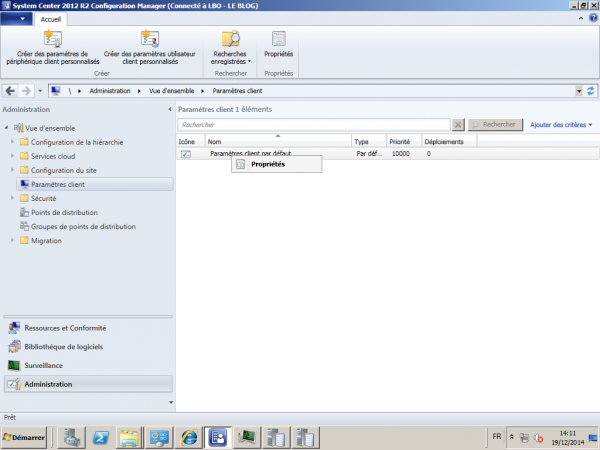
- In the client settings properties, verify that software updates are enabled.
- Optionally, set the patch scan schedule to run daily on client devices.