Installation of Visual Studio Community
The article begins by discussing the installation of Visual Studio Community. It notes that XAML is compatible with ps2exe, allowing users to create a mini application. Visual Studio is recommended for faster interface creation. The article provides a link to download Visual Studio 2022 Community Edition and suggests creating a WPF application.
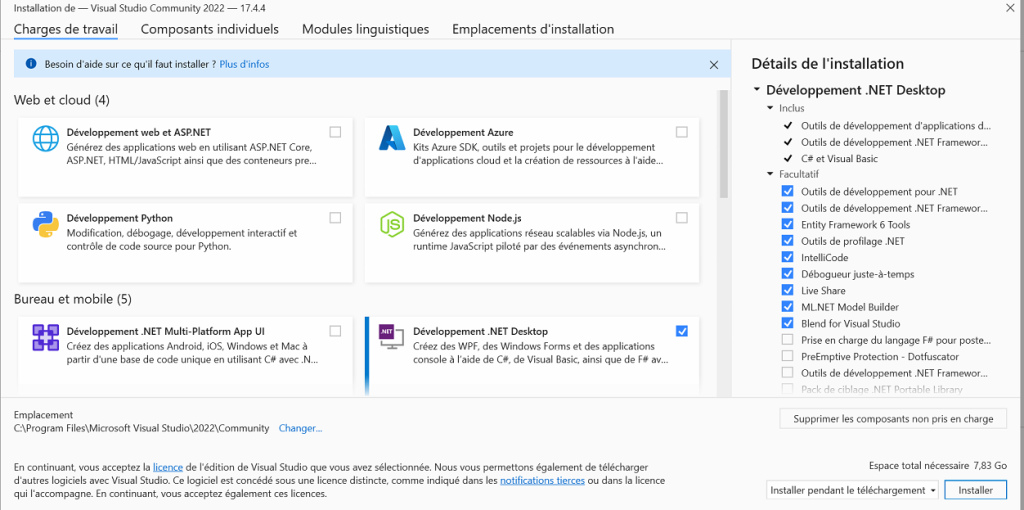
Installing Visual Studio 2022 Community Edition
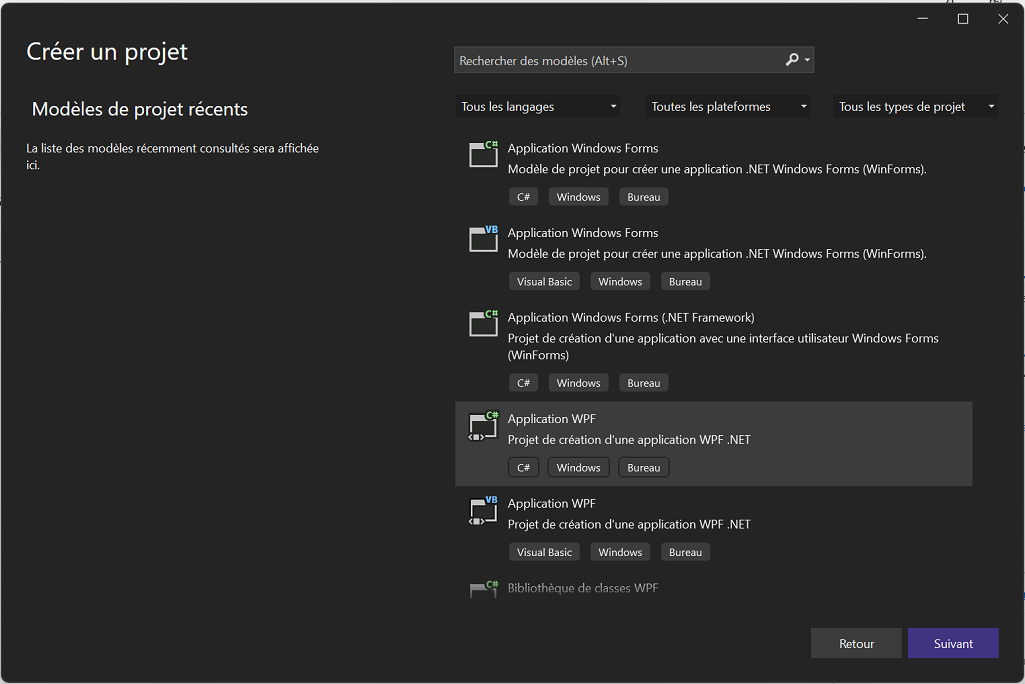
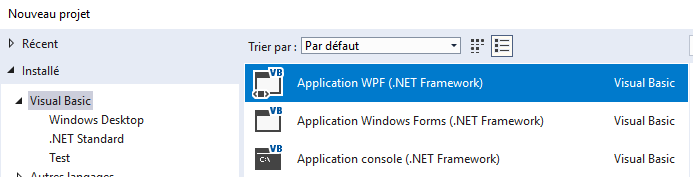
- You can create Application WPF
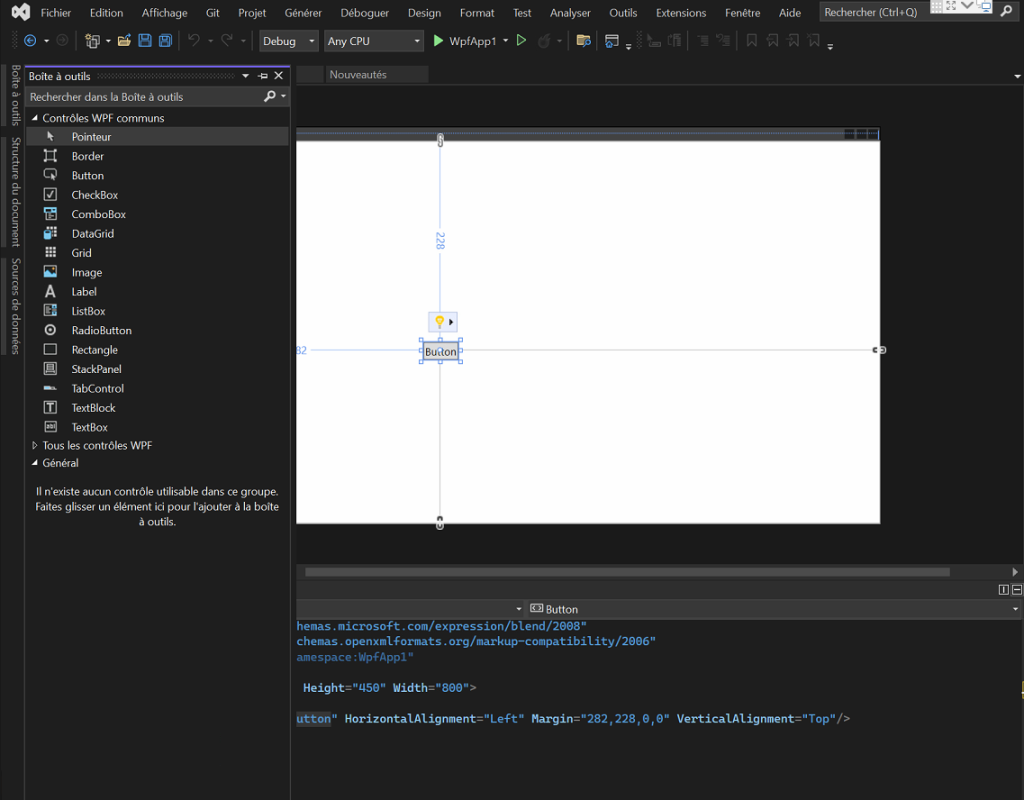
Create a graphical interface
- Launch Visual Studio 2017, then create a new WPF project (regardless of the language).
- Add your buttons, menu, and others …
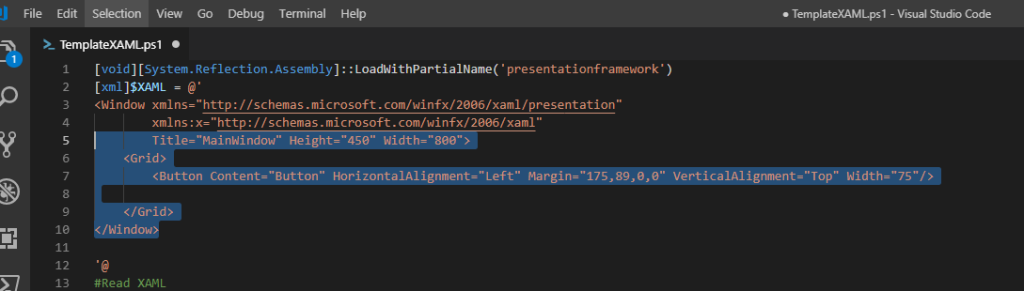
XAML Template
The easiest way is to use a ps1 template and then paste your xaml code into it: Here is a link
or the core
[void][System.Reflection.Assembly]::LoadWithPartialName('presentationframework')
[xml]$XAML = @'
<Window xmlns="http://schemas.microsoft.com/winfx/2006/xaml/presentation"
        xmlns:x="http://schemas.microsoft.com/winfx/2006/xaml"
        Title="titre" Height="573.975" Width="668.135">
    <Grid>
        <Button Name="Run" Content="Run" HorizontalAlignment="Left" Margin="12,489,0,0" VerticalAlignment="Top" Width="632" Background="#FF0DAC2C" FontWeight="Bold" BorderBrush="#FFFDBABA" OpacityMask="Black" Height="39"/>
    </Grid>
</Window>


'@
#Read XAML
$reader=(New-Object System.Xml.XmlNodeReader $xaml)
try{$Form=[Windows.Markup.XamlReader]::Load( $reader )}
catch{Write-Host "Unable to load Windows.Markup.XamlReader. Some possible causes for this problem include: .NET Framework is missing PowerShell must be launched with PowerShell -sta, invalid XAML code was encountered."; exit}

#===========================================================================
# Store Form Objects In PowerShell
#===========================================================================
$xaml.SelectNodes("//*[@Name]") | %{Set-Variable -Name ($_.Name) -Value $Form.FindName($_.Name)}

$Run.add_Click({

})

# Display UI object
$Form.ShowDialog() | out-null
Copying XAML Code
After creating the interface in Visual Studio Community, the section between Title= and </Windows> should be copied from Visual Studio Community .
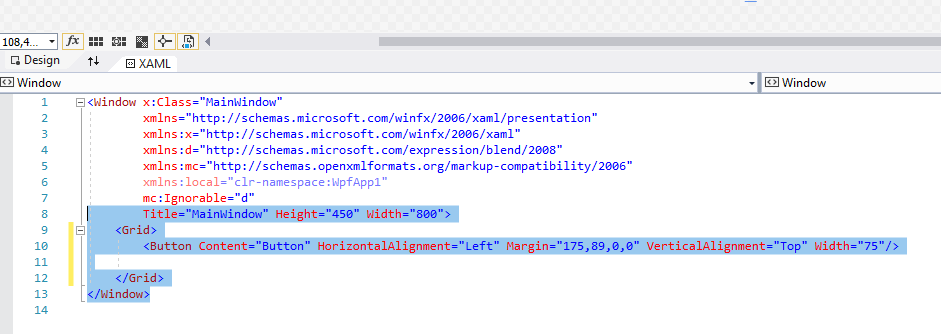
To the PowerShell template
Naming the XAML Code
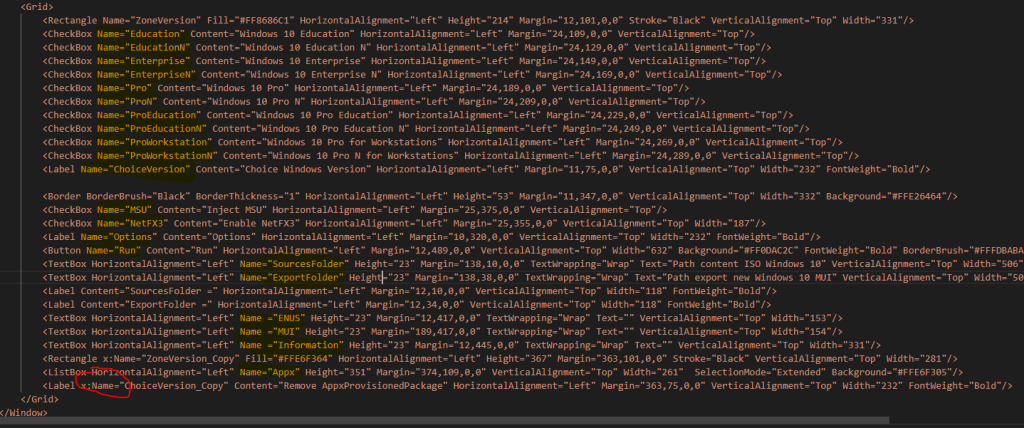
It’s essential to add a Name= before each button/text that you want to control in your PowerShell code. Visual Studio Community might add x:Name= instead of Name=. In such cases, the x: should be removed to have only Name.
Button Action
The template button is named RUN (Name=Run), and actions based on the button’s name can be added.
$Run.add_Click({
   #Action lorsque je click sur le bouton RUN
})
Examples of Use
Multiple Selection in ListBox
Add option : SelectionMode=Extended
<ListBox HorizontalAlignment="Left" Name="User" Height="136" Margin="10,34,0,0" VerticalAlignment="Top" Width="466" SelectionMode="Extended" />
Get Current path
$currentpathXAML = $PSScriptRoot
Displaying a Window in the Foreground
To display a PowerShell XAML in the foreground, simply add…
# Display UI object
$Form.TopMost = $true
$Form.ShowDialog() | out-null
Very useful for displaying a notification popup.
ComboBox change value
[void][System.Reflection.Assembly]::LoadWithPartialName('presentationframework')
[xml]$XAML = @'
<Window xmlns="http://schemas.microsoft.com/winfx/2006/xaml/presentation"
        xmlns:x="http://schemas.microsoft.com/winfx/2006/xaml"
        Title="titre" Height="573.975" Width="668.135">
    <Grid>
        <ComboBox Name="Combo1" HorizontalAlignment="Left" VerticalAlignment="Top" Width="453" Margin="40,99,0,0"/>
    </Grid>
</Window>
'@
#Read XAML
$reader=(New-Object System.Xml.XmlNodeReader $xaml)
try{$Form=[Windows.Markup.XamlReader]::Load( $reader )}
catch{Write-Host "Unable to load Windows.Markup.XamlReader. Some possible causes for this problem include: .NET Framework is missing PowerShell must be launched with PowerShell -sta, invalid XAML code was encountered."; exit}

#===========================================================================
# Store Form Objects In PowerShell
#===========================================================================
$xaml.SelectNodes("//*[@Name]") | %{Set-Variable -Name ($_.Name) -Value $Form.FindName($_.Name)}


$Combo1.Items.add("toto") | out-null
$Combo1.Items.add("tata") | out-null
$Combo1.Items.add("titi") | out-null


$Combo1.add_SelectionChanged({
    param($sender,$args)
    write-host $($sender.SelectedValue)
})

# Display UI object
$Form.ShowDialog() | out-null
CheckBox change value
####### Event CheckBox ###################
 $StoreR.Add_Checked({
     Write-host "Add_Checked"
  })

 $StoreR.Add_UnChecked({
     Write-host "Add_UnChecked"
  })

 $StoreR.Add_Indeterminate({
     Write-host "Add_Indeterminate"
 })
Add_SelectionChanged
When using this code on a combobox
$Combobox1.Add_SelectionChanged({
    write-host $Combobox1.Text
})
You get the previous value, so you need to use
$Combobox1.Add_SelectionChanged({
    write-host $Combobox1.SelectedItem
})


0 commentaire