Download
CSA 5.0 is now an application that installs on Oracle Linux or Red Hat. See: Install Oracle Linux
- CSA 5.0 Download
https://forums.ivanti.com/s/article/CSA-5-0-Download
- Getting Started with CSA 5.0
Network Ports
CSA typically sits in a DMZ. Even though the appliance exposes two NICs, most deployments use a single NIC.
Required ports
80/TCPoutbound for activation and patch services (e.g., license.landesk.com,patchec.landesk.com,patch.landesk.com)443/TCPinbound from Internet → CSA443/TCPbidirectional between Core and CSA443/TCPconsoles ↔ CSA
Also plan for:
- One public FQDN + public IP
- One internal IP and (optionally) internal FQDN
One or Two Network Cards
For years, most CSAs are installed with one NIC. Use two NICs only when:
- No DMZ is available
- You want to isolate/hide the admin console from the Internet

Example: eth0 = internal/Core access, eth1 = Internet-facing.
- eth0 accessible from the Core server
- eth1 reachable from the Internet
CSA Installation
Deploy in a DMZ when possible.
For CSA 4.6, installation is ISO-based. Procedure: How to Create CSA VM from ISO.
Configuration
From VMware
- Login:
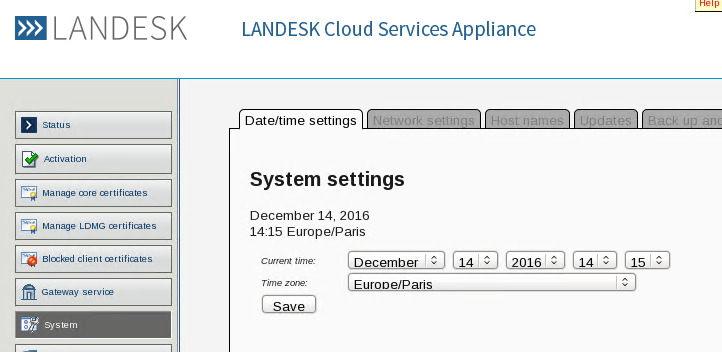
admin / admin(console uses QWERTY layout) - In System, set date/time
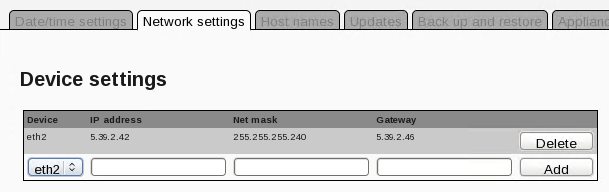
- In System → Network: remove the two default IPs, then set the internal IP on eth0
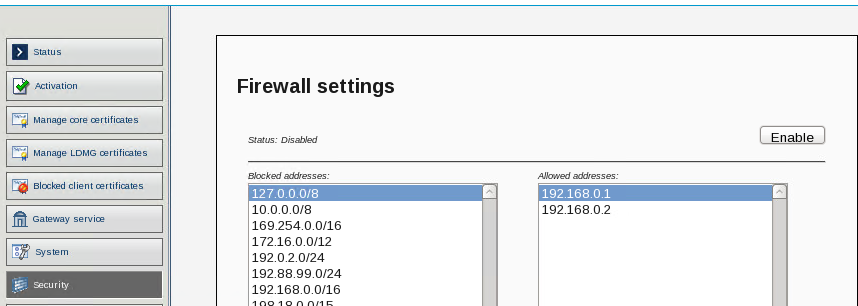
- In Security, disable the Firewall (or open the required ports only)
From the Web Console
After IP setup, browse to https://<internal-ip>/gsb.
- In System, set:
- Your DNS server IP
- The external hostname of the CSA (e.g.,
csa.wuibaille.fr)
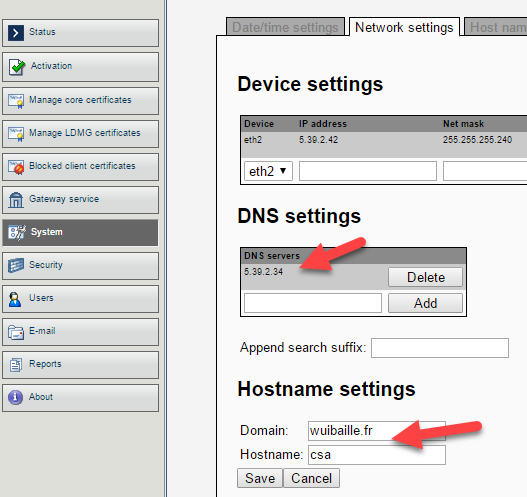
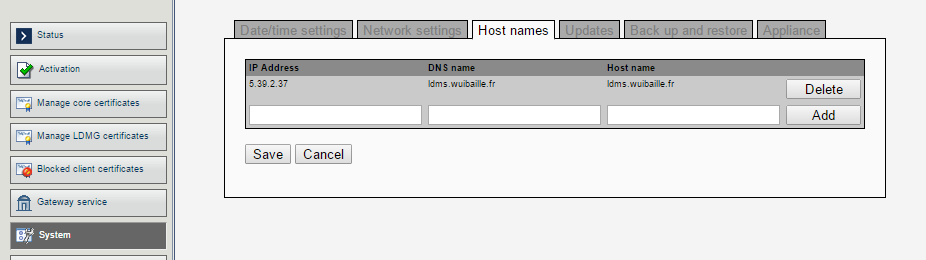
- Optional host entries (if DNS cannot resolve):
- 204.246.148.180
license.landesk.com - 64.40.112.186
patch.landesk.com - 200.112.122.52
patchec.landesk.com - 84.51.239.169
patchemea.landesk.com
- 204.246.148.180
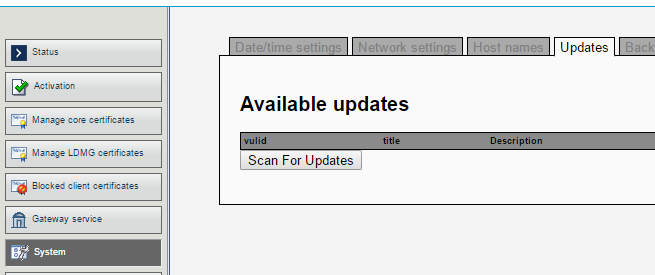
- In System, run an Appliance Update test to validate Internet access
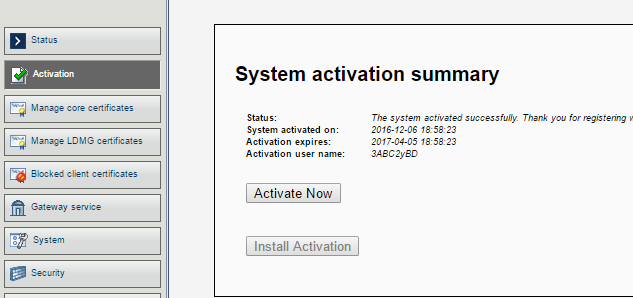
- In Activation, activate the appliance with the same credentials used to activate the Core
- From an Internet-connected workstation (no proxy), verify access via the public FQDN and IP
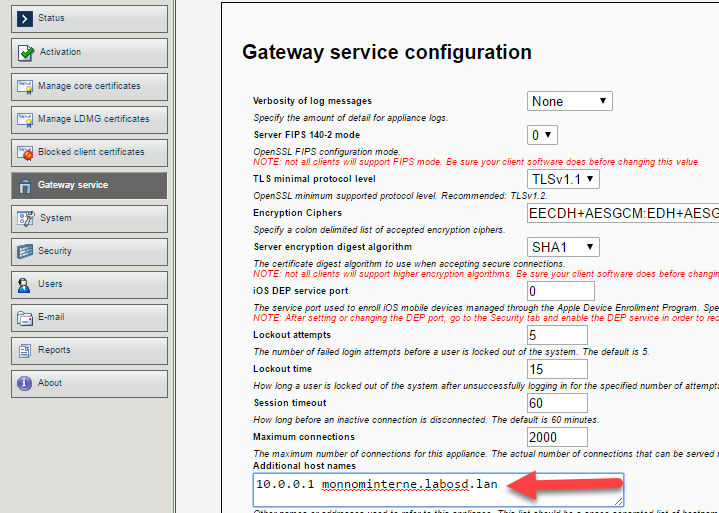
Special case
If the Core cannot reach the CSA via its public IP, add the internal IP/FQDN under Gateway service.
Core Server
CSA Configuration
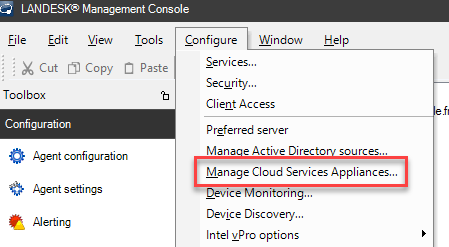
Run from the Core server.
- Open the LANDESK console → Configure → Manage Cloud Services Appliances…
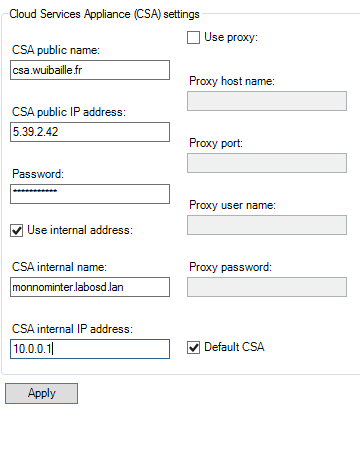
- Enter the public FQDN and public IP of the CSA
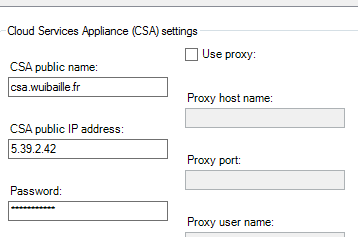
- If the Core can’t reach the public IP, add the internal FQDN. Click Apply to generate the certificate between the Core and CSA
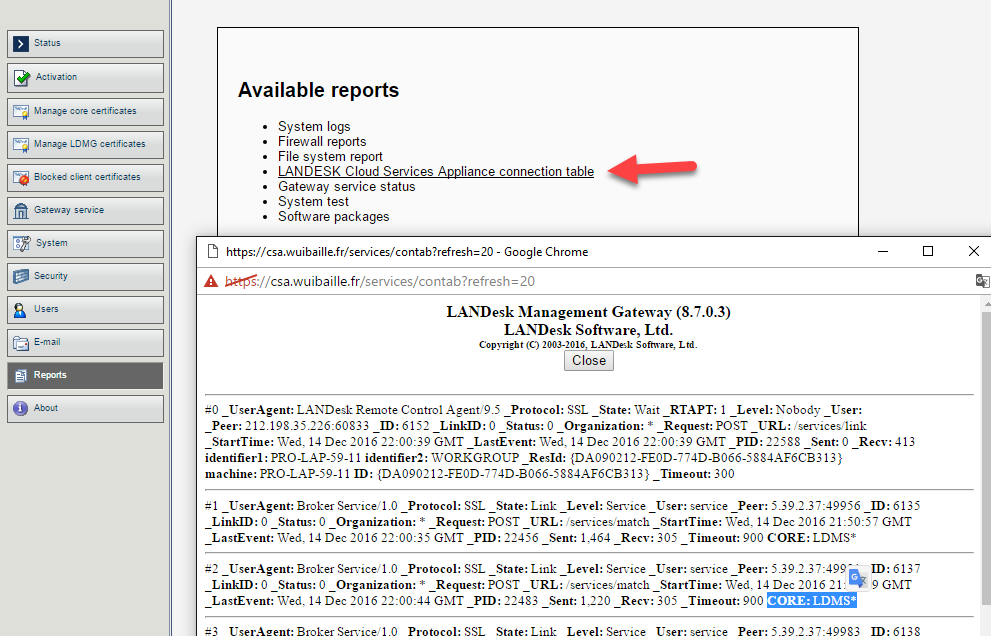
- Verify the connection: in CSA tables, the Core server name should appear; otherwise there is a connectivity issue
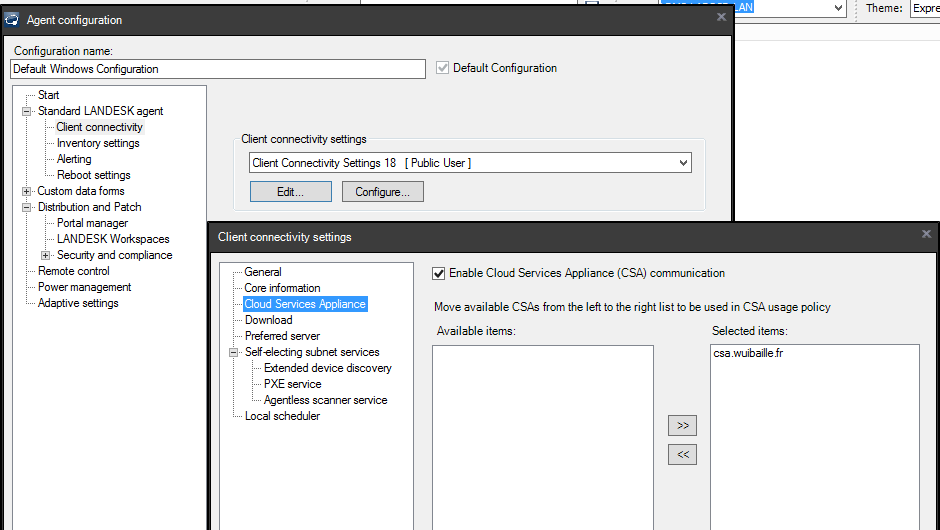
Agent Configuration
In Agent Settings → Client Connectivity Settings, enable CSA. No full redeploy required; endpoints update within ~24h.
Test: Agent Certificates
Manual check: run C:\Program Files (x86)\LANDesk\LDClient\BrokerConfig.exe, then click Send request.
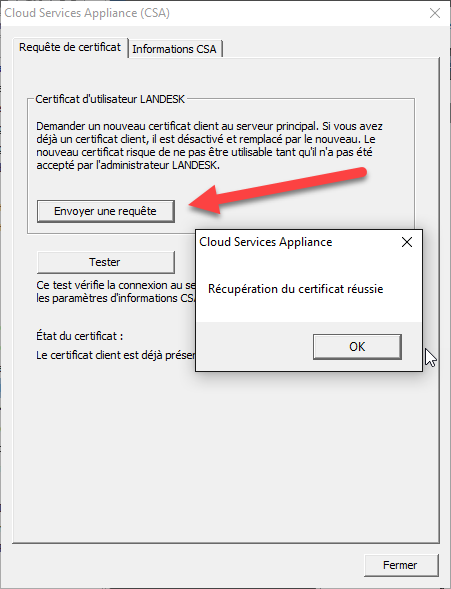
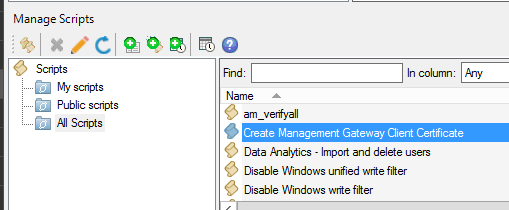
If successful, deploy the Create Management Gateway Client Certificate scheduled task to laptops.