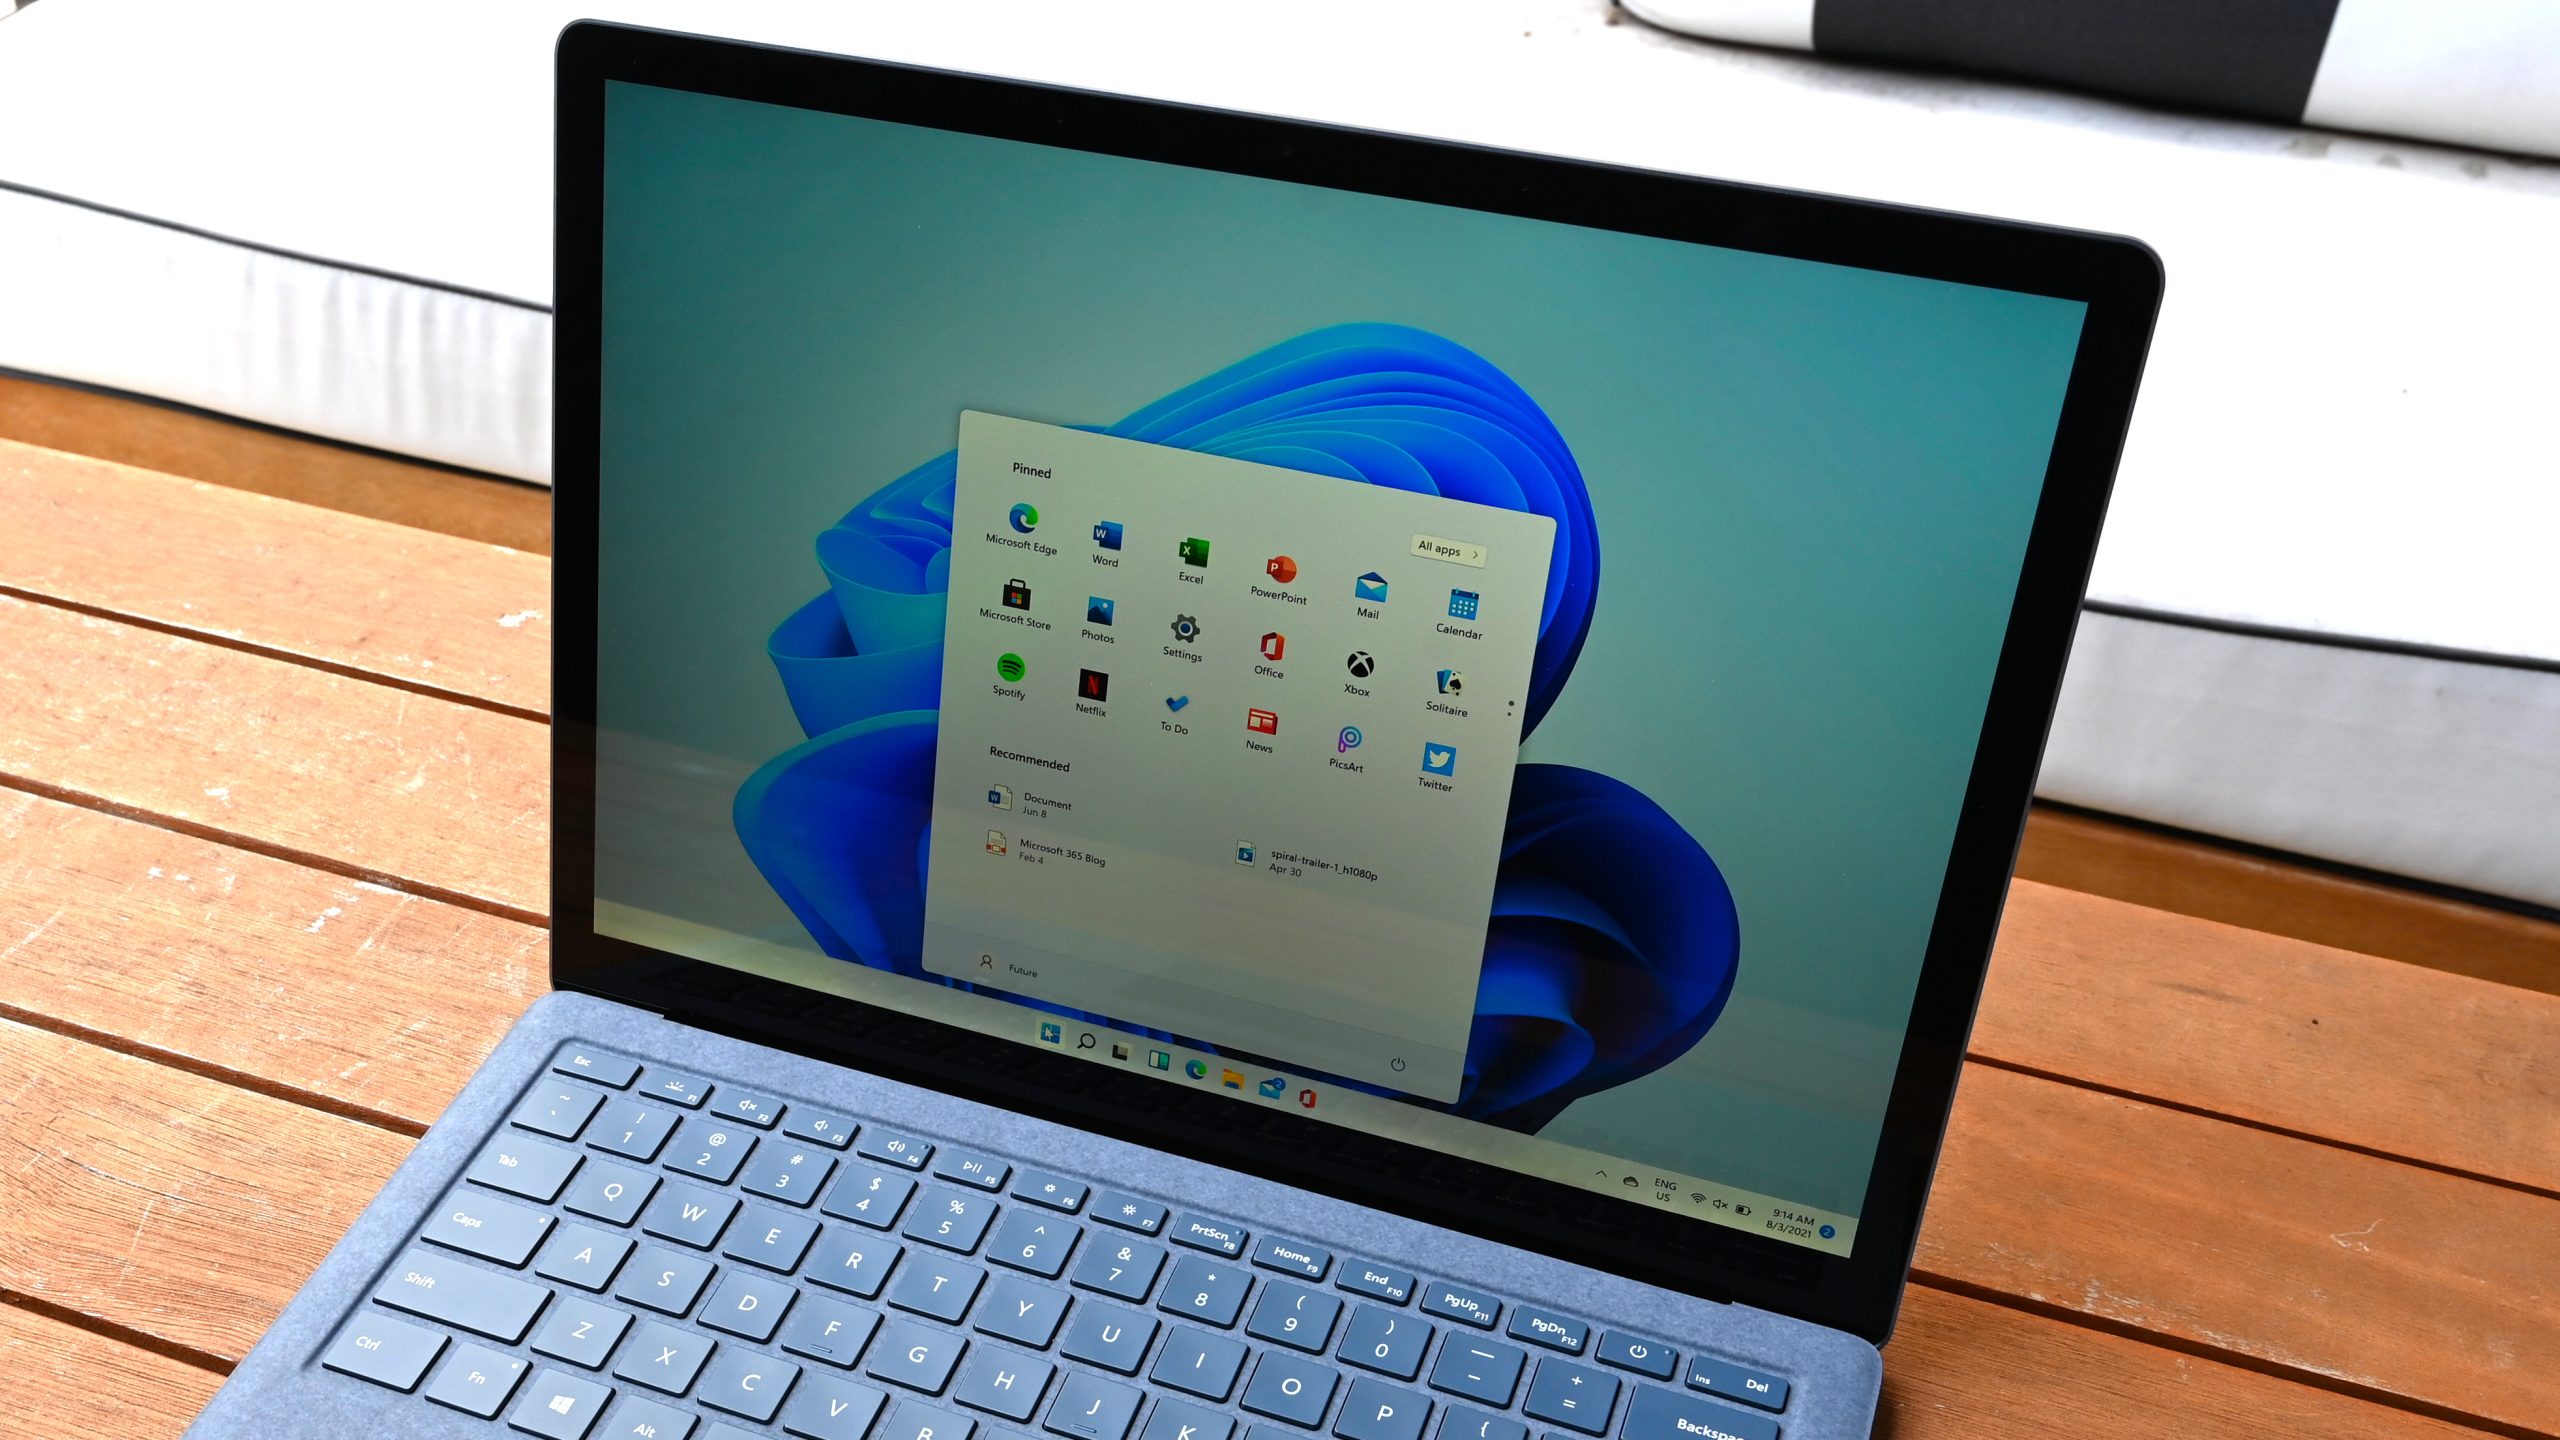
Preventing BitLocker encryption during Windows 11 deployment can be essential, especially when Secure Boot and TPM are enabled, as BitLocker will activate automatically. To prevent BitLocker activation, you can add a command in the unattend.xml file.
Introduction
BitLocker is a robust encryption feature in Windows 11 that helps protect data by encrypting the entire drive. However, in some deployment scenarios, you might need to prevent BitLocker from automatically activating. This can be achieved by modifying the unattend.xml file used during Windows 11 installation.
Disabling BitLocker in Unattend.XML
To prevent BitLocker from activating, add the following command to the unattend.xml file:
<RunSynchronousCommand wcm:action="add">
    <Description>Disable BitLocker</Description>
    <Order>7</Order>
    <Path>reg add HKLM\SYSTEM\CurrentControlSet\Control\BitLocker /v PreventDeviceEncryption /t REG_DWORD /d 1 /f</Path>
</RunSynchronousCommand>
This command adds a registry entry that prevents BitLocker from encrypting the device automatically.
The Unattend.XML File
Here is an example of how the unattend.xml file would look with the added command:
<?xml version="1.0" encoding="utf-8"?>
<unattend xmlns="urn:schemas-microsoft-com:unattend">
    <settings pass="oobeSystem">
        <component name="Microsoft-Windows-Shell-Setup" processorArchitecture="amd64" publicKeyToken="31bf3856ad364e35" language="neutral" versionScope="nonSxS">
            <OOBE>
                <HideEULAPage>true</HideEULAPage>
                <HideOEMRegistrationScreen>true</HideOEMRegistrationScreen>
                <HideOnlineAccountScreens>true</HideOnlineAccountScreens>
                <ProtectYourPC>1</ProtectYourPC>
            </OOBE>
            <UserAccounts>
                <LocalAccounts>
                    <LocalAccount wcm:action="add">
                        <Password>
                            <Value>Pa$$w0rd</Value>
                            <PlainText>true</PlainText>
                        </Password>
                        <Description>Local Administrator Account</Description>
                        <DisplayName>Admin</DisplayName>
                        <Group>Administrators</Group>
                        <Name>Admin</Name>
                    </LocalAccount>
                </LocalAccounts>
            </UserAccounts>
            <RunSynchronous>
                <RunSynchronousCommand wcm:action="add">
                    <Description>Disable BitLocker</Description>
                    <Order>7</Order>
                    <Path>reg add HKLM\SYSTEM\CurrentControlSet\Control\BitLocker /v PreventDeviceEncryption /t REG_DWORD /d 1 /f</Path>
                </RunSynchronousCommand>
            </RunSynchronous>
        </component>
    </settings>
    <settings pass="specialize">
        <component name="Microsoft-Windows-Shell-Setup" processorArchitecture="amd64" publicKeyToken="31bf3856ad364e35" language="neutral" versionScope="nonSxS">
            <ComputerName>PC-%RAND%</ComputerName>
        </component>
    </settings>
</unattend>
Using the Unattend.XML File
- Create the unattend.xml file:
- Copy the above XML configuration into a file named
unattend.xml.
- Copy the above XML configuration into a file named
- Add the unattend.xml file to your Windows 11 image:
- Use Windows System Image Manager (WSIM) to validate and customize the XML file if necessary.
- Place the
unattend.xmlfile in the\Sourcesfolder of your Windows 11 installation media or deployment share.
- Deploy Windows 11:
- Boot the target machine using the Windows 11 installation media.
- The setup process will automatically apply the settings specified in the
unattend.xmlfile, including the command to prevent BitLocker activation.