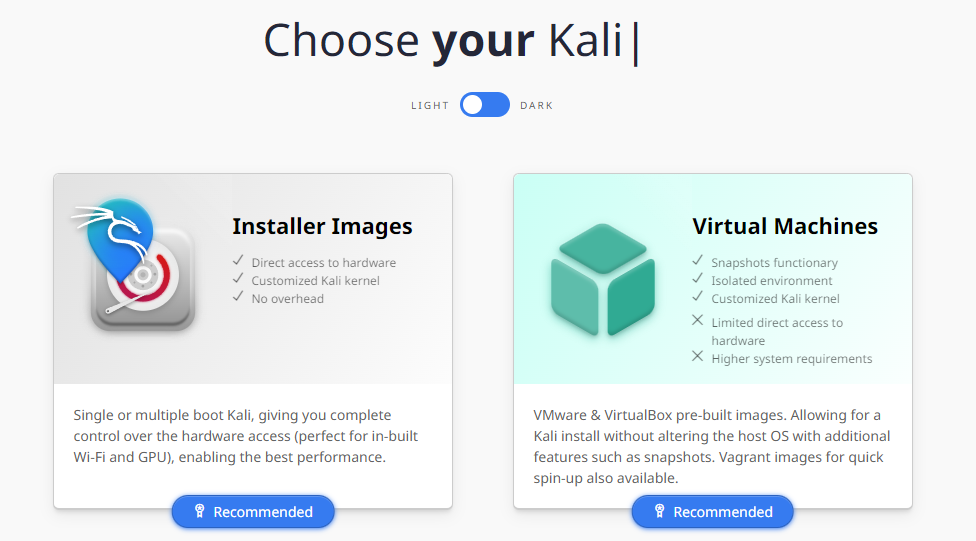
- Visit Kali Linux Official Website and choose either ‘Virtual Machine’ or ‘Installer’ option.
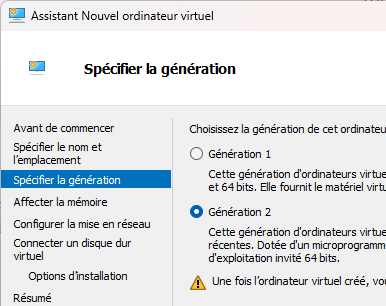
- In Hyper-V, create a new Gen 1 virtual machine.
- Allocate 4 GB of RAM.

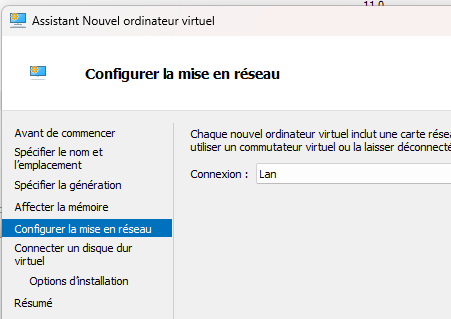
- Select a network connection.
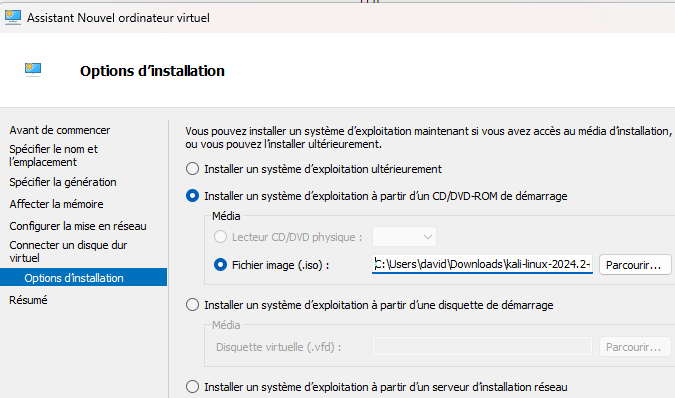
- Choose the Installer option.
- Disable ‘Security Boot’.

- Start the Virtual Machine.
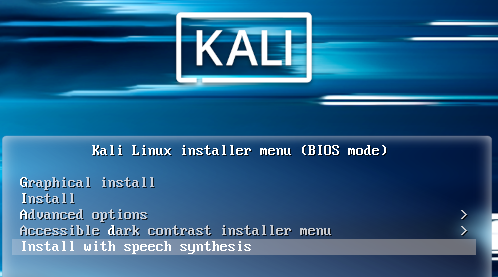
- Select ‘Graphic install’.
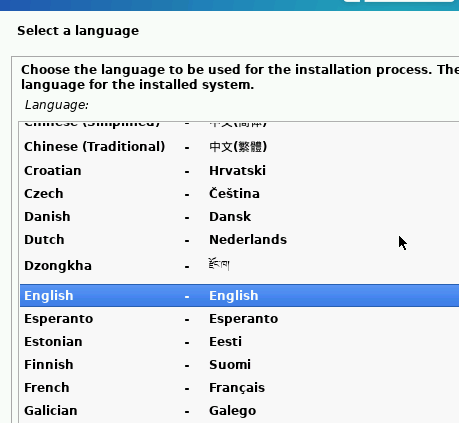
- Select the installation language.
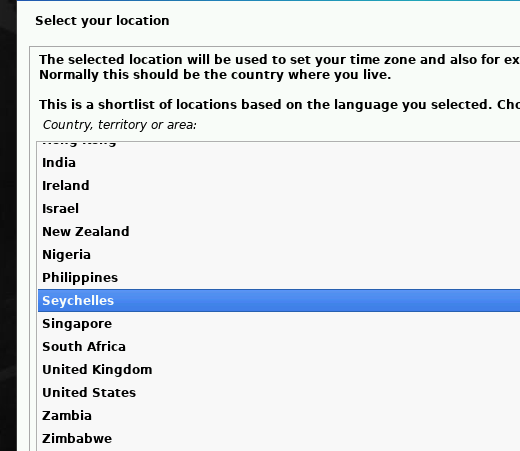
- Choose your location.
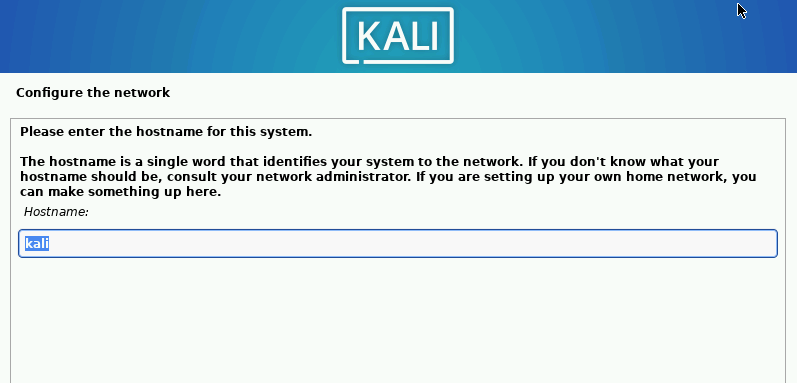
- Enter the hostname.
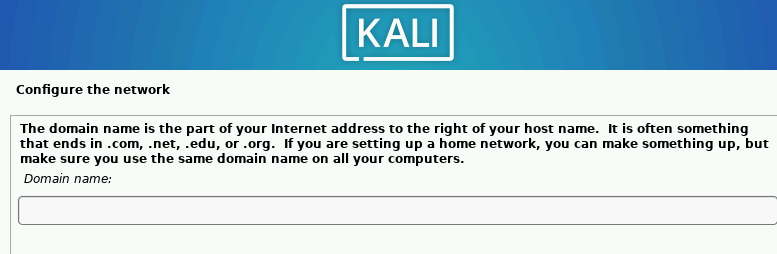
- Enter the domain name if necessary (leave blank if not applicable).
- Enter the administrator’s name.

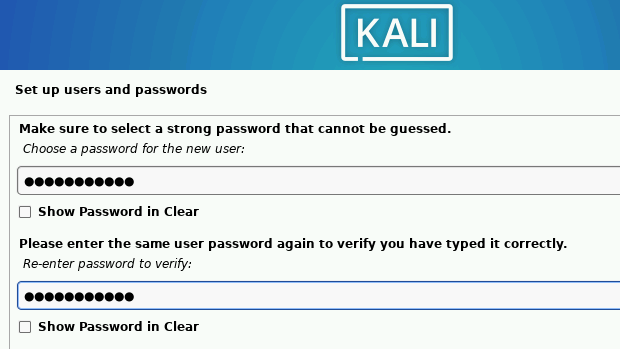
- Set a password for the administrator account.
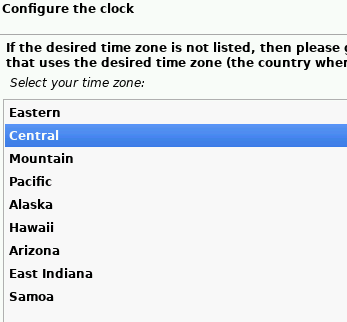
- Select your time zone.
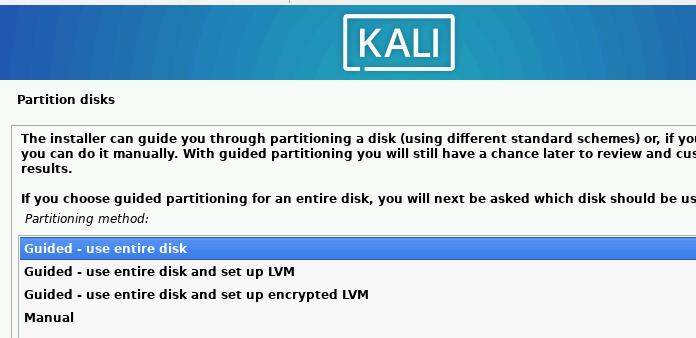
- For this virtual machine, opt to erase all disks.
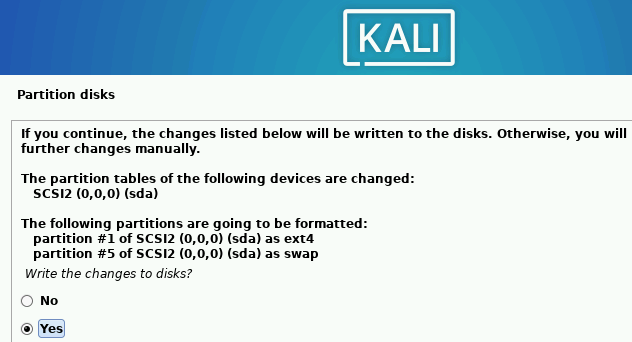
- Skip additional screens and confirm disk erasure by selecting ‘Yes’.
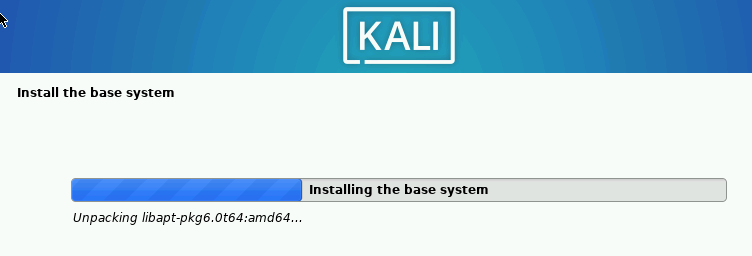
- Installation is in progress.
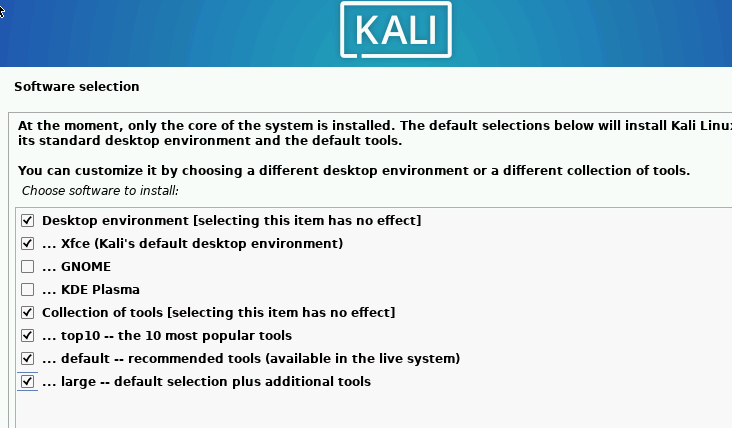
- For software installation, select the ‘Large’ option.
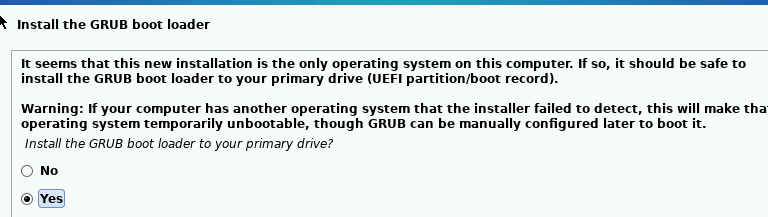
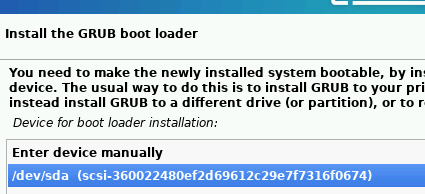
- Install the GRUB loader, and choose ‘Yes’.
- Select the hard drive where Kali will be installed.
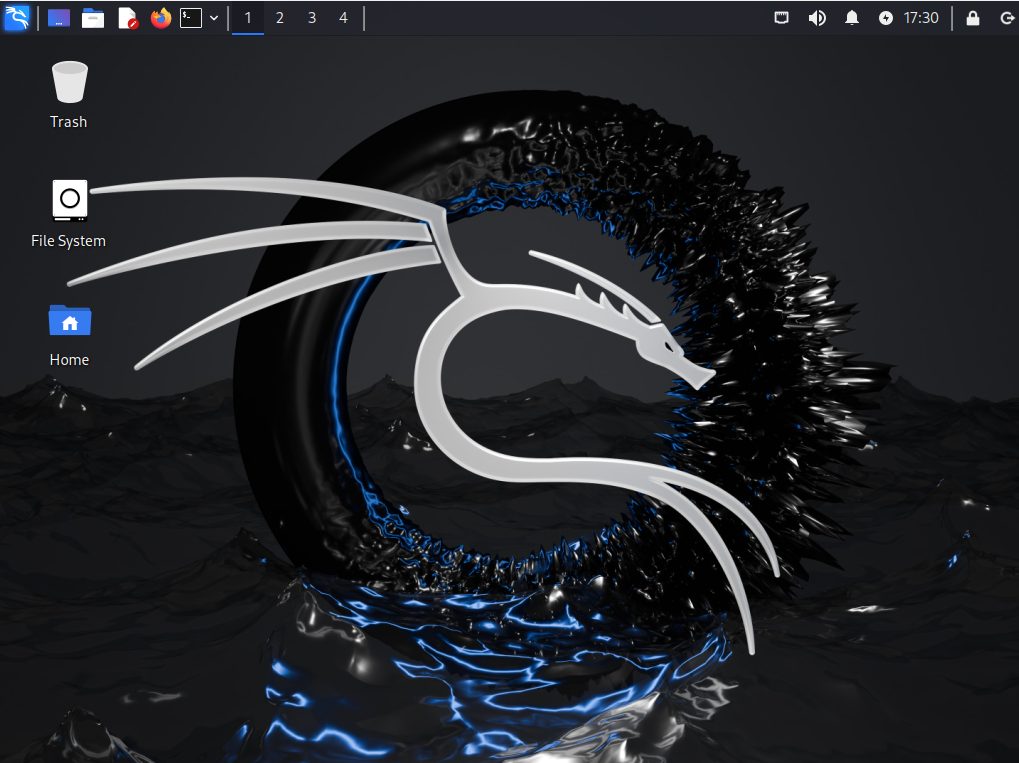
- After restarting, Kali Linux is ready to use.


0 Comments