Requirements
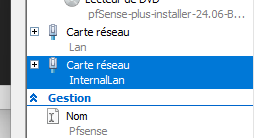
It is necessary to have two network cards:
- One with an Internet connection (External type)
- One connected to a local network (Internal type)

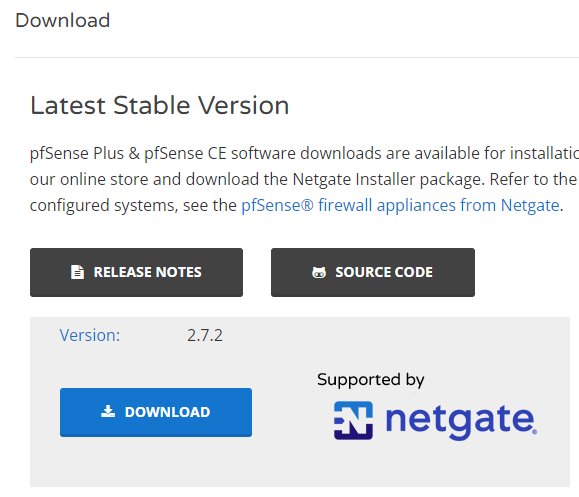
Download
- Go to Download pfSense Community Edition and select download.
Create Virtual Machine
- Extract the .gz file using 7-Zip.
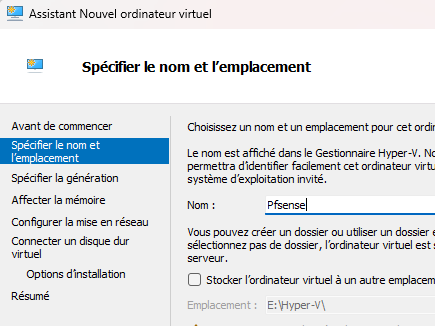
- Create a new virtual machine.
- Select Gen 2.
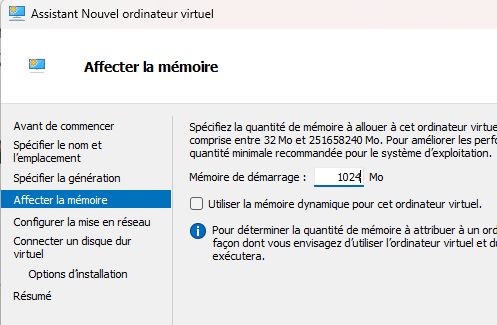
- Allocate 1 GB of RAM.
- Select one network card (with Internet connection).
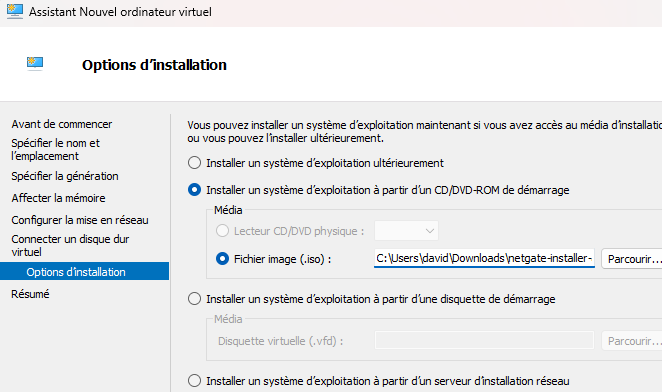
- Select the ISO file.
- Disable Secure Boot.
- Add a second network card.
Install pfSense
- Start the virtual machine and select ‘Install’.
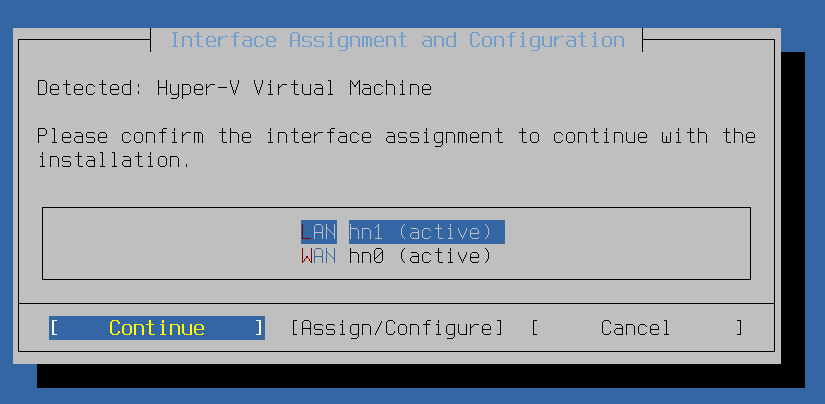
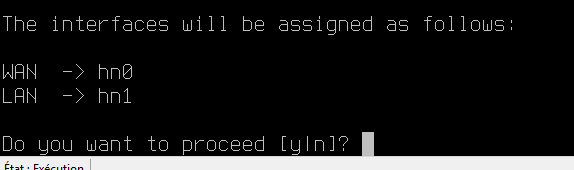
- Assign the Internet Network Card (first network card) and then the internal card (second network card).
- Two network cards have been assigned.
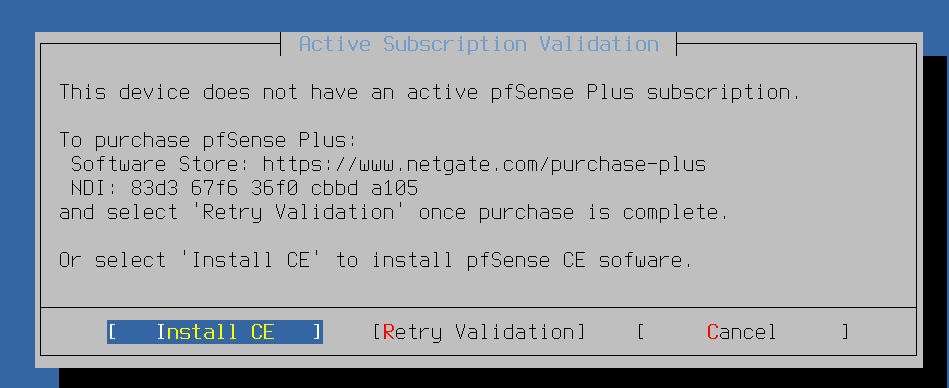
- Install the Community Edition (CE) of pfSense.
- Continue with the installation and select a stable version of pfSense.
- The installation of pfSense is fast. Click ‘OK’ after the end of the installation.
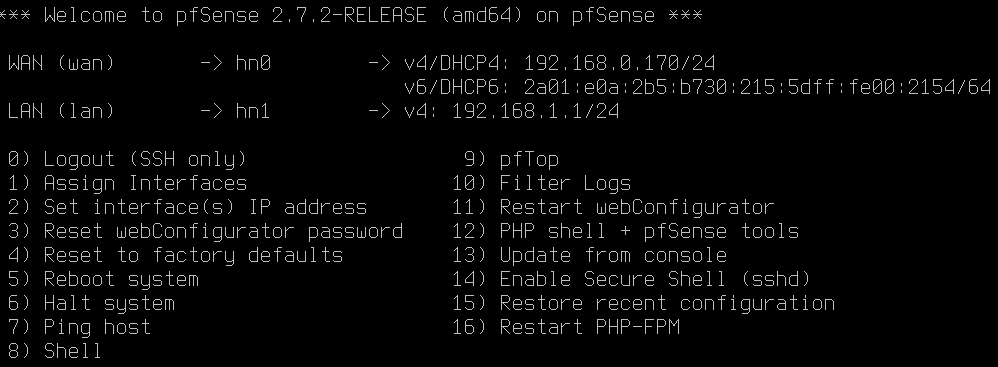
- After restarting, configure the WAN and LAN interfaces.
- You can access the pfSense interface using the IP address of hn1.
First Configuration
- Connect to the website via hn1 using a browser.
- Log in (default credentials: admin / pfsense).
- Change the admin password.
- In the general configuration, set the DNS to use the AD server and select the Paris time zone.
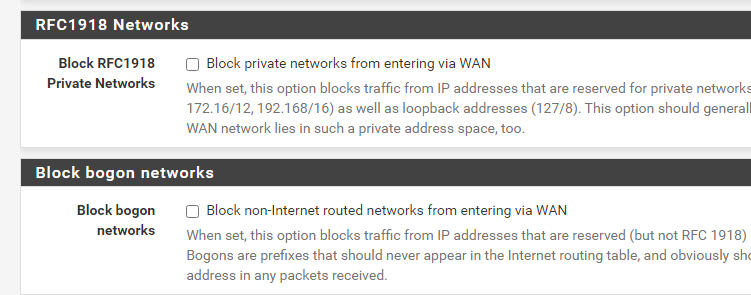
- Temporarily authorize all traffic.
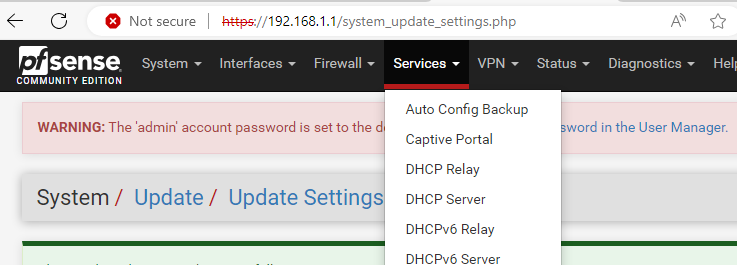
Disable DHCP Server
- Navigate to Services, select DHCP Server, and disable the DHCP server.
- Save the changes.


0 Comments