
Introduction
OSDCLOUD is a solution for installing Windows 10 or Windows 11 without internal infrastructure. All resources will be downloaded from the internet. However, you will still need:
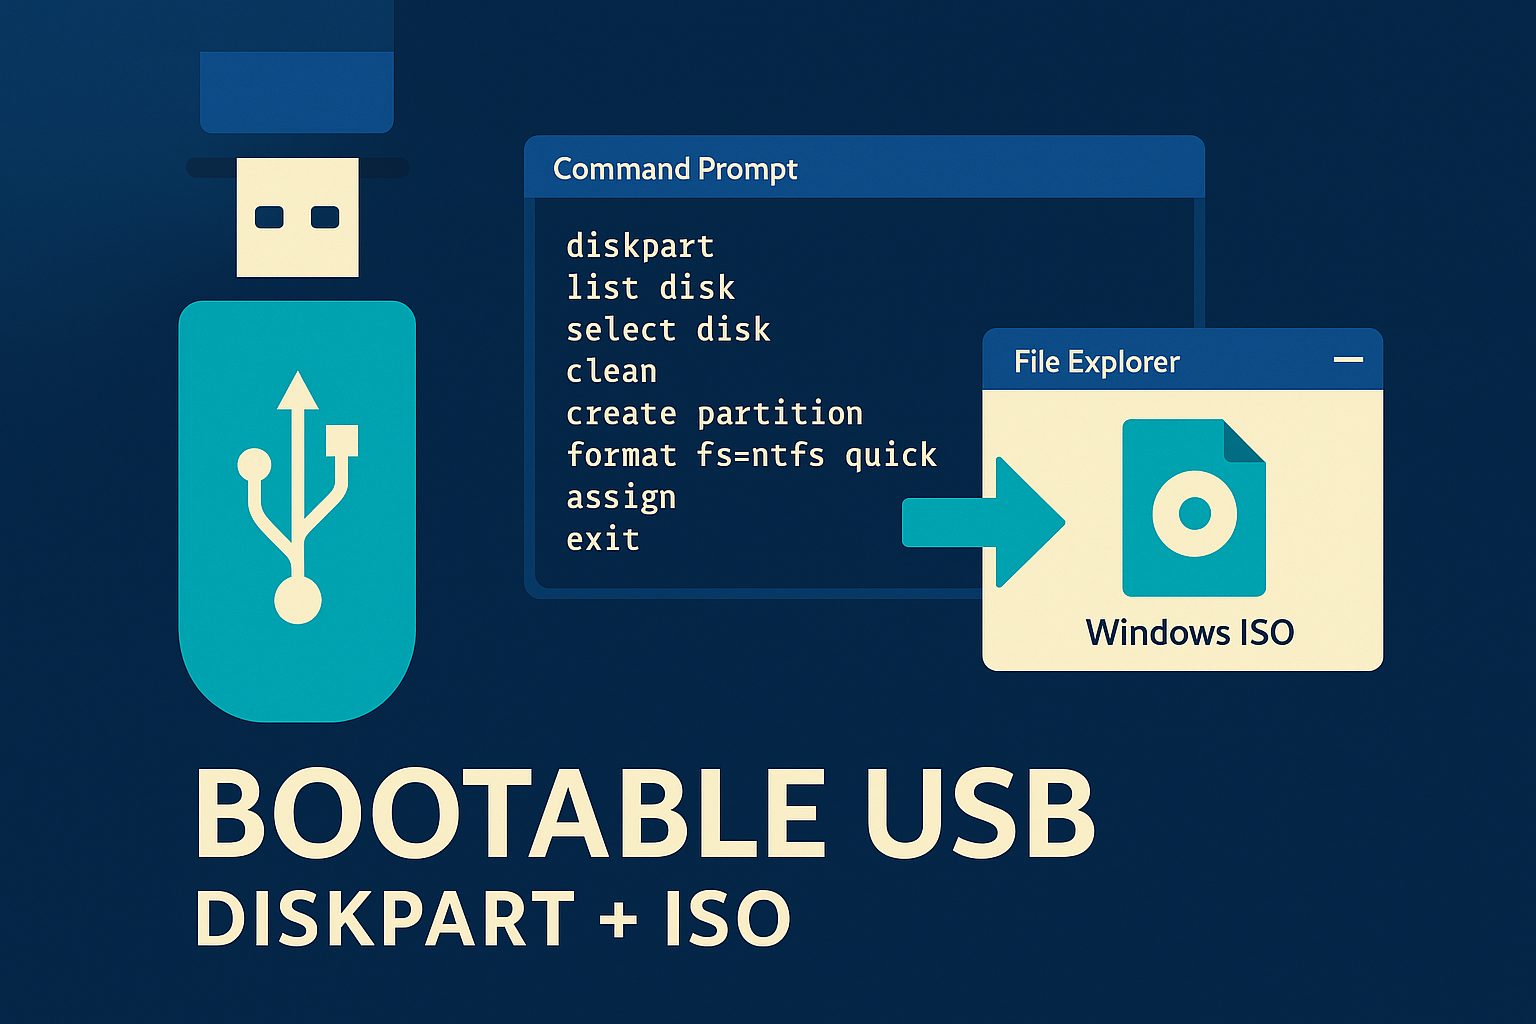
- A bootable USB key or a WDS server.
- A PowerShell script available online for automation (optional).
This USB key or WDS will be used for the initial boot of your computer. A 1GB USB key will be more than sufficient. Windows sources and drivers will be automatically downloaded from the internet.
Prerequisites
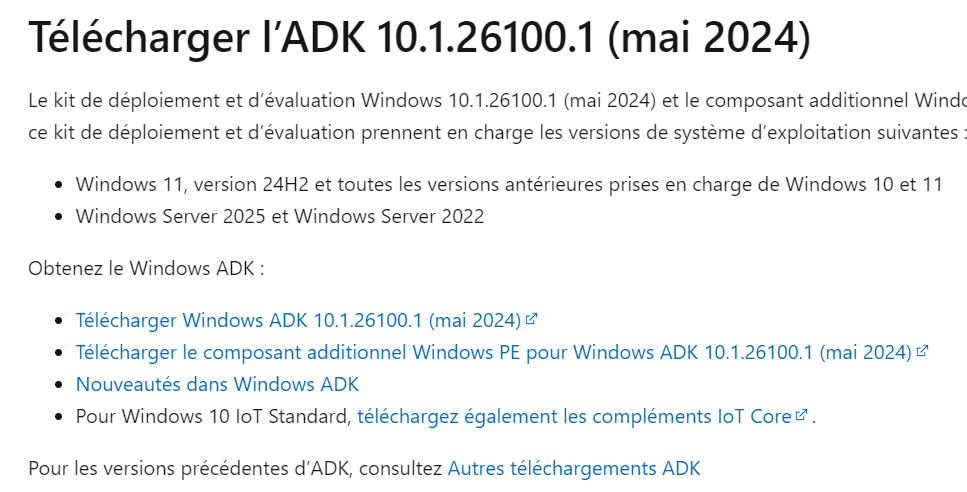
- Windows ADK is required. Download and install it.
- Windows ADK Windows
- Windows PE Module
Download and install the Windows ADK | Microsoft Learn
Creating the OSDCloud workspace
All commands will be executed as an administrator.
Create a new Workspace.
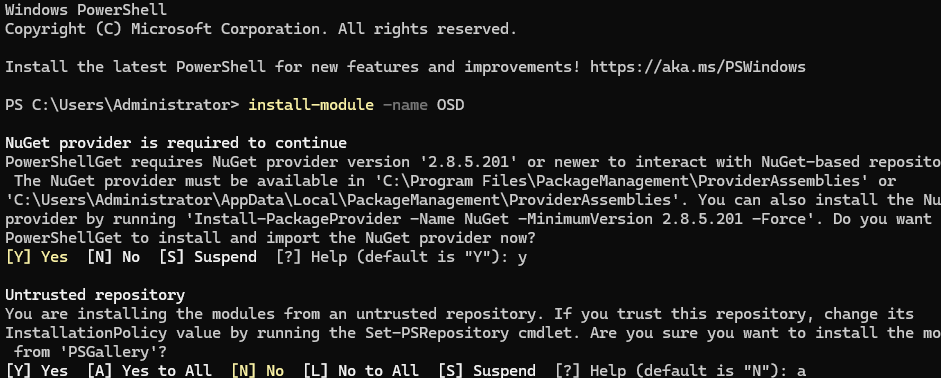
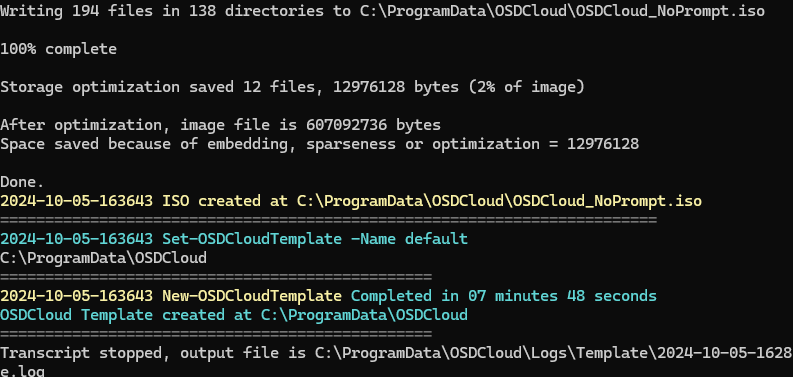
The workspace is the working directory where Winpe images and OSDCloud scripts will be copied. To create the workspace, use the following commands.
Install-module -name OSD
New-OSDCloudTemplate –Language fr-fr –SetInputLocale fr-fr
New-OSDCloudWorkspace –WorkspacePath c:\OSDCloud
Command to navigate within the workspace (optional)
Get-OSDCloudWorkspace
Set-OSDCloudWorkspace c:\OSDCloud
Automation Script for Windows 11 (Optional)
This step allows for automating the installation. You can skip this step if your goal is occasional installations.
A PowerShell script has been made available on a website. This script will be executed during deployment with OSDCloud, so it must be available online.
Script Example
Write-Host -ForegroundColor Green "Starting OSDCloud ZTI ..."
start-sleep -Seconds 3

Write-Host -ForegroundColor Green "Setting Display Resolution to 1600"
Set-DisRes 1600
start-sleep -Seconds 2

Write-Host -ForegroundColor Green "Updating OSD Powershell Module"
Install-Module OSD -Force

Write-Host -ForegroundColor Green "Importing OSD Powershell Module"
Import-Module OSD -Force

Write-Host -ForegroundColor Green "Start OSD Cloud"
Start-OSDCloud -OSLanguage fr-fr -OSName 'Windows 11 22H2 x64' -OSLicense Volume -OSEdition Pro -Zti

Write-Host -ForegroundColor Green "Restarting ..."
start-sleep -Seconds 5
wpeutil reboot
The Start-OSDCloud command has several options:
- OSLicence: Volume for a KMS server or Retail for BIOS activation (OEM License)
- OSEdition: In reality, it will be Pro or Enterprise
- Zti: for a silent installation (Warning: this will reinstall the computer without any prompt)
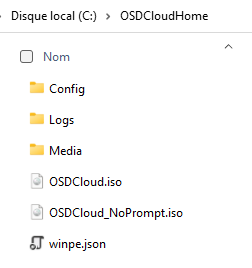
Customizing the OSDCloud Workspace
Add WinPE drivers
Edit-OSDCloudWinPE –CloudDriver HP
# Or
Edit-OSDCloudWinPE -CloudDriver Dell,HP,IntelNet,LenovoDock,Nutanix,USB,VMware,WiFi
Other options
In this command, I will point to my automation script and define a background image.
Edit-OSDCloudWinPE -WorkspacePath C:\OSDCloudHome -CloudDriver HP -WebPSScript "https://nas.wuibaille.fr/LeblogOSDdownload/Repository/OSDCloud/Win11_PRO_fr.ps1" -Wallpaper "c:\temp\wallpaper.jpg"

If you don’t want to use an automated script, you can run the command on WinPE (OSDCLoud)
- Start-OSDcloudGUI
- Start-OSDCloud
An assistant will offer you the choice of the Windows version, language, and licensing mode.
Creating the OSDCloud boot media
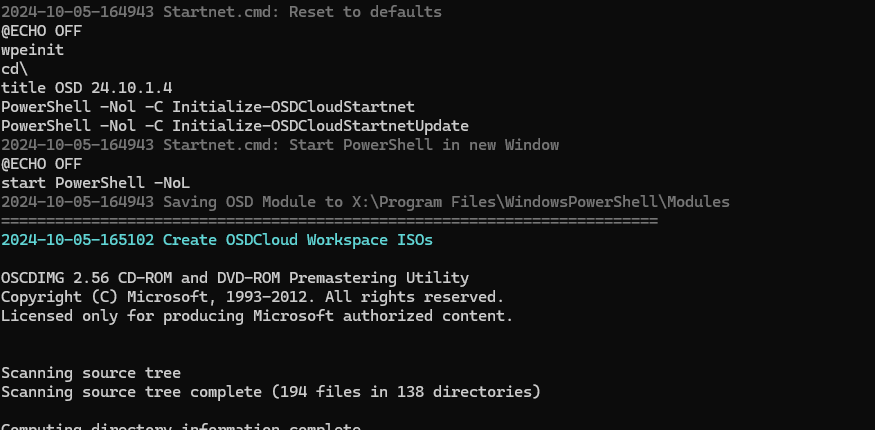
- You can either create an ISO or a WIM.
New-OSDCloudISO
New-OSDCloudUSB
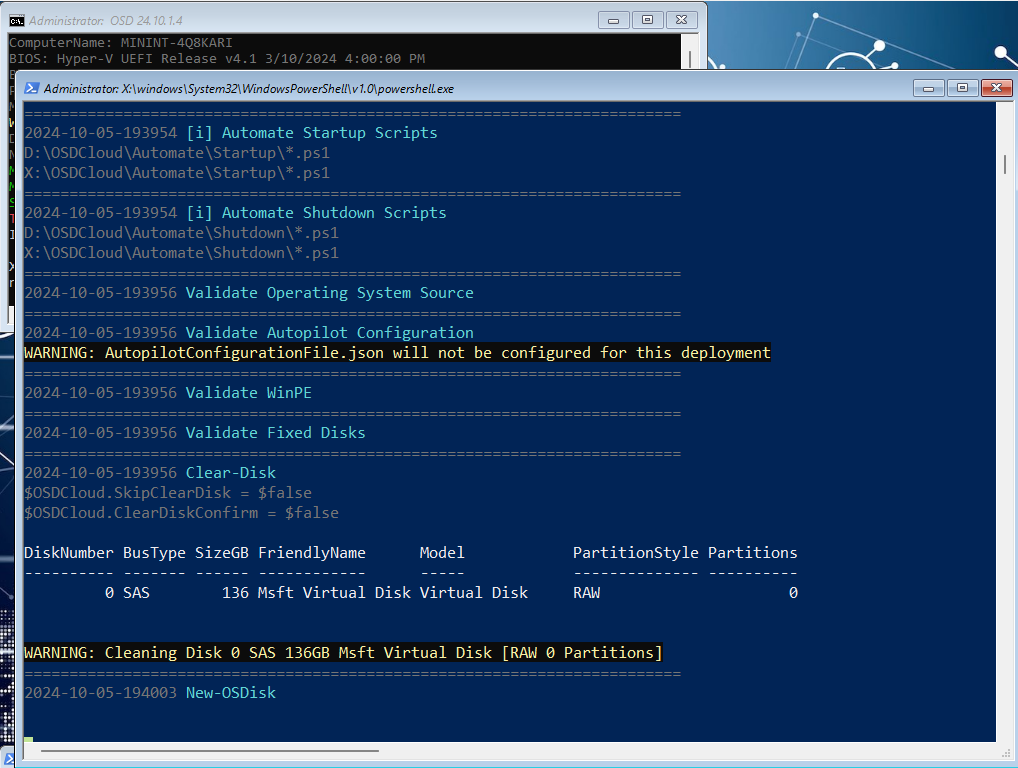
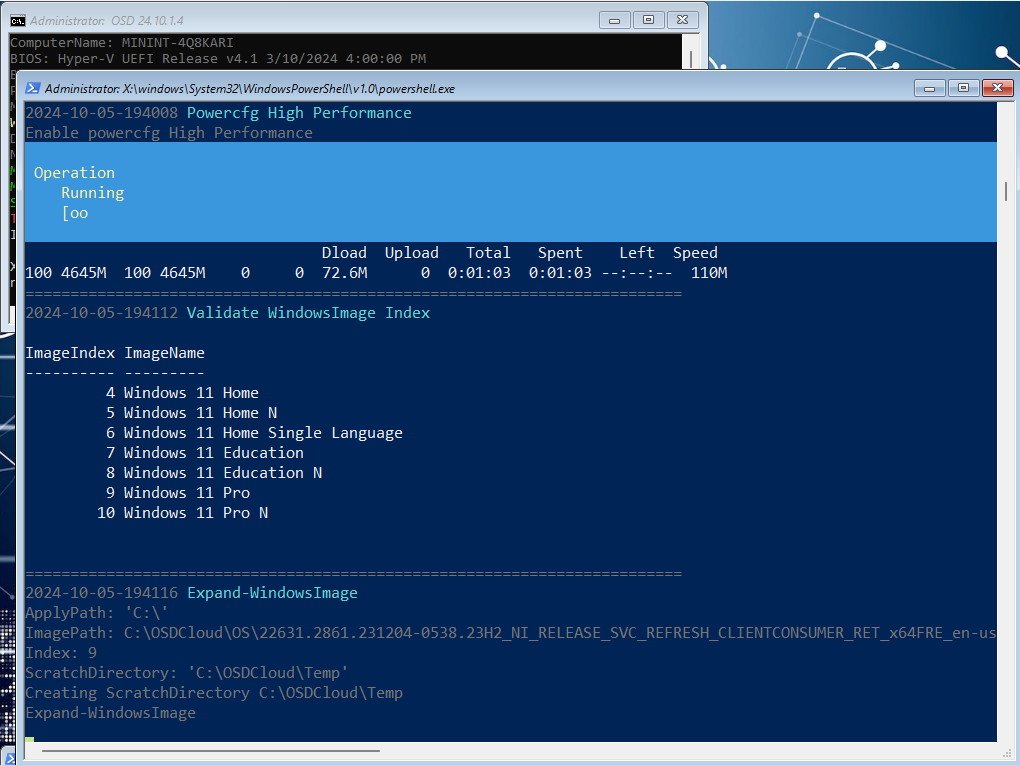
Computer Installation
Once booted from your USB key, here’s an example of deployment.
To achieve this result, I only performed the steps mentioned above. This type of deployment is quick to set up for computer wipes, for example, or for home use.
https://github.com/DavidWuibaille/Repository/tree/main/Powershell/ModuleOSDCloud


Bonjour,
J’ai suivi le process
cependant j’ai un pb de signature avec le fichier osd.psd1 qui dit que la signature n’est pas valide
le code tourne donc en boucle :/
comment faire ?
merci pour votre aide
j’arrive jusqu’au process des drivers, après j’ai un message qui dit que la requête ne peut être traitée et la console se ferme toute seule
entre temps j’ai regénéré une image mais sans succès
Bonjour,
Je viens de lancer les commandes et je n’ai pas le problème
Pourriez-vous préciser à quel moment survient le problème de signature : lors de l’installation du module ou lors de la création du workspace ?
en test :
– Update-Module -Name OSD
ou
– Uninstall-Module -Name OSD
– Install-Module -Name OSD
vérifier également la policy actuelle
Get-ExecutionPolicy
Set-ExecutionPolicy RemoteSigned
La politique d’exécution par défaut était définie sur RemoteSigned lors de mes tests.
Bonjour,
Effectivement c’est bien un pb avec la stratégie d’exécution du script
par défaut je suis en bypass dans l’environnement winpe,
Comment je peux faire pour configurer la stratégie d’exécution en remotesigned par défaut ?
en vous remerciant 🙂
Hello,
désolé pour la réponse tardive
pour passer en stratégie remotesigned la commande est tout simplement
Set-ExecutionPolicy RemoteSigned