Windows 11 in OOBE with MDT
Windows 11 OOBE – Step-by-step guide to Windows 11 in OOBE with MDT, including configuration, deployment, troubleshooting and practical administration tasks for MDT.
Windows 11 OOBE – The goal is to install a clean computer for Intune use or to reinstall a personal PC
Windows 11 OOBE –
Windows 11 OOBE – A server or a computer with
- A share
- Windows ADK installed
- MDT installed
- A WDS server or a USB key for booting
- A DHCP server
Prerequisites
Windows 11 OOBE – What you need
- A Windows 11 consumer or business ISO (do not use an ISO made with the Media Creation Tools)
- Installation of Windows ADK Windows 10 ou 11 ,
- Select the following options:
- For the Windows ADK module
- Deployment Tool
- USMT
- For the Windows ADK module
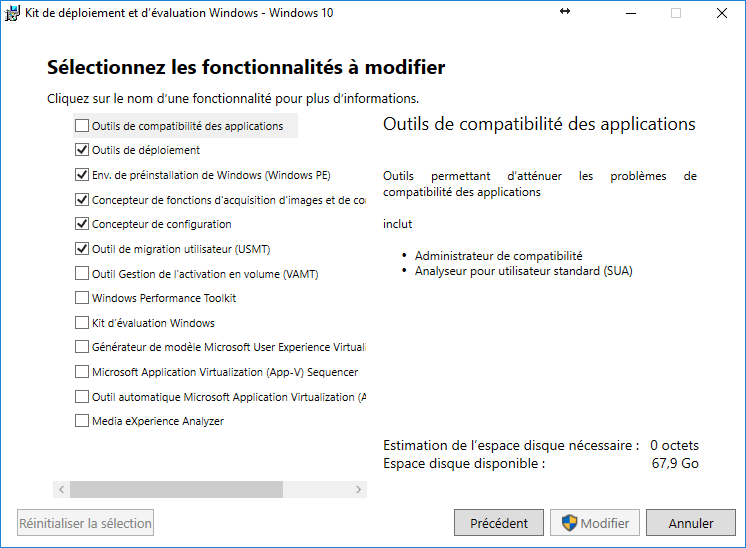
- For the additional PE Windows module for the Windows ADK
- WinPE
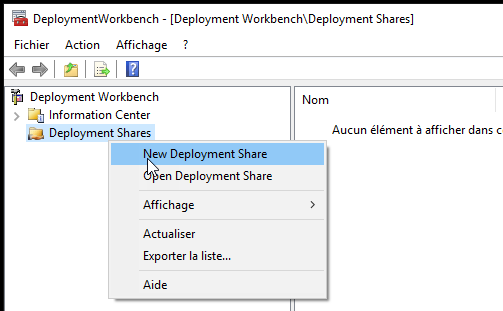
Creating the Deployment Share
- Launch MDT using the “Deployment Workbench” shortcut, then create a new “Deployment Share”.
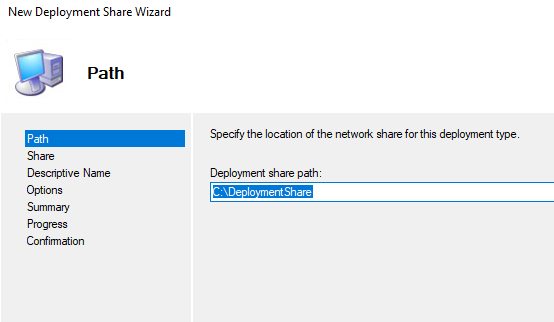
- Specify a local path and then validate the following screens (configuration will be done later) with the customsetting.ini and bootstrap.ini files.
Creating Boot Images
Manage Drivers
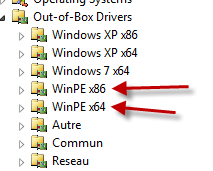
Windows 11 OOBE – Create 2 directories in MDT that only manage WINPE drivers
- WinPEx86 => Used for 32-bit WinPE images
- WinPEx64 => Used for 64-bit WinPE images
Folder creation
- In “Out-of-Box Drivers”, create a new folder
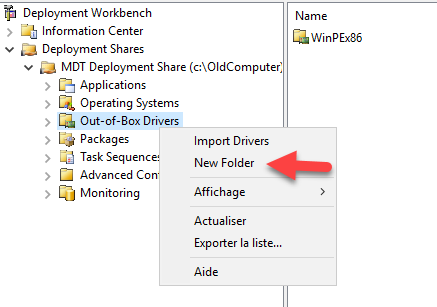
- Specify the folder name and validate

Downloading WinPE drivers
Windows 11 OOBE – WinPE is based on Windows 10, you will need to download drivers for Windows 10
- You can use the Dell Driver pack : Download
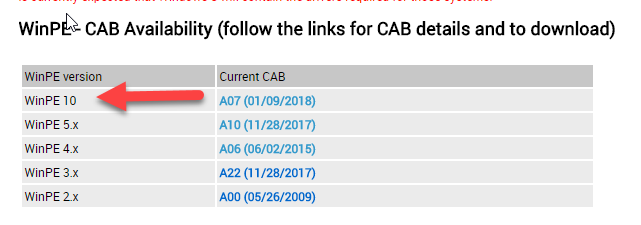
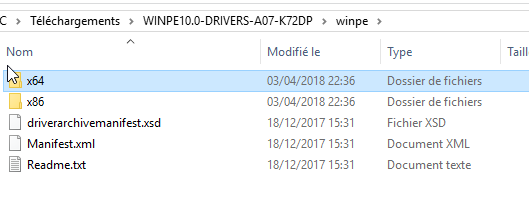
- Extract the cab with 7zip (ignore the 7zip error)
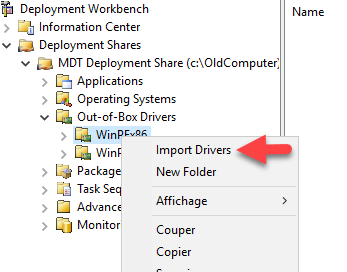
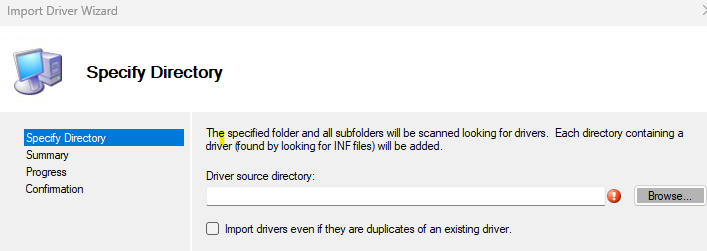
Importing drivers
- In the WinPE folders of MDT, add the drivers
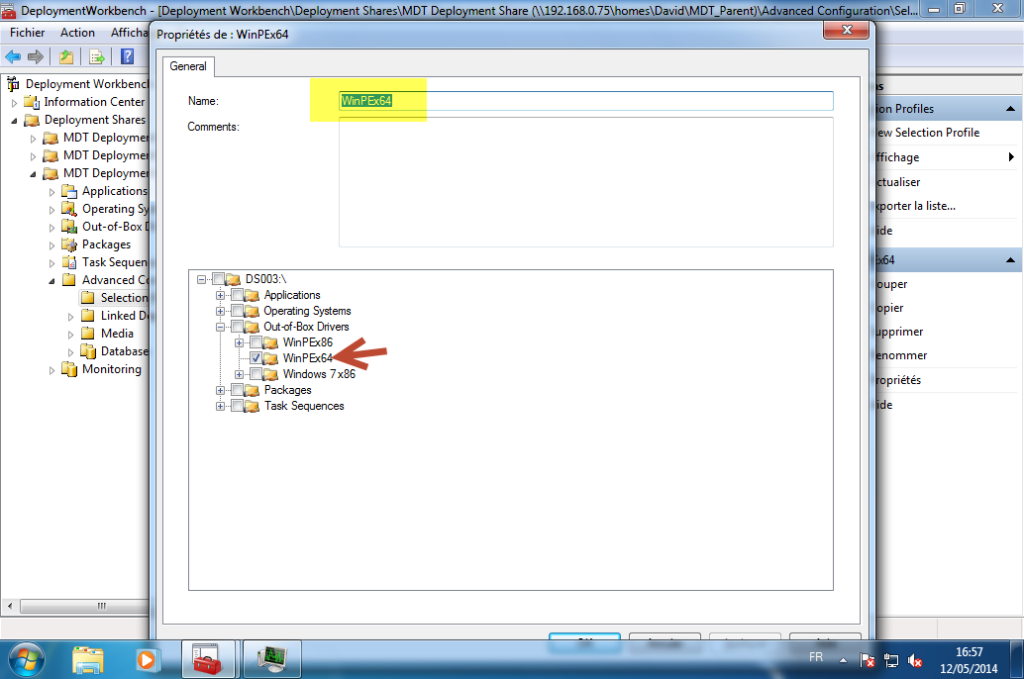
Creating profiles
- You then need to create 2 profiles in MDT
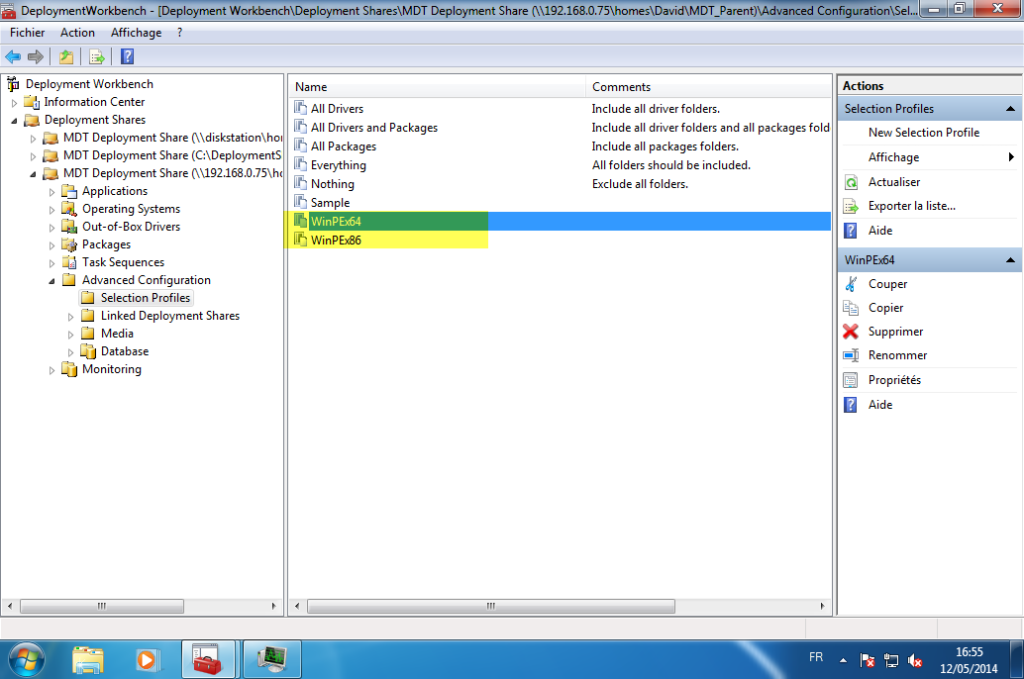
- The profiles will point to the corresponding WinPE driver folders
Associating profiles in WinPE
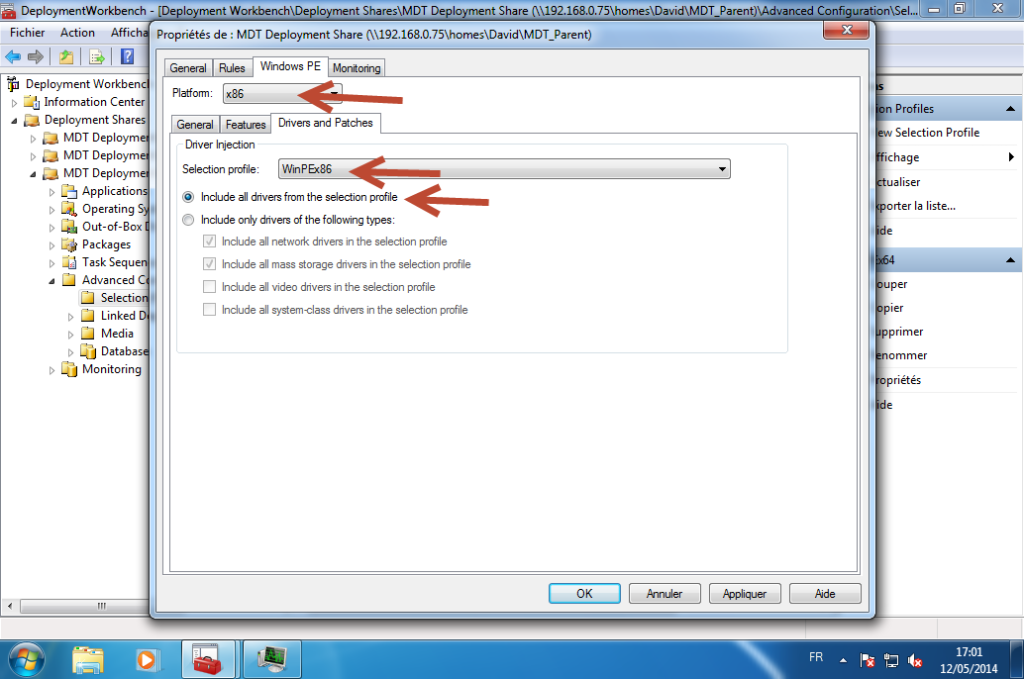
- In the properties of the DeploymentShare
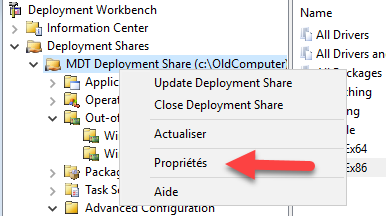
- Select the WinPE driver profiles for x86 and x64
Bootstrap.ini
Windows 11 OOBE – You can modify the bootstrap.ini file
- The path of the deployment share => DeployRoot
- The path of the deployment share => KeyboardLocalePE
- Authentication => UserID, UserDomain et UserPassword
Windows 11 OOBE – If the authentication account is not specified, a popup asking for authentication will be displayed during deployment.
Windows 11 OOBE – Exemple file
[Settings]
Priority=Default

[Default]
; Specify the UNC path of your deployment share
DeployRoot=dc.leblogosd.lanMDT

; N'affiche pas l'ecran de bienvenue
SkipBDDWelcome=YES

; Passe le clavier en francais
KeyboardLocalePE=040c:0000040c

; If no account is specified, you must provide an account with permissions on the share
UserID=UserMDT
UserDomain=leblogosd
UserPassword=Password1
Windows 11 OOBE –
Boot image
Windows 11 OOBE – The boot images contain a WinPE with the tools to connect to the deployment share.
- To generate the WinPE, right-click on the deploymentShare, then select “Update Deployment Share”
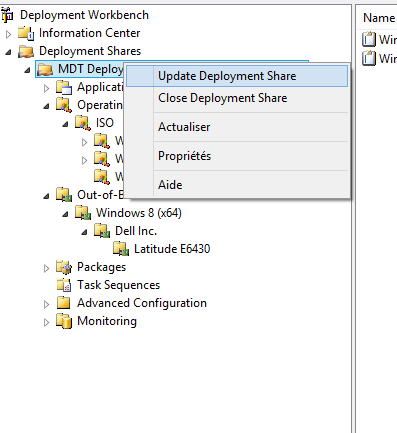
- Select “Completely regenerate the boot images” and validate.
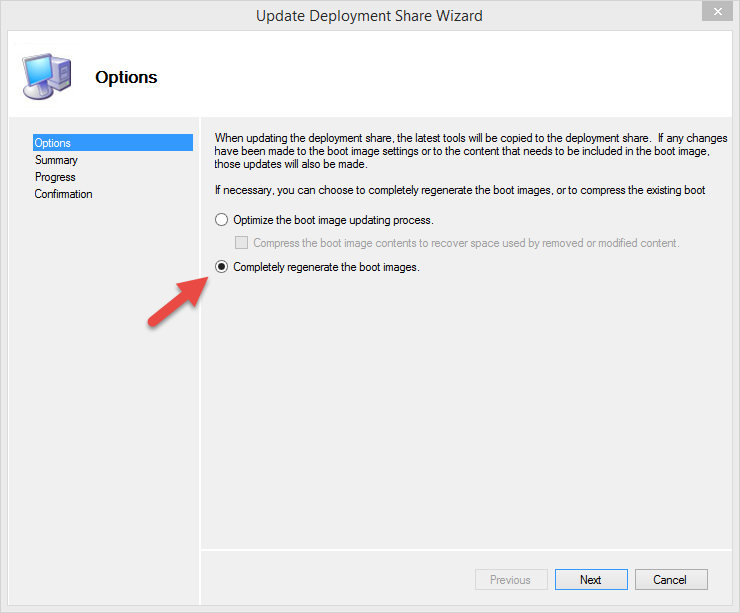
- Once the images are generated, you can use them for deployment.
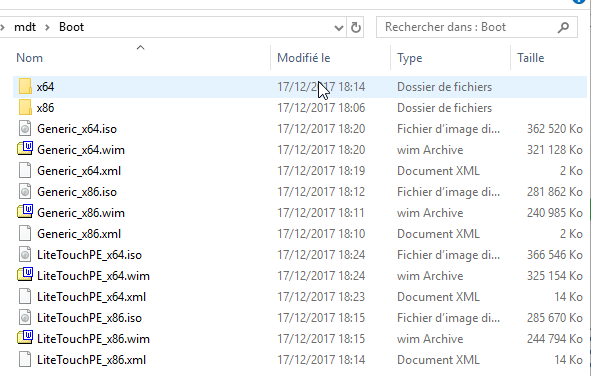
- You will need to use the ISOs or the LiteTouchPE WIMs.
Adding Windows 11 Sources
- In “Operating Systems”, select “Import Operating System”
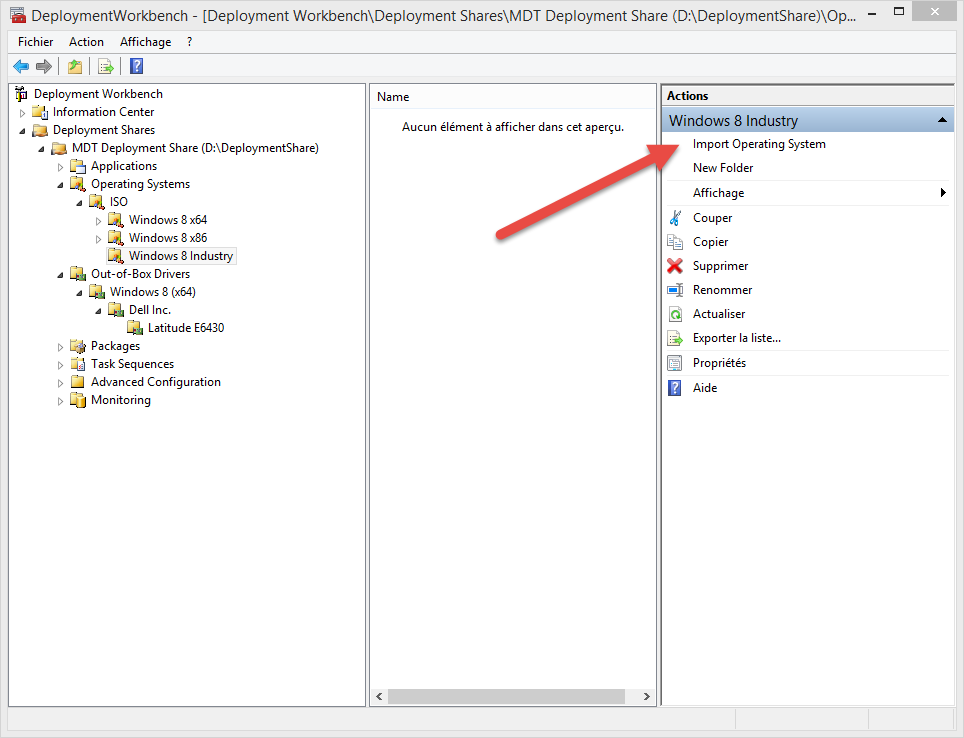
- Select “Full set of source files”
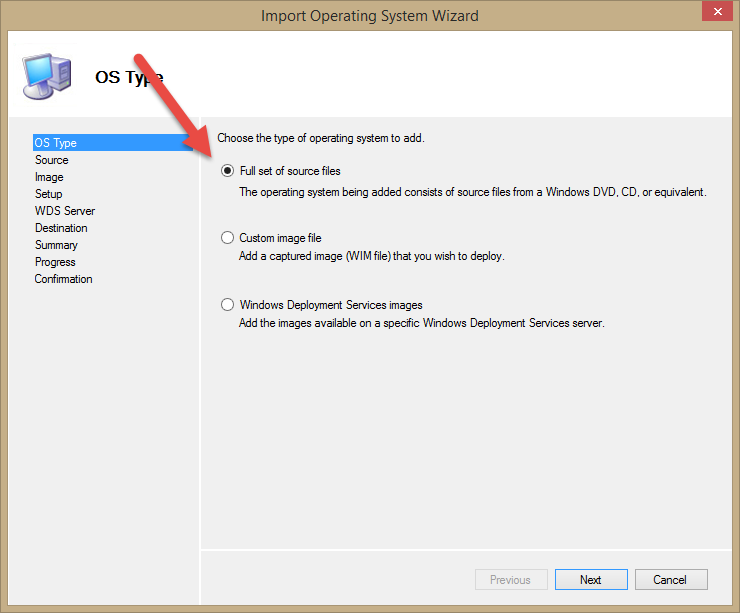
- Then select your drive (physical or virtual) containing Windows 7 or 10.
- Validate the following screens.
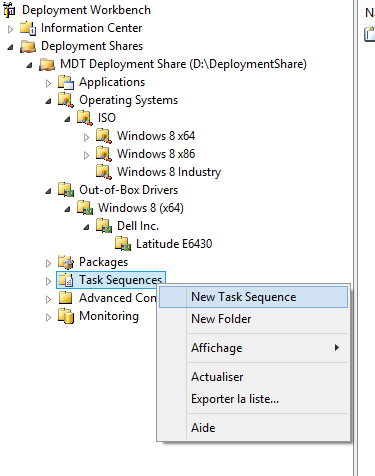
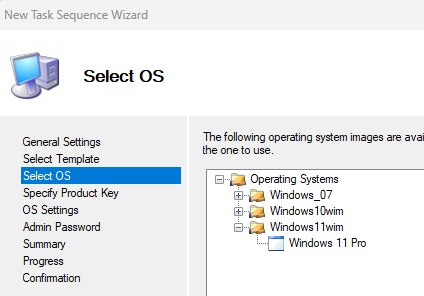
New Task Sequence
Windows 11 OOBE – You will need to create a task sequence
- Right-click on “Task Sequence”, then select “New Task Sequence”
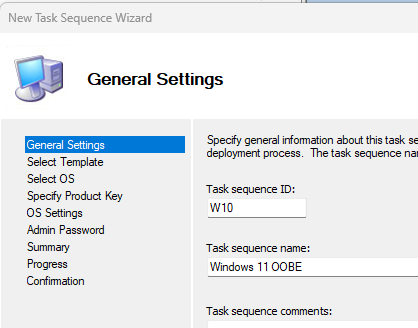
- Enter the ID (this will be used to create a folder in the control directory of your DeploymentShare).
- Enter the name.
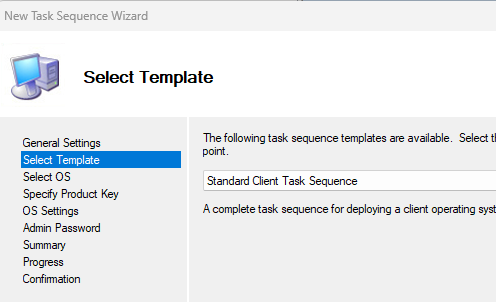
- Select “Standard Client Task Sequence”.
- Select the OS you want to install.
- The task is now available.
Windows 11 OOBE –
Drivers
- We will simply create a folder for each workstation model we will manage. Another article will detail a more comprehensive driver management.

- Select “Import Drivers”.
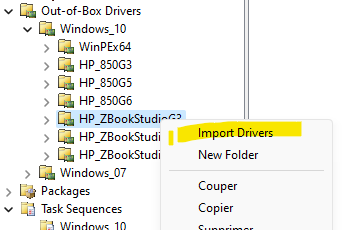
- Select “Import Drivers”.
CustomSetting.ini
Windows 11 OOBE – The customsetting.ini file allows you to configure the MDT wizard and some deployment options.
Windows 11 OOBE – The file is located in the control folder of your deployment share.

The customsetting.ini file I use
[Settings]
Priority=Default
Properties=MyCustomProperty

[Default]
OSInstall=Y
_SMSTSOrgName=%TaskSequenceName%
SkipTaskSequence=No
SkipComputerName=NO
OSDComputerName=%SerialNumber%
SkipDomainMembership=YES
SkipUserData=YES
DeploymentType=NEWCOMPUTER
SkipProductKey=YES
SkipCapture=Yes
SkipAdminPassword=Yes
AdminPassword=azerty
SkipPackageDisplay=Yes
SkipBitLocker=YES
SkipComputerBackup=Yes
SkipLocaleSelection=YES
SkipTimeZone=YES
TimeZone=105
TimeZoneName=Romance Standard Time
SkipRoles=YES
SkipApplications=NO
SkipAdminAccounts=YES
SkipSummary=NO
SkipFinalSummary=YES
FinishAction=SHUTDOWN
Applications
Windows 11 OOBE – We will be able to manage 2 applications for this OOBE mode
- OOBE mode
- OEM Activation
Windows 11 OOBE – https://github.com/dwbdav/LeBlogOSD/tree/main/mdt/oobe-oem-activation
Application to OOBE Mode
Windows 11 OOBE – La ligne de commande pour passer en OOBE sera la suivante
c:windowssystem32sysprepsysprep.exe /oobe /quit
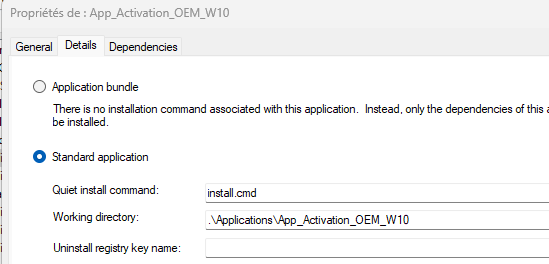
Application To OEM Activation
$ProductKey = (Get-WmiObject -Class SoftwareLicensingService).OA3xOriginalProductKey
cscript "c:windowssystem32slmgr.vbs" -ipk $ProductKey
cscript "c:windowssystem32slmgr.vbs" -ato
Create Application
- To add applications, right-click on “Applications” then “New Application”.

- Select “Application with source files”.
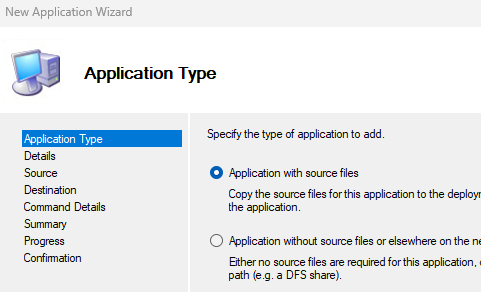
- Specify the Application Name (ModeOOBE ou ActivationOEM)
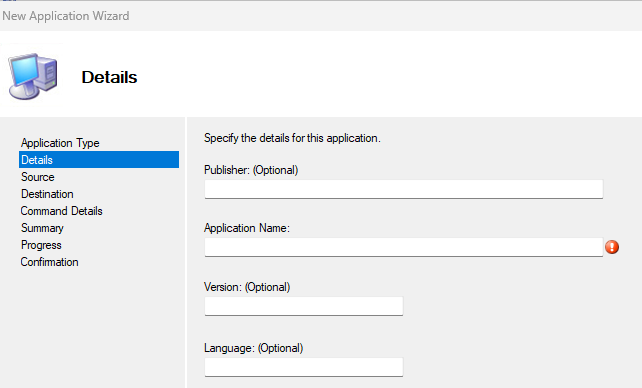
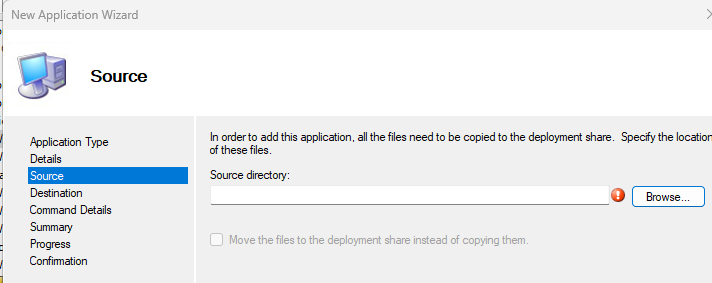
- Select the source directory of your application.
- Specify the command line for installing your application.
Windows 11 OOBE – MDT is now ready to carry out installations in OOBE mode. You can use a boot USB key or a WDS to start your compute
Example MDT application files are available on GitHub: oobe-oem-activation.