With this post, deploy an application with multiple files. It’s necessary to create a zip file with all necessary files to install the application.
Prepare Your Application Files
Organize Files: Gather all the files that your application requires, including executables, configuration files, scripts, and more.
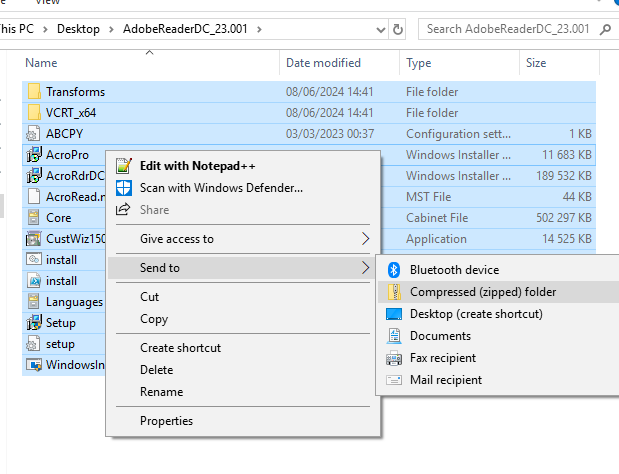
Create ZIP Archive: Use a tool like 7-Zip or Windows built-in compression to create a single ZIP file containing all your necessary files.
I compressed the content of the folder for this example.
Create a New Package
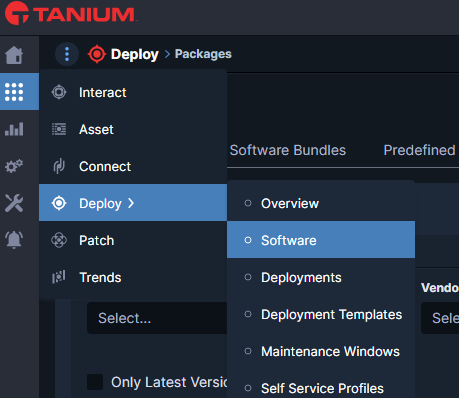
- New Package: On Deploy, select Software.
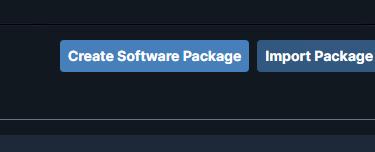
- Click on “Create Software Package”.
- On Package Files, add your zip file.

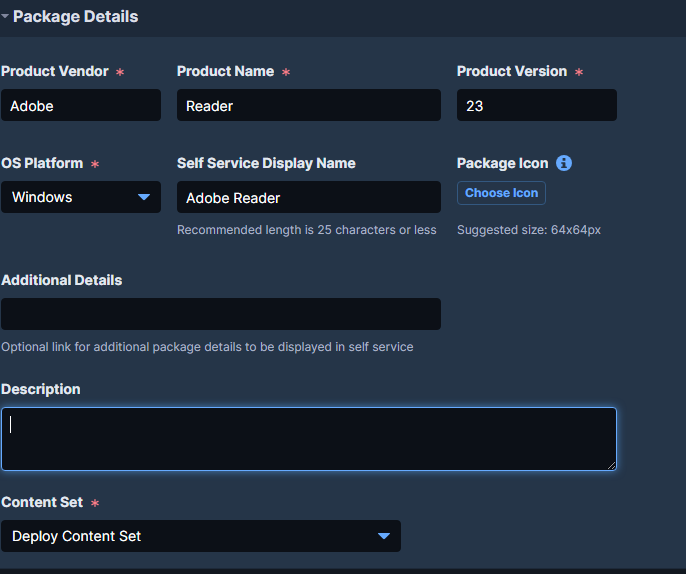
- Package Details: Name: Provide a meaningful name for your package.
- Select Requirements.

- Step 1: Extract Zip file.
Warning: Check the zip file (uploader and destination folder to command line execution for the next step).
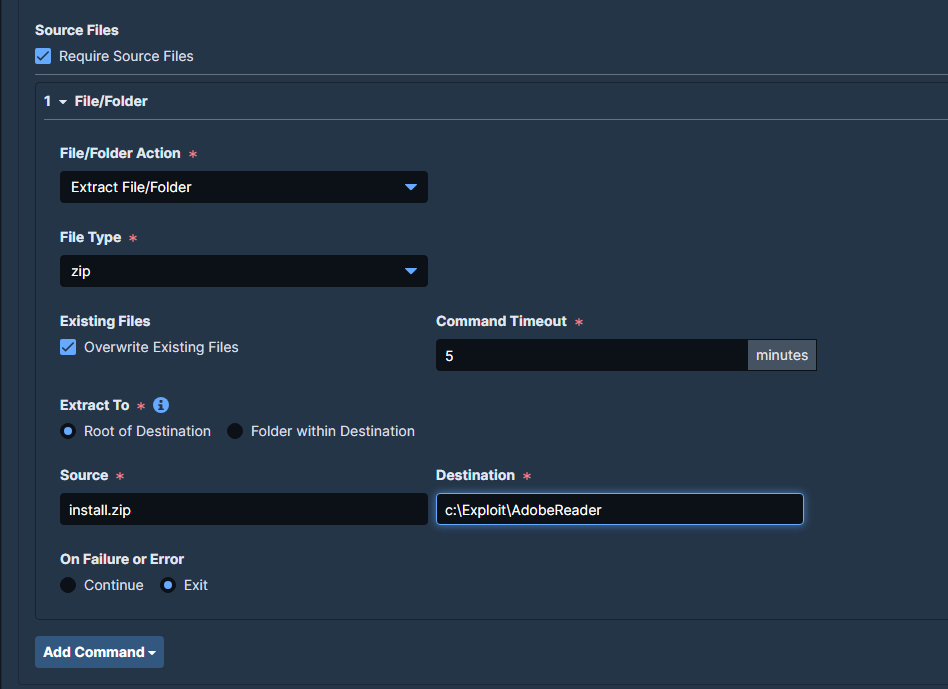
- Command: Set up the command to execute your PowerShell script, e.g.,
cmd.exe /c "powershell.exe -NoProfile -ExecutionPolicy Bypass -File c:\Exploit\AdobeReader\install.ps1".
1 | cmd.exe /c "powershell.exe -NoProfile -ExecutionPolicy Bypass -File c:\Exploit\AdobeReader\install.ps1" |

- Add Install Verification.

- Don’t forget to click Apply icon.

- And Click “Create Package”.

Deploy Application
- Deploy: Select the package and click
Deploy Package.

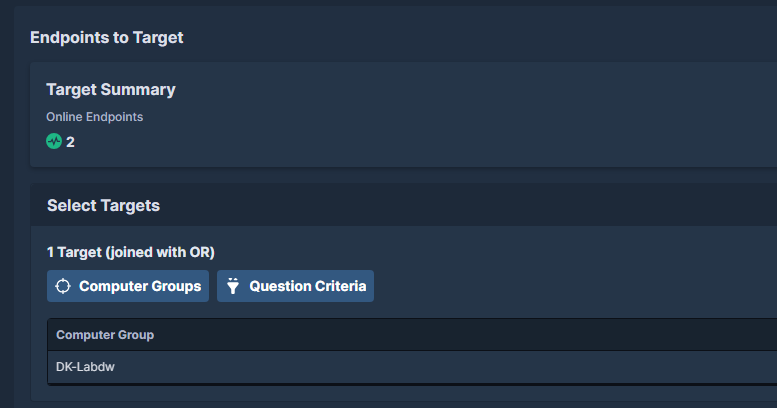
- Select Target: Choose a computer group or specify selection criteria.
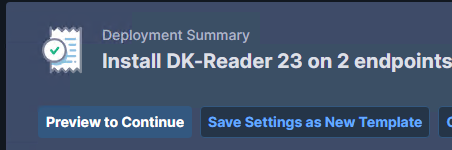
- Select schedule.

- Execute: Click on Preview To continue.
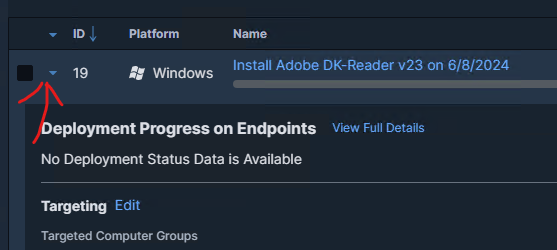
- You can view deployment status


0 Comments